Because there are so few, I try to at least mention my early morning visitors. The kids don't wake up any more and Bea only comes out on occasion. This week I got six new friends.
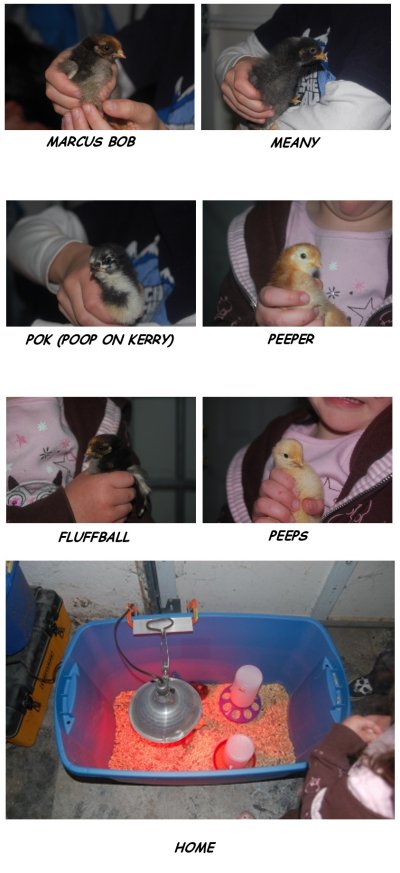
The chicks are actually grandma's (my mom's). They decided to raise chickens again and are letting each of the 6 grandkids raise them for the first 3 or 4 weeks. My kids got 3 each and of course named them all.
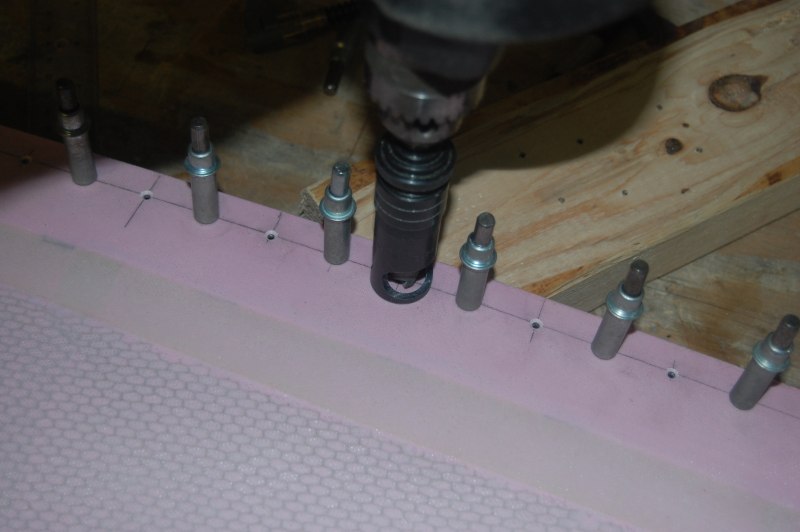
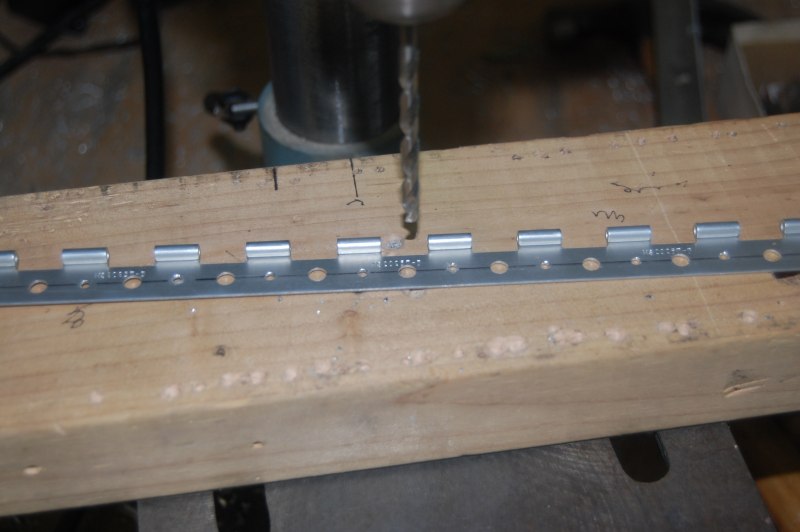
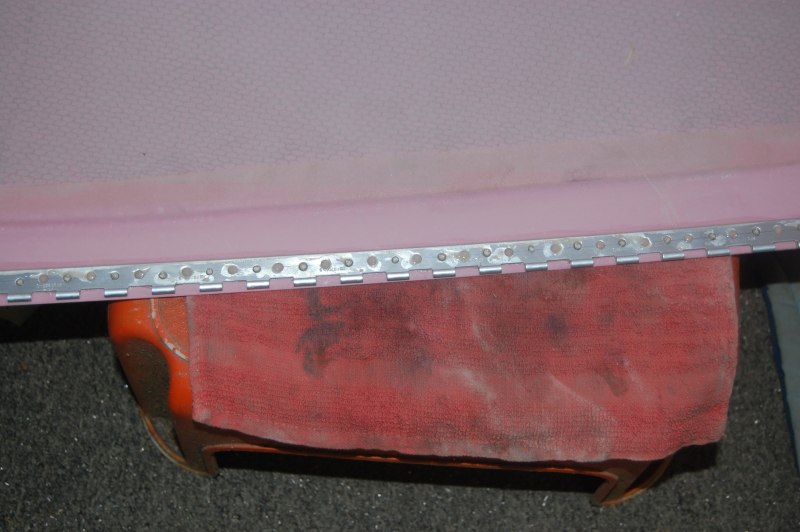
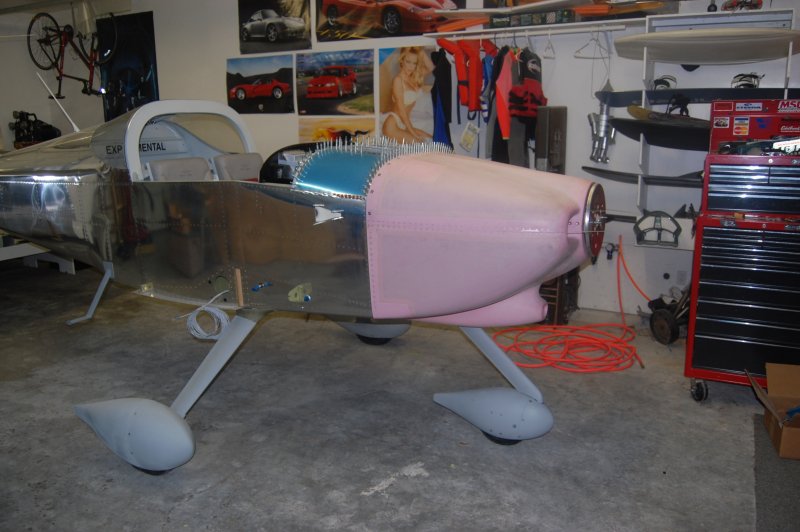
Anyway, back to the cowl. I finished drilling all the hinges. Now I have to countersink every hole and start riveting.
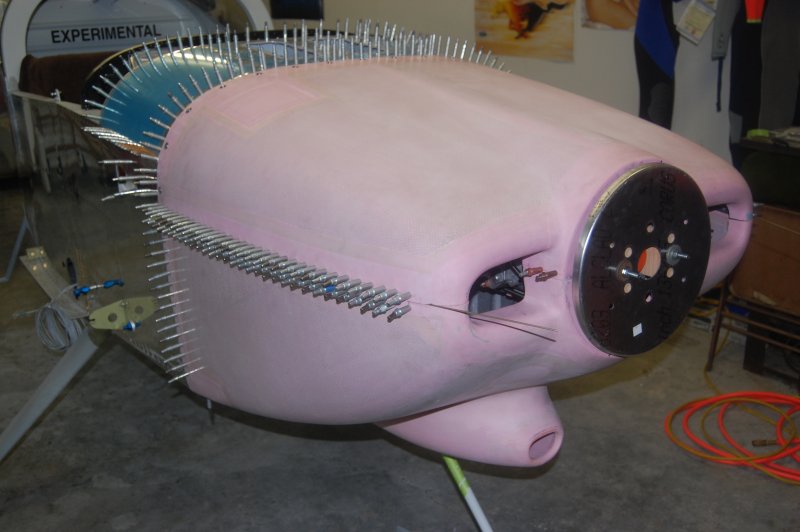
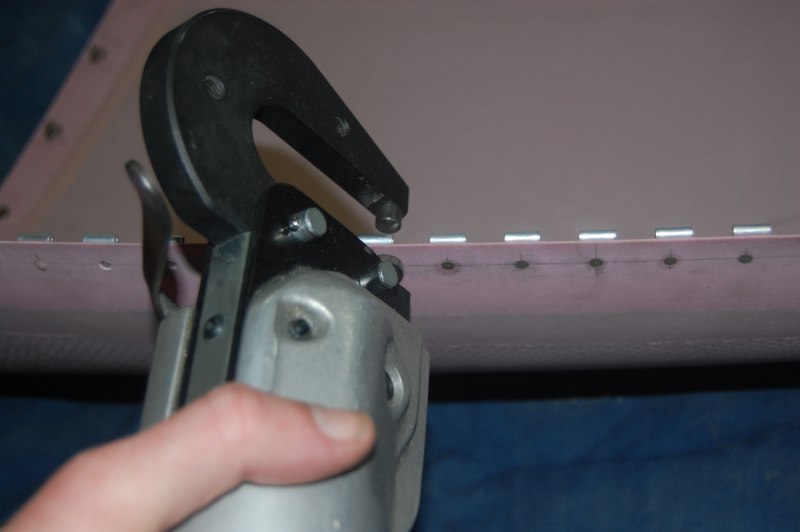
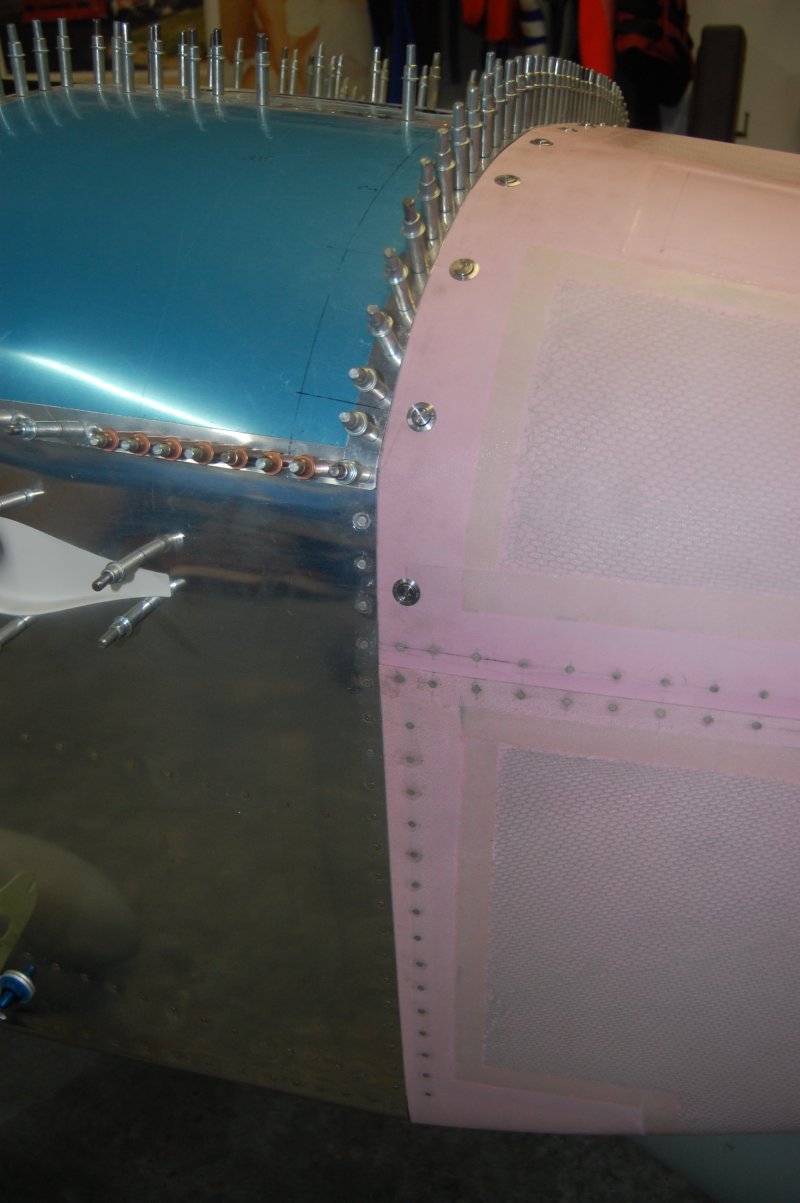
Vans has you drill holes between the holes to help bond the epoxy
Sanded the inside of the cowl and hinge

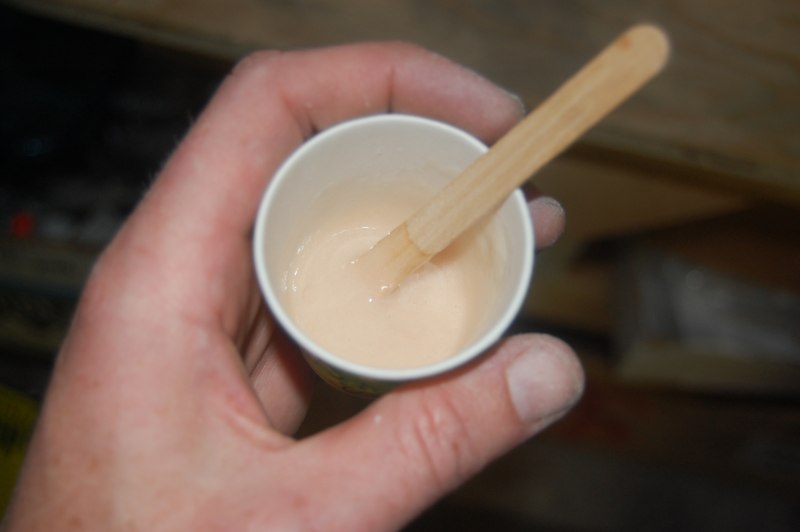
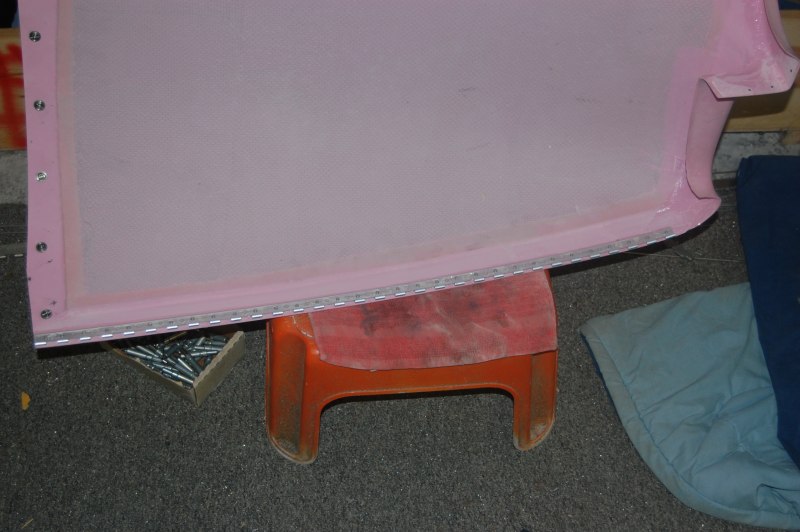
A fresh batch of epoxy with flox
Cleckoed on

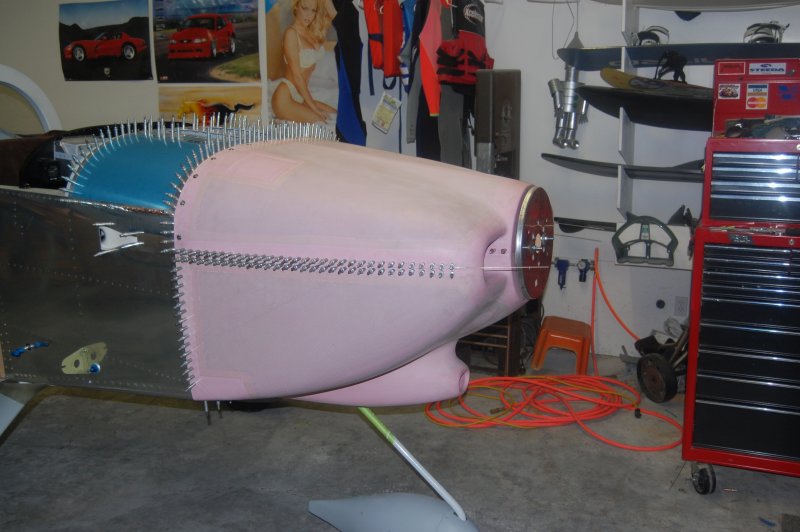
Looks nice! Big day today, I broke 3000 hours. Originally I thought it would take about that to finish but I'm not quite there. I guess I'm just slow. :)
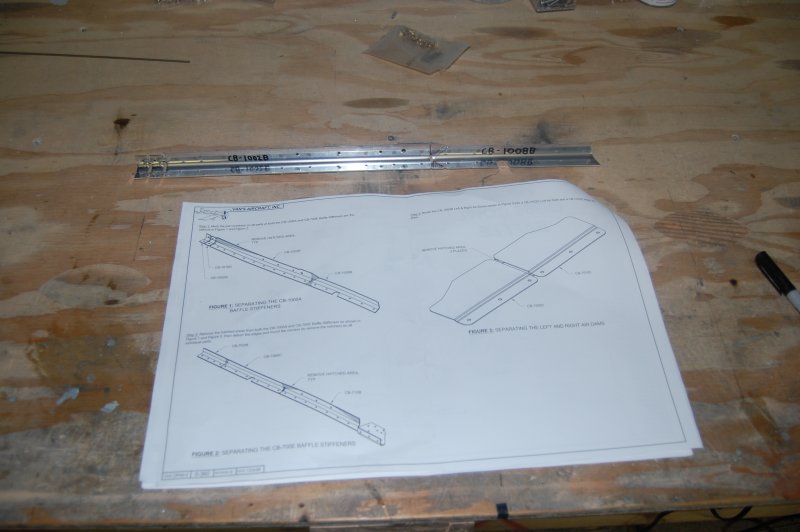
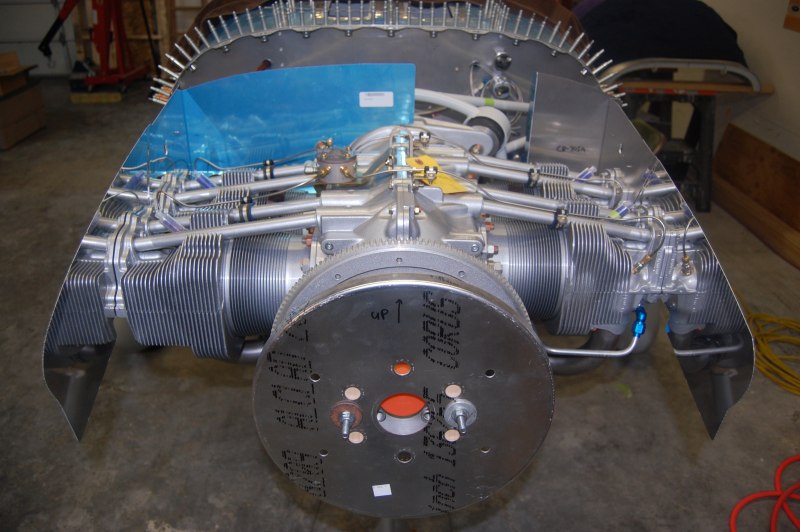
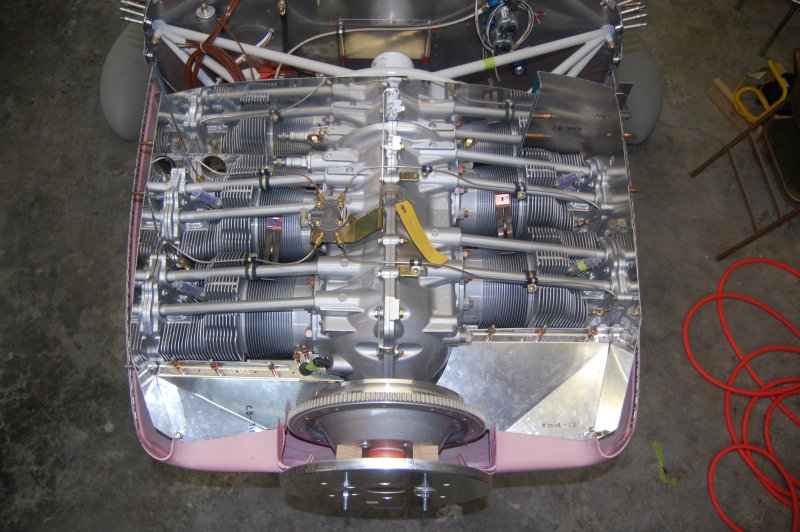
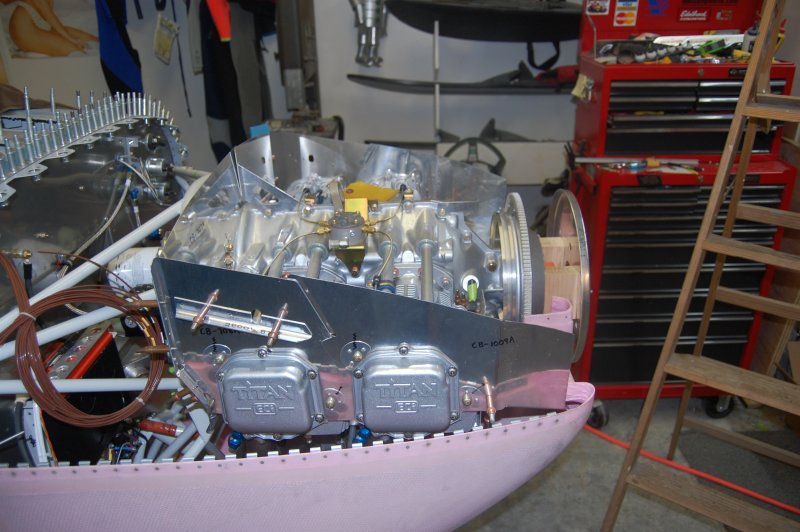
While the hinges are setting up I thought I would start looking at the baffles.
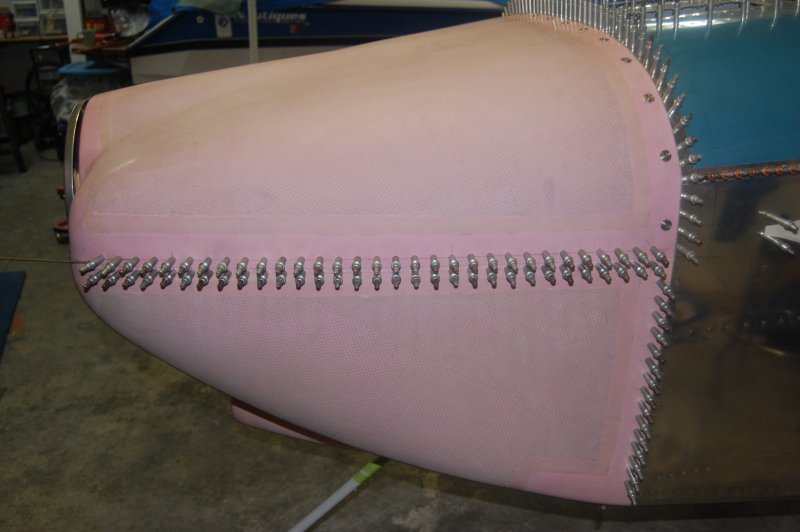
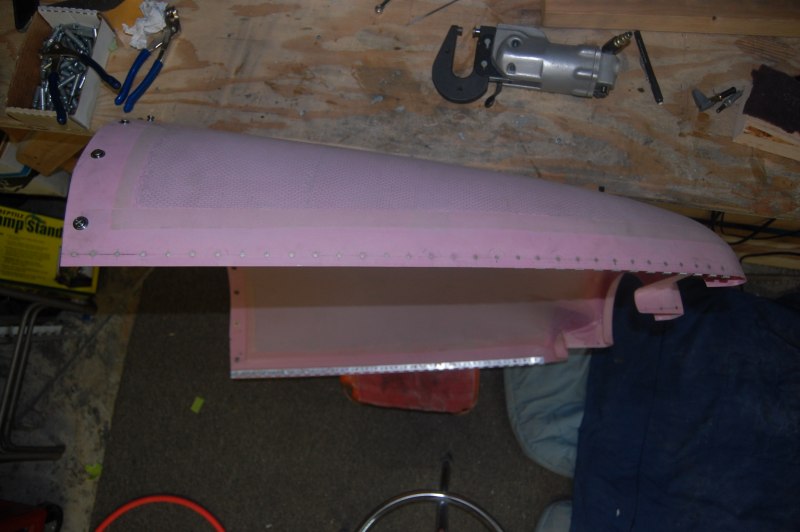
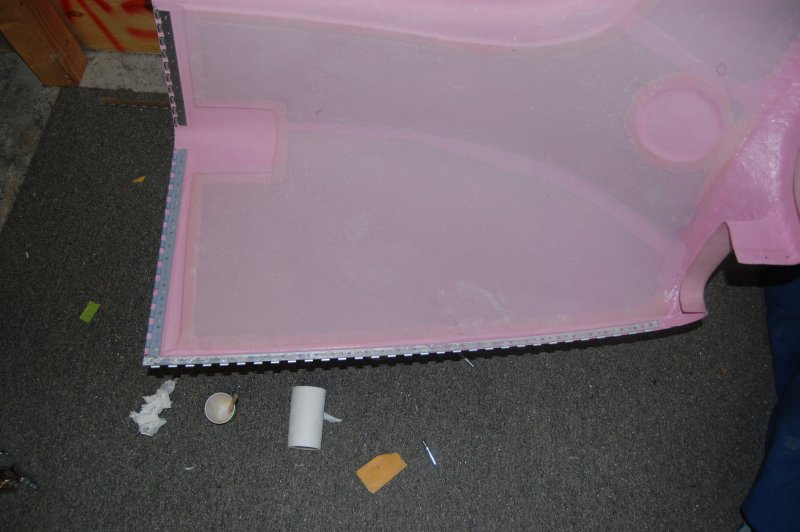
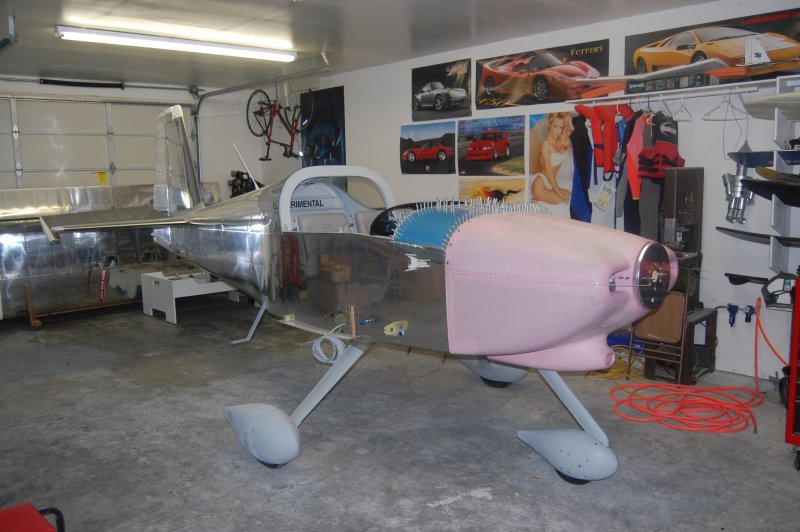
All the hinges completed

Whoolllaaa!
It really turned out great.

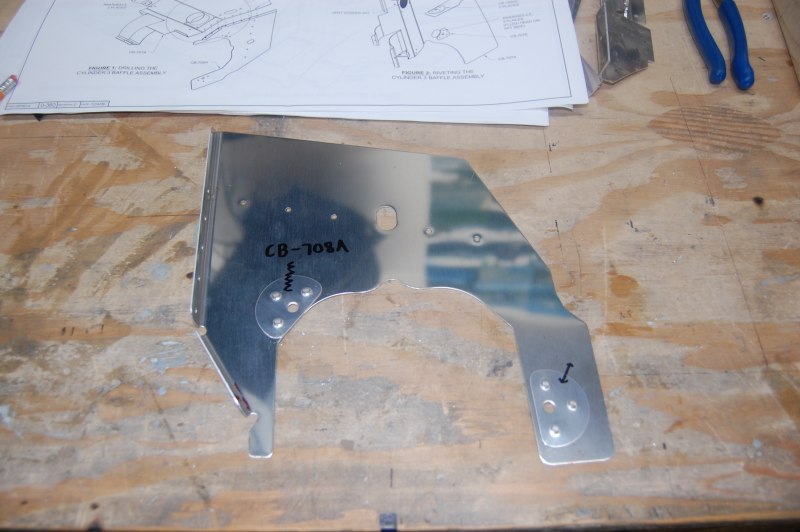
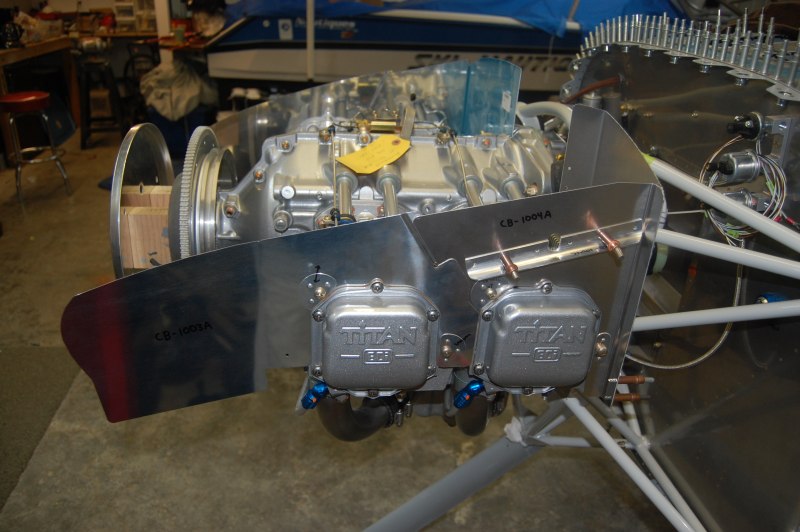
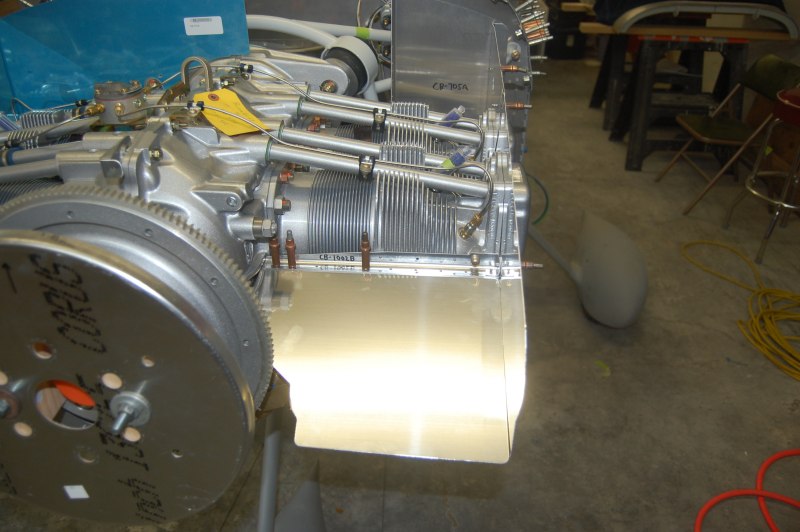
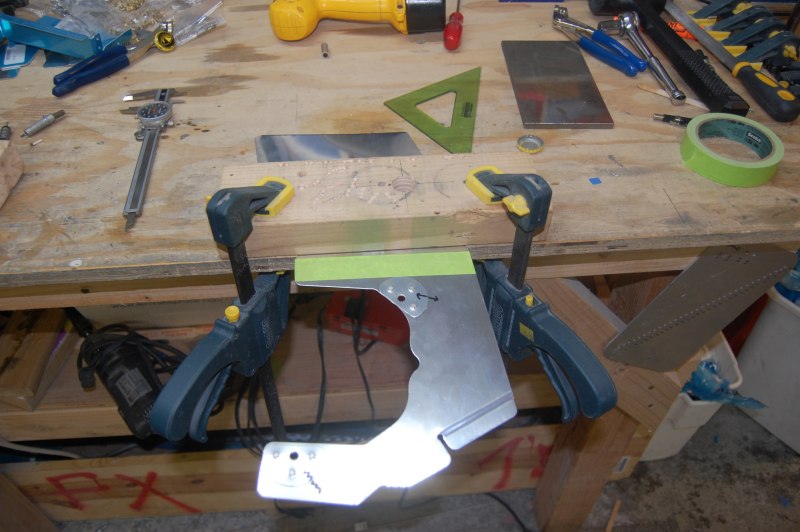
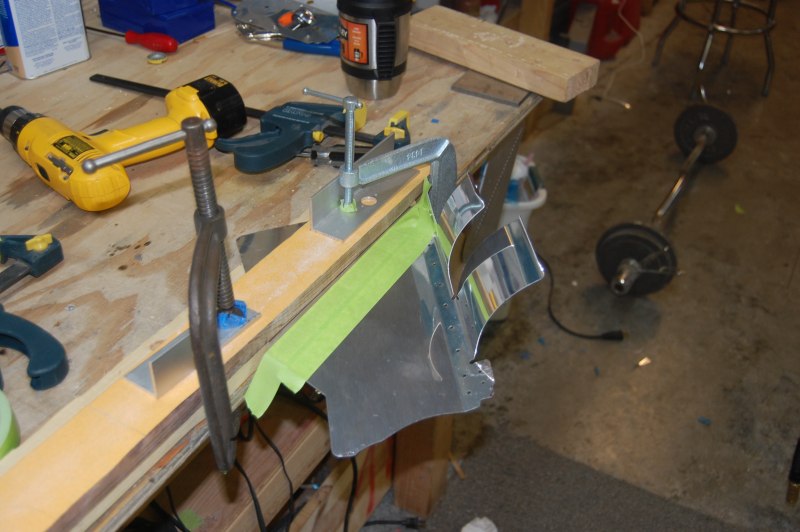
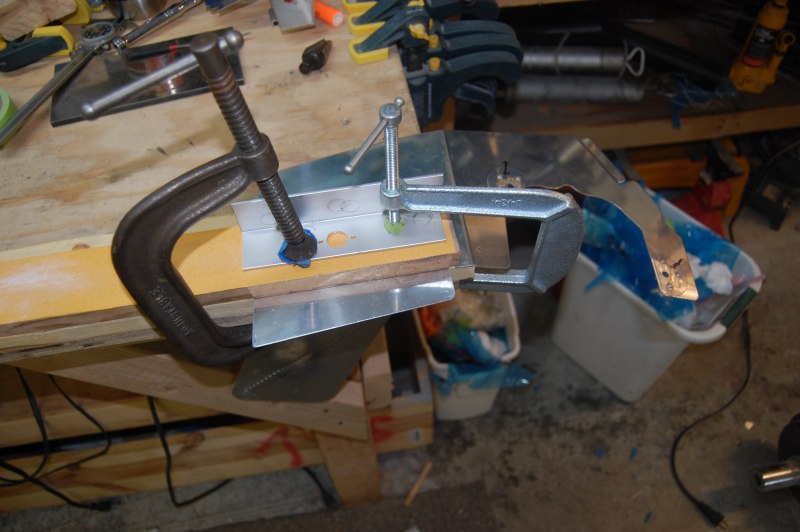
OK on to the baffles. Most of the attachment points get these little doublers riveted on. The flush head is on the inside so it can bolt flat.
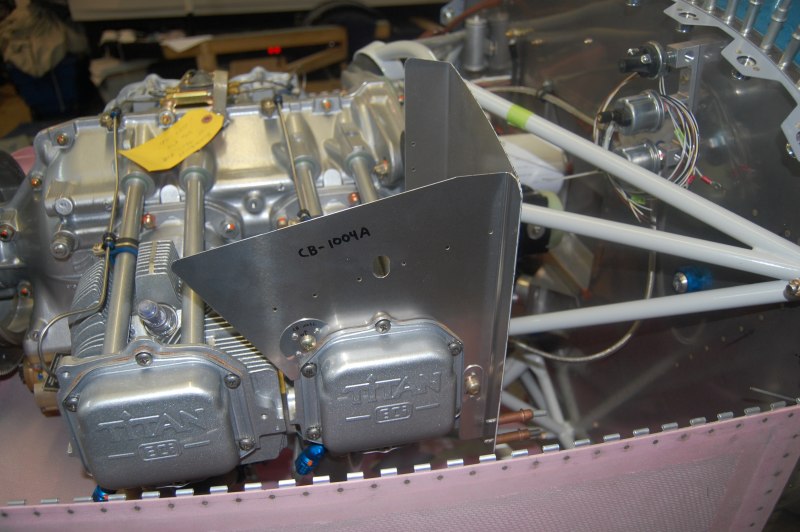
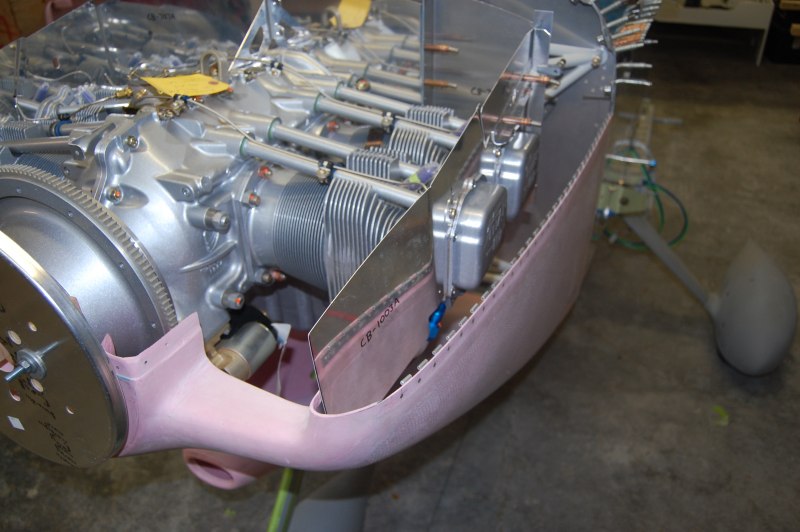
The oil cooler will end up mounting on the aft side of the blue baffle. Since they don't give you an exact mounting height, I'm gonna wait awhile and see how things take shape.
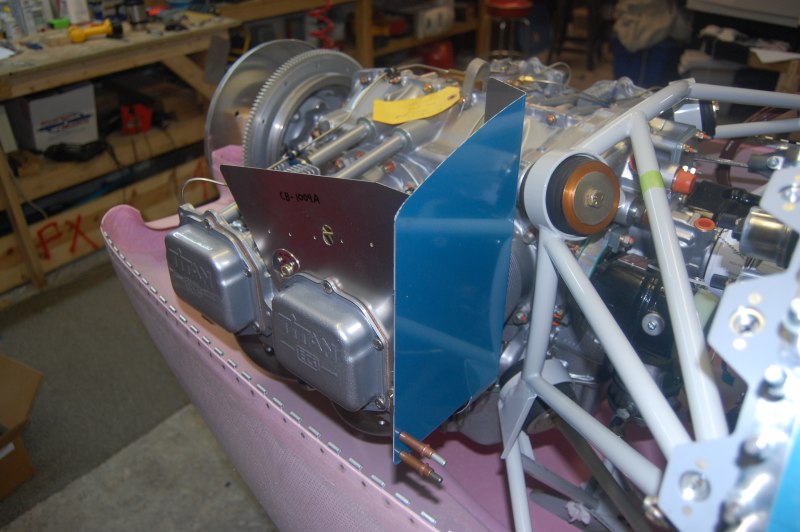
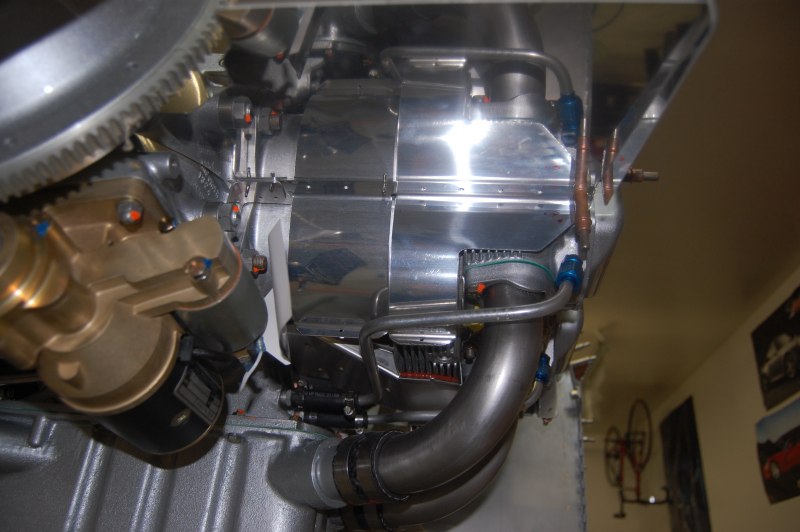
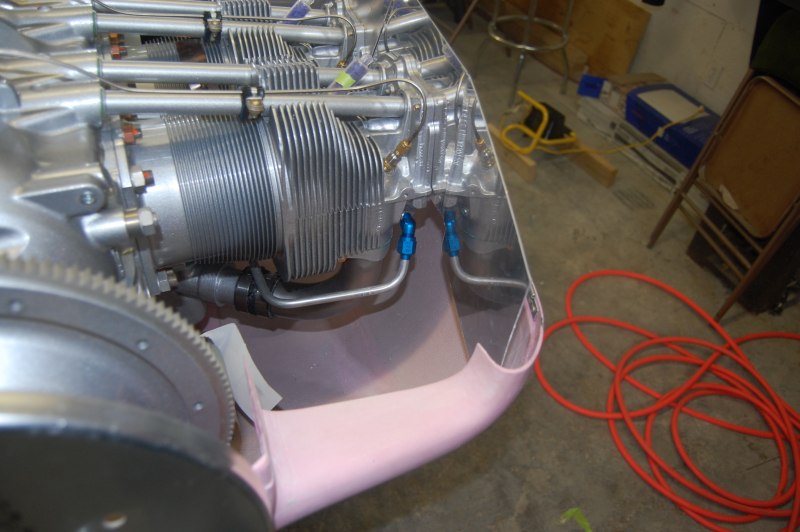
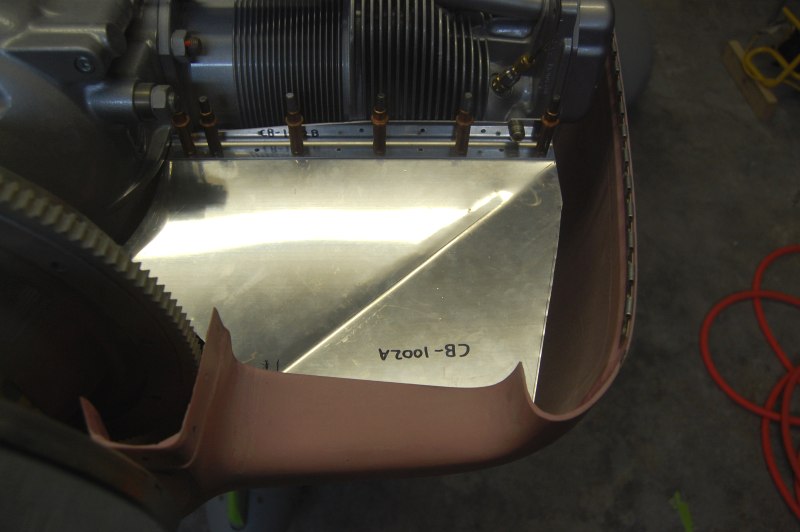
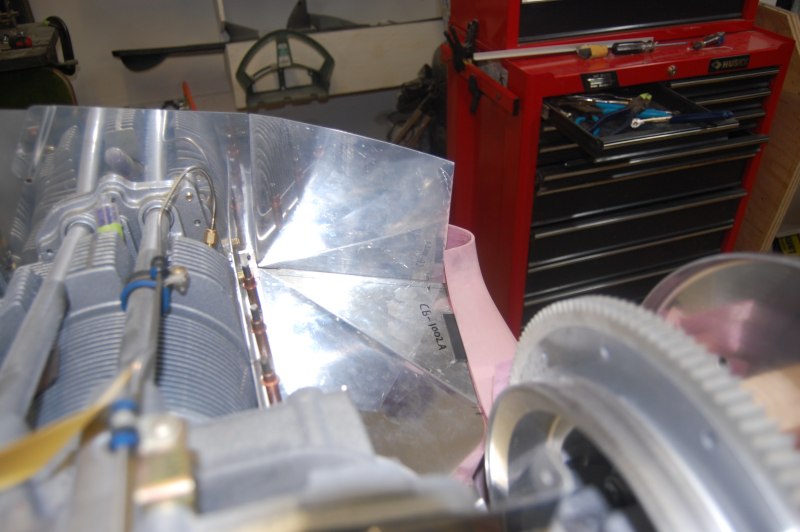
Got some line interference here.
After a little trimming for the line, I got the back piece to fit pretty well. I had to remove the lower cowl in order to put these front pieces on. (They will eventually get trimmed quite a bit.)
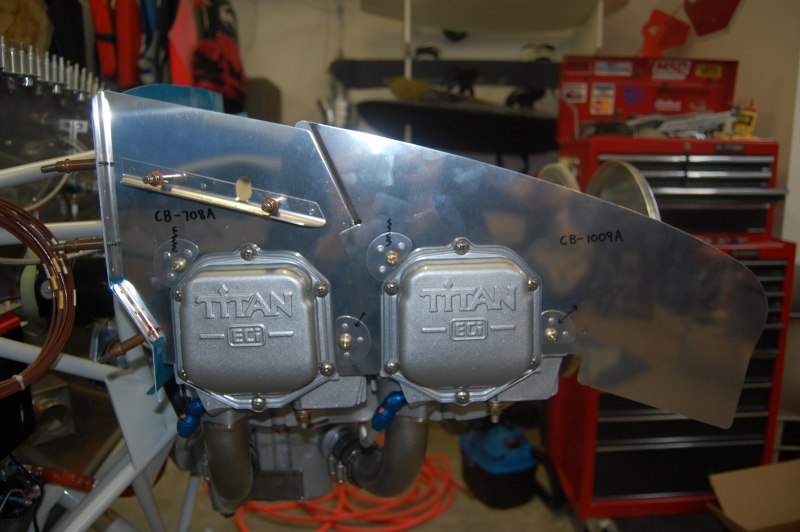

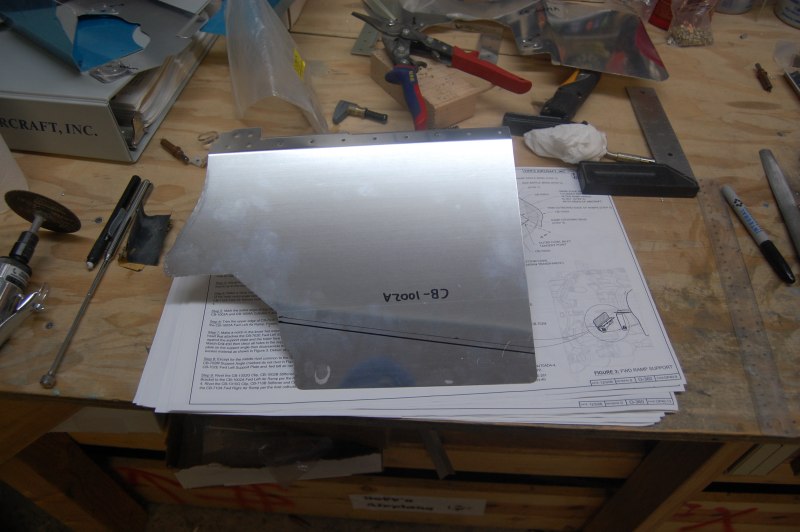
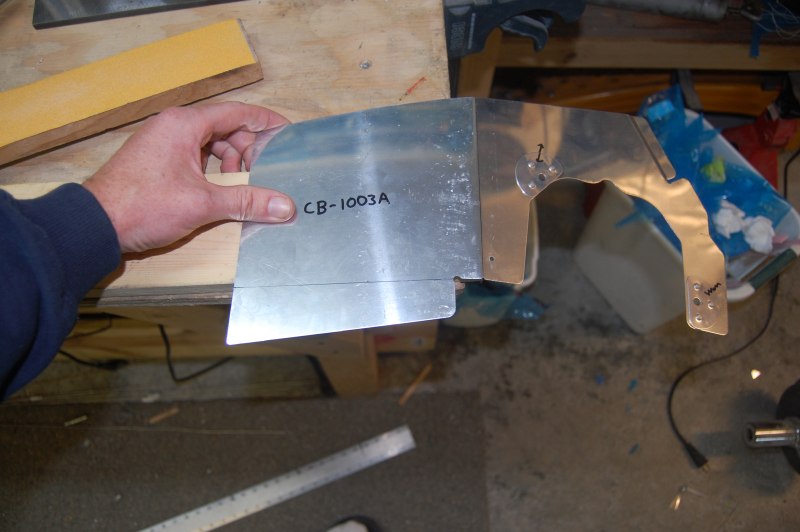
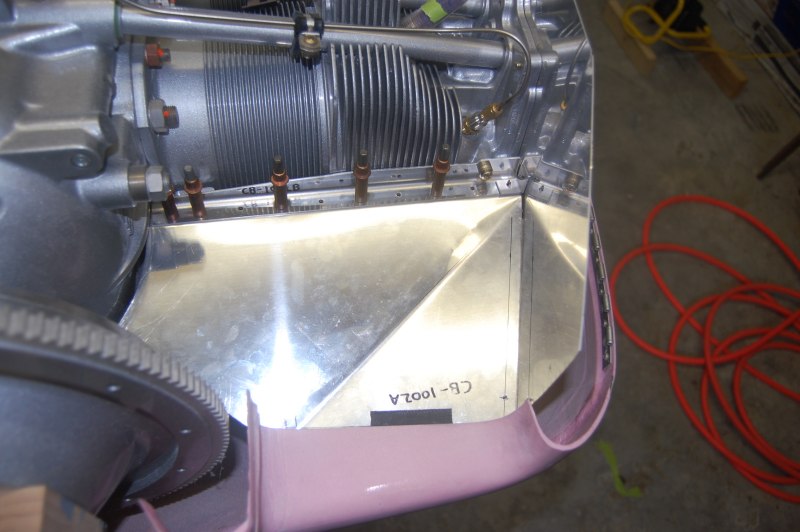
Started on the front pieces
Here's underneath
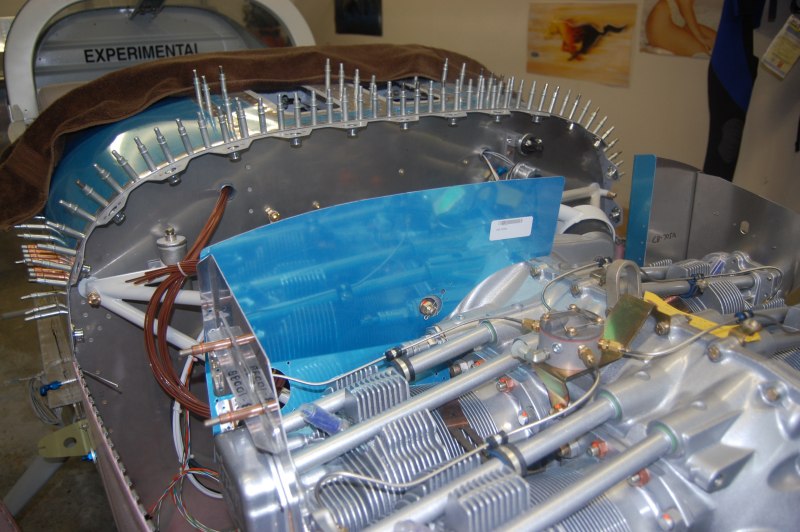
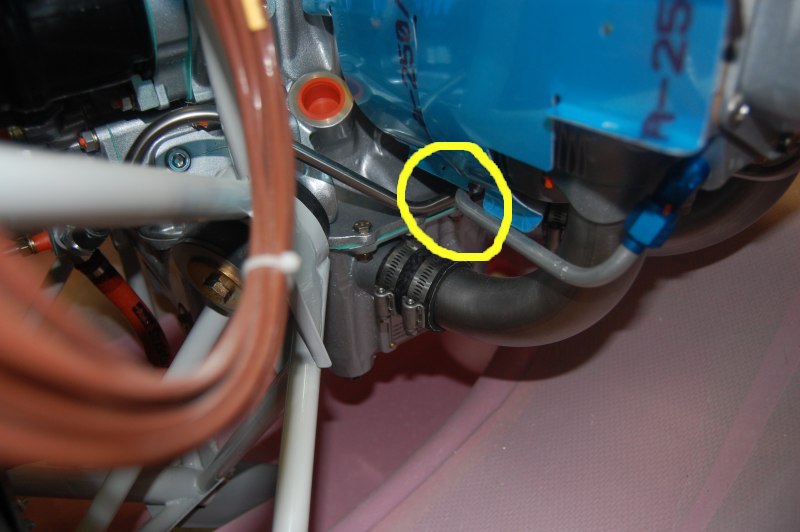
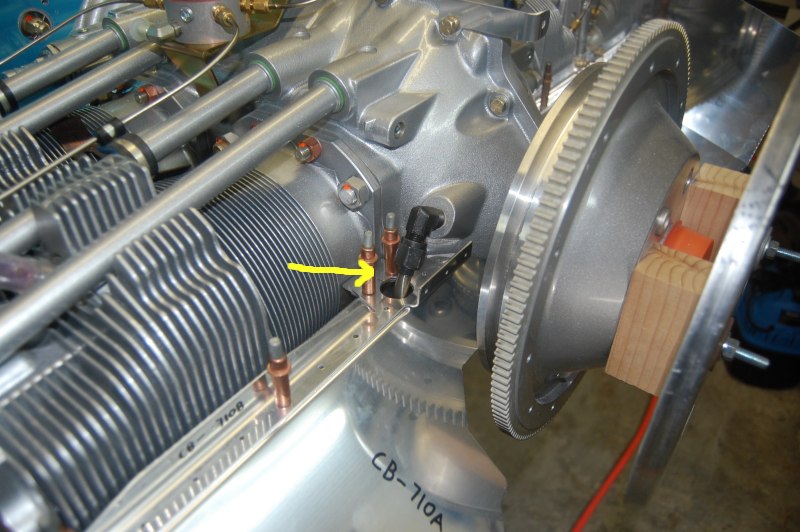
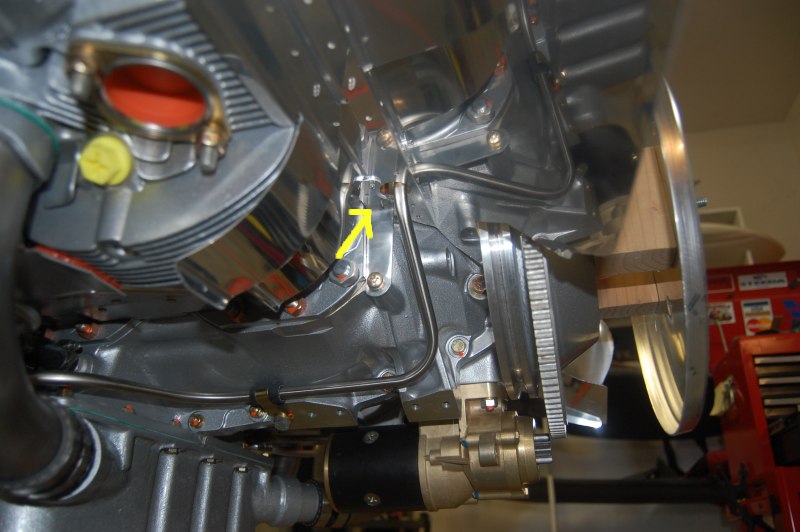
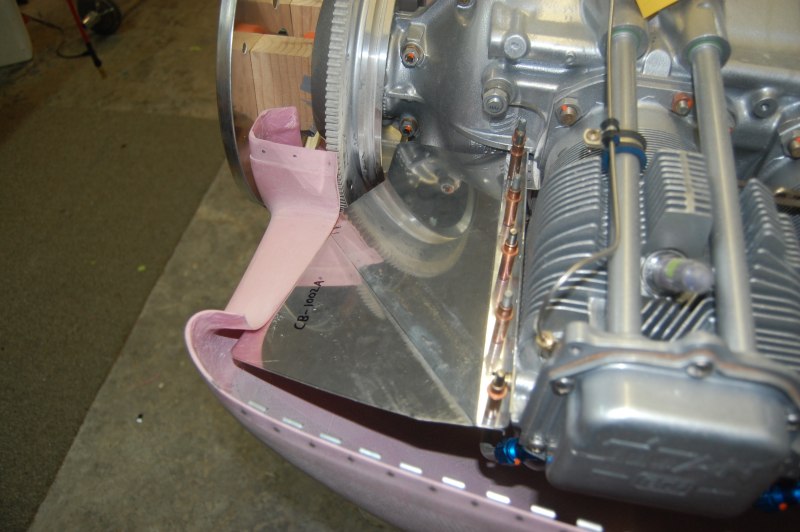
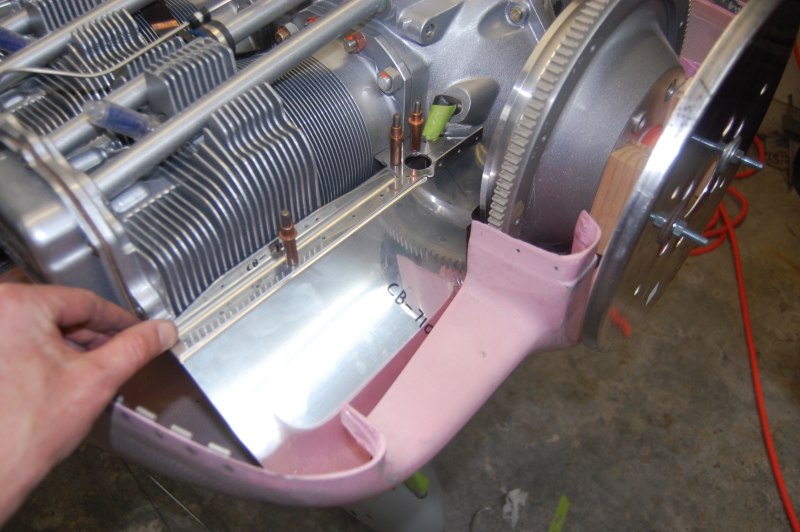
The right side has the prop line in the way.
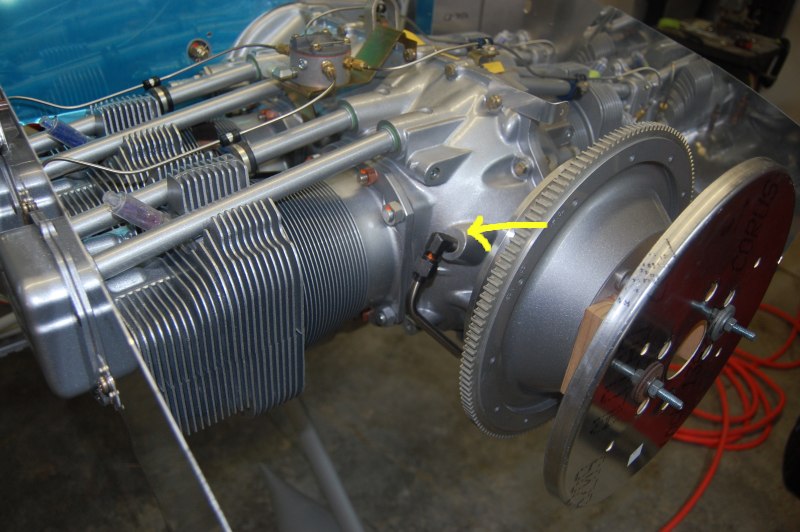
Some people notch for this instead of drilling a hole but I decided not to. Right now the line is easy to remove and I don't plan on removing my baffles very often. The hole is per the plans so I will have to turn the fitting and bend the prop line a little for better centering. That and it'll get a rubber grommet.
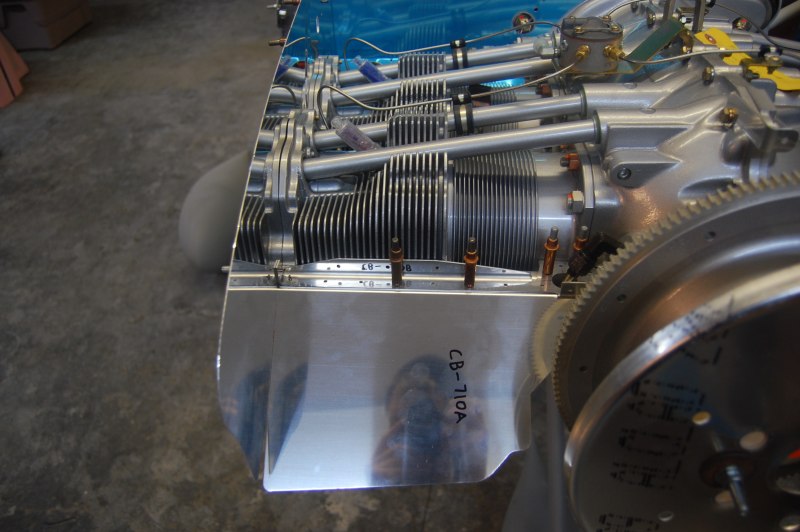
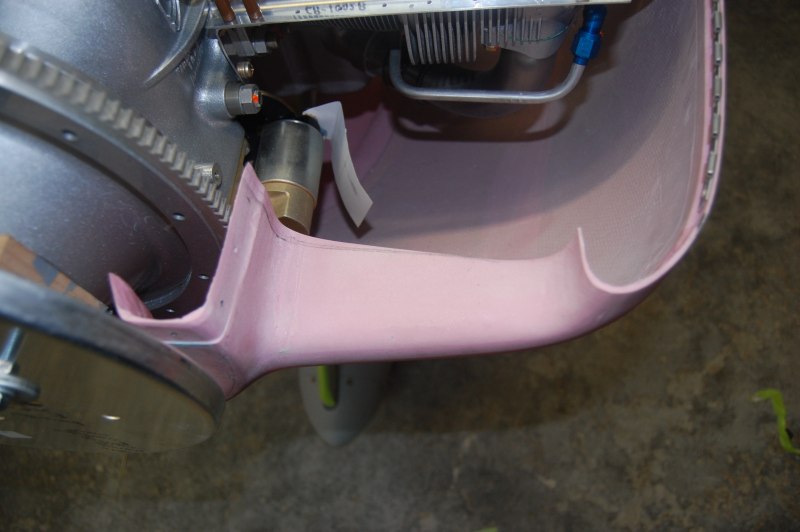
Started slowly trimming back to clear the cowl
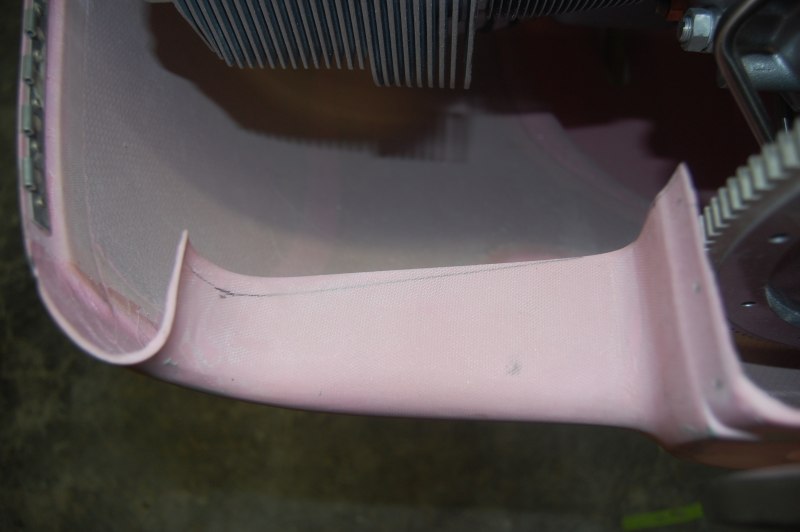
You also have to make a bend towards the cowl inlet area
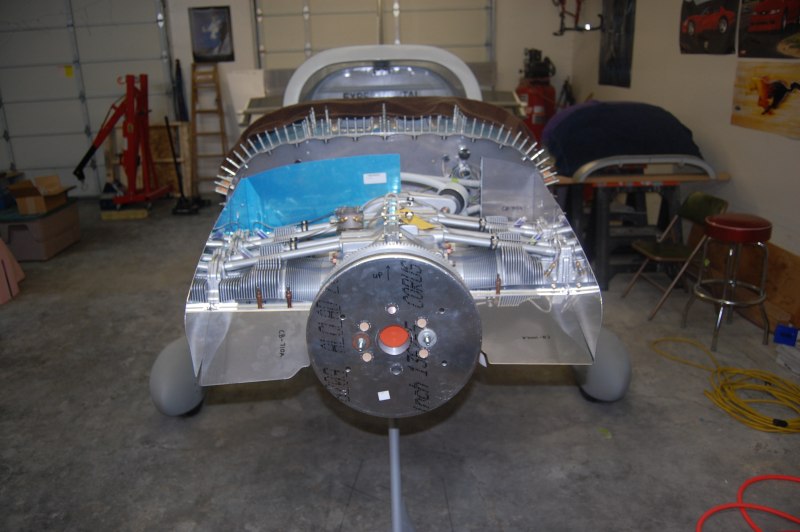
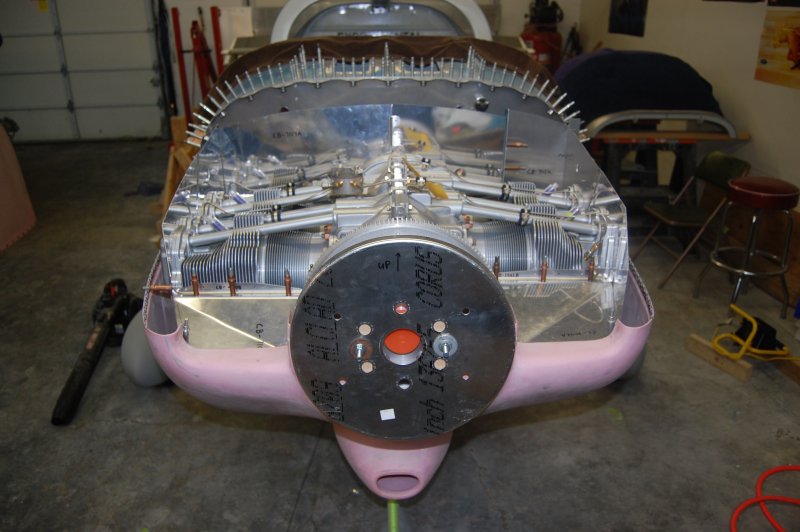
Measured and marked the cowl inlets to make them symetrical
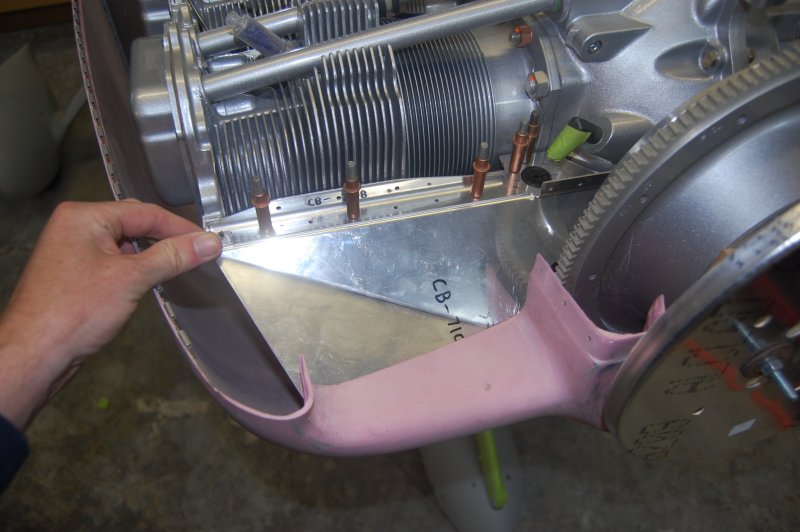
Measured to get an idea of how much to trim off the lower front baffle ramps
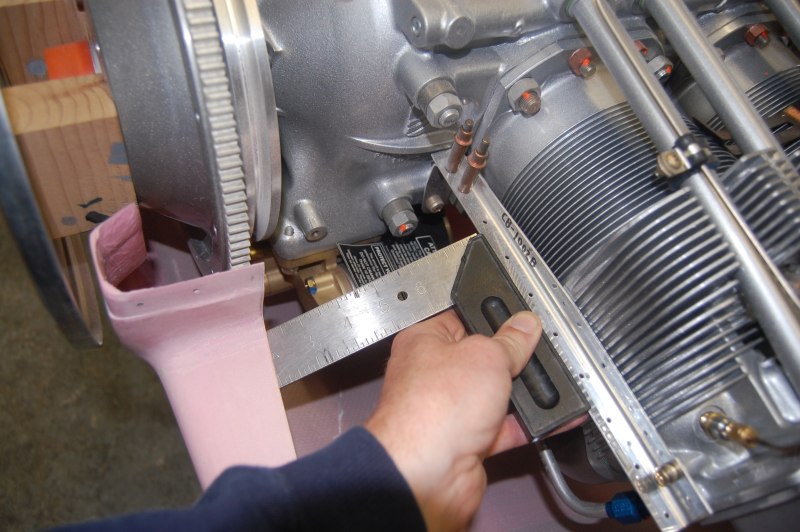
Since the cowl inlet gets smaller as you go out, you have to put a bend into the ramp to follow it
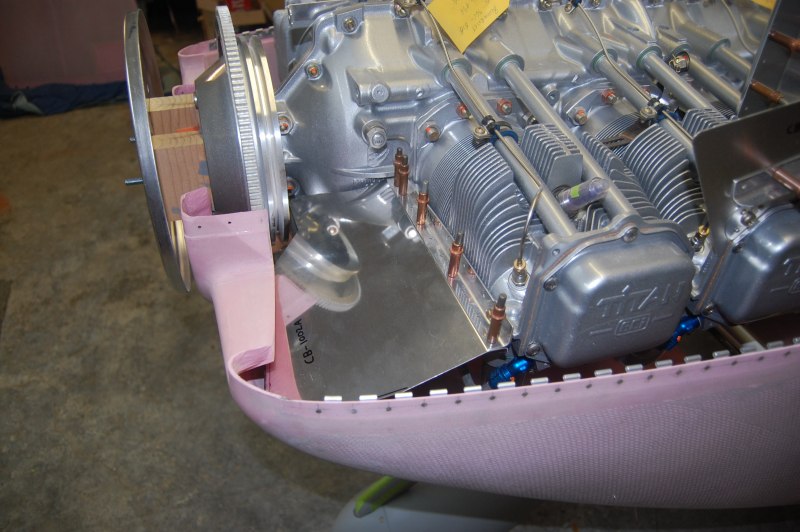
Now the side baffle gets a 90 deg bend to go under the ramp
Trimmed enough off the other side so it will at least fit inside the cowl
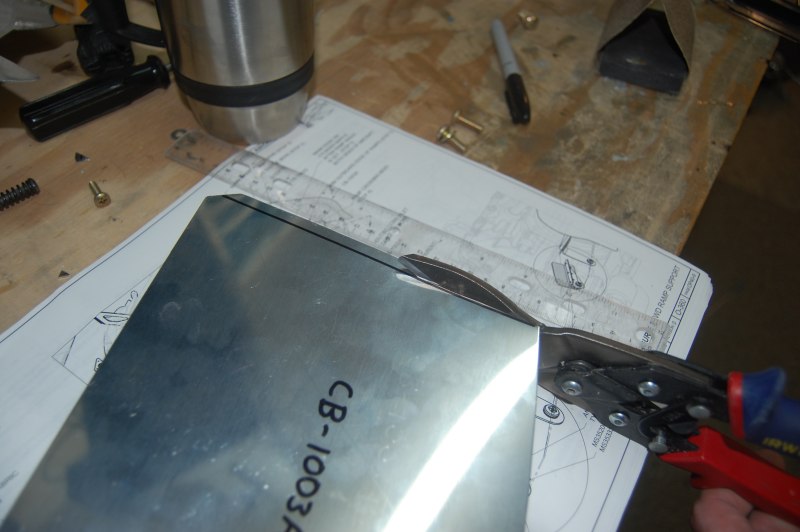
And bent it
Bent the side piece
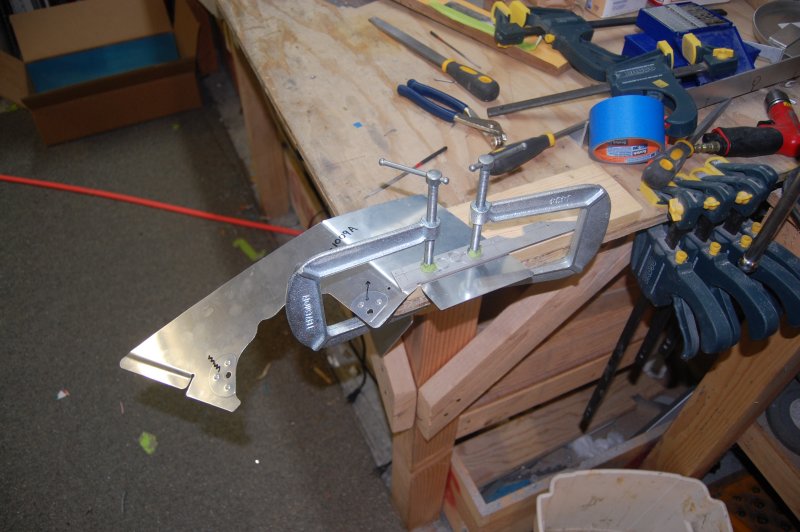
Getting there
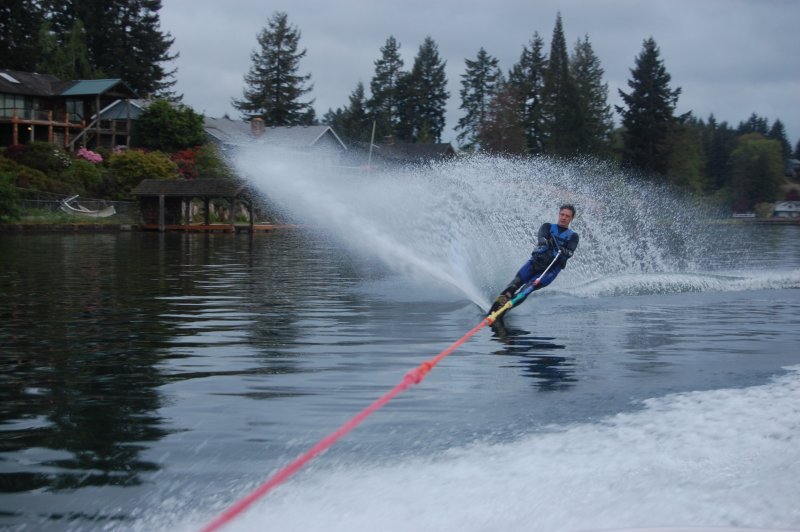
Hey Lake Tapps is full and water ski season has officially started. The water is freezing though!
Back