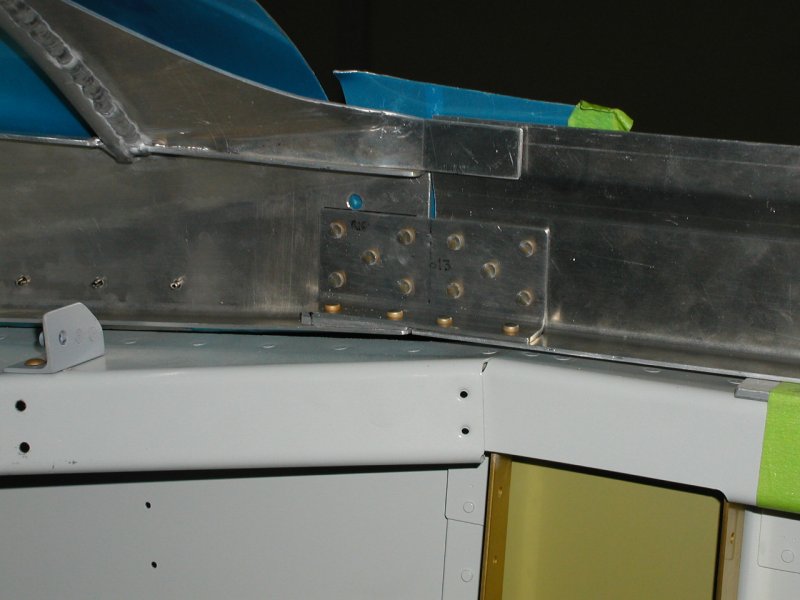
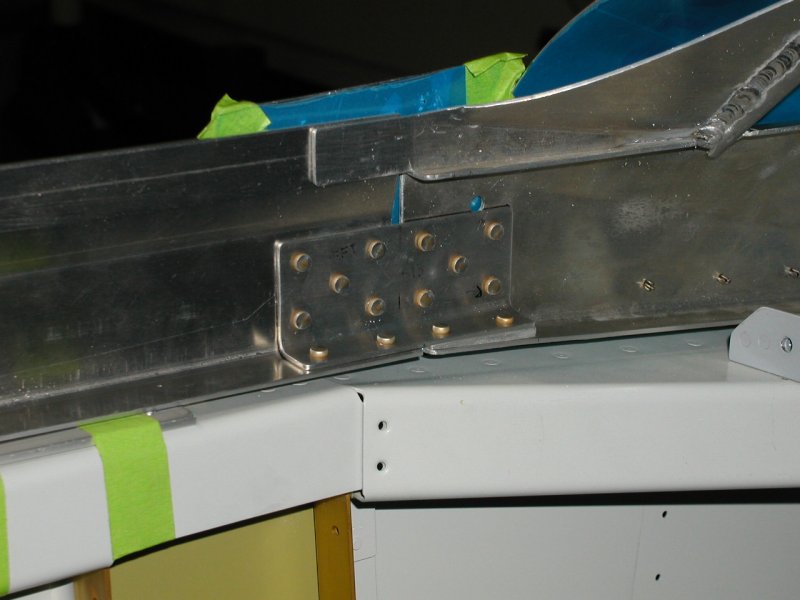
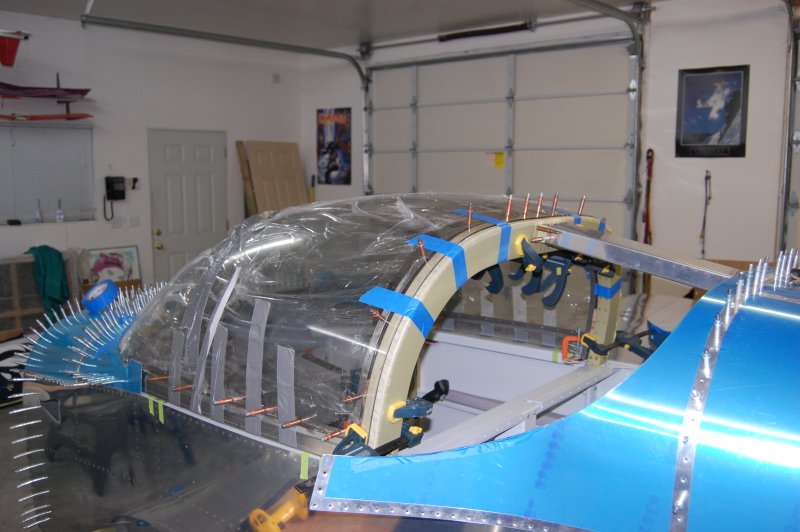
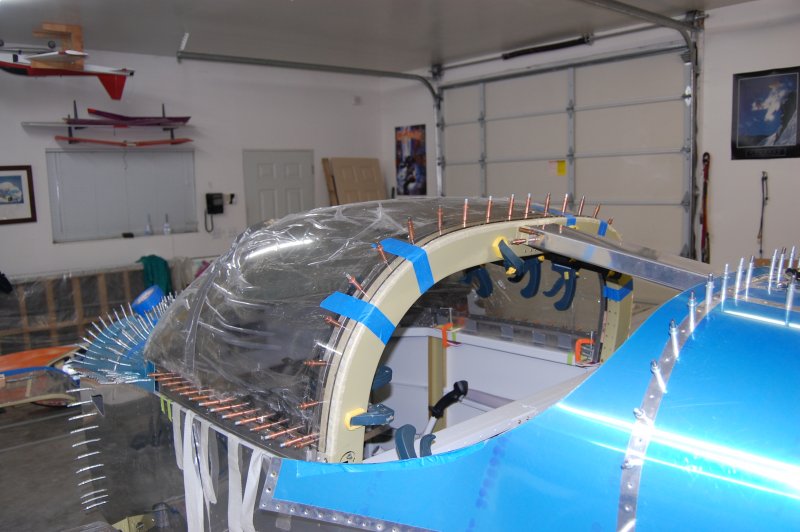
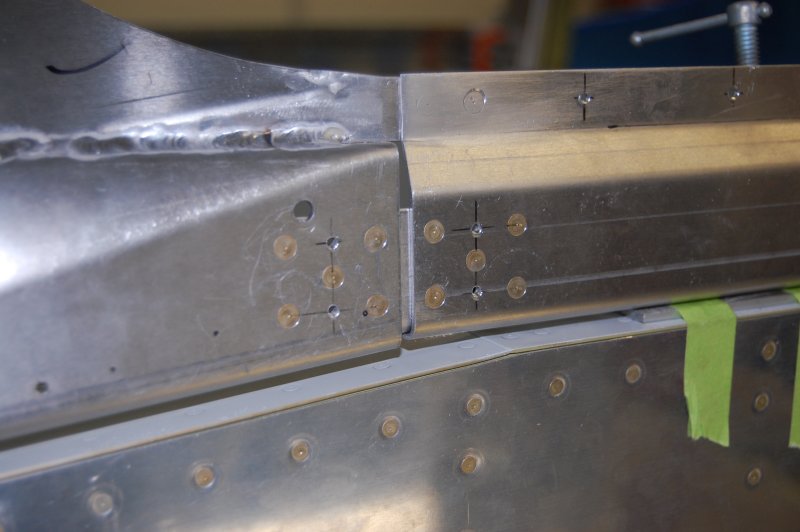
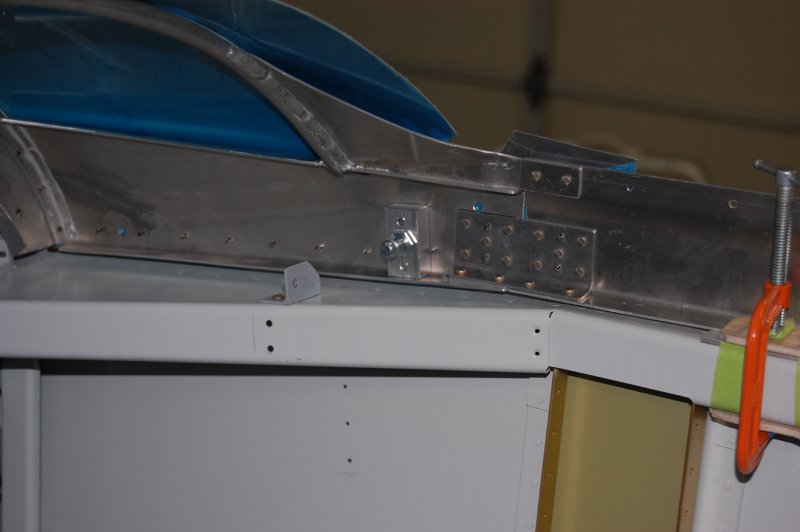
Riveted the front canopy attach plates
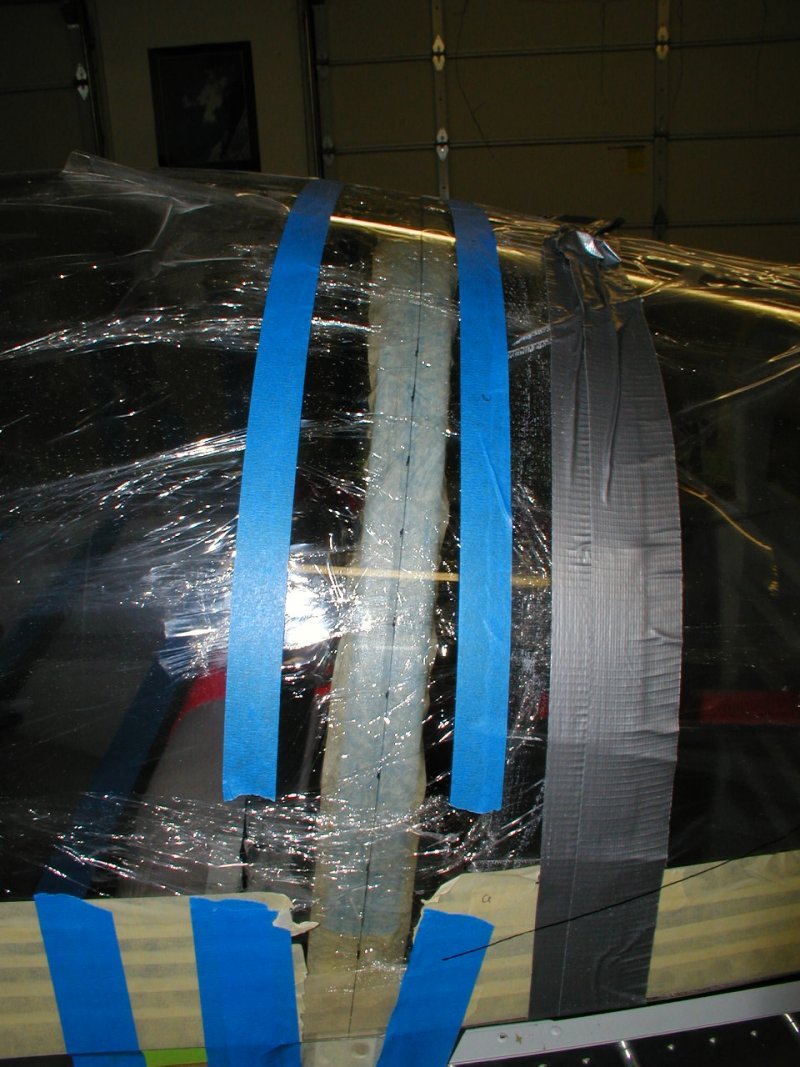
Trying to find the center line

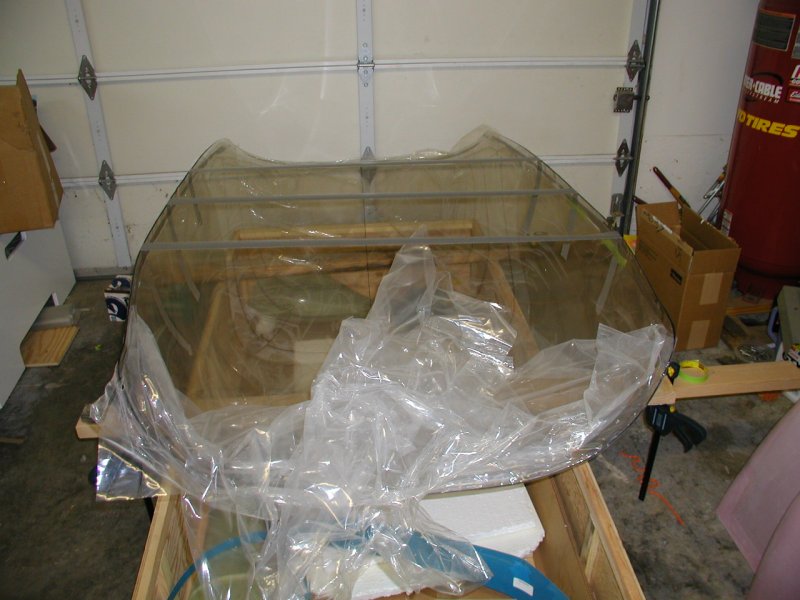
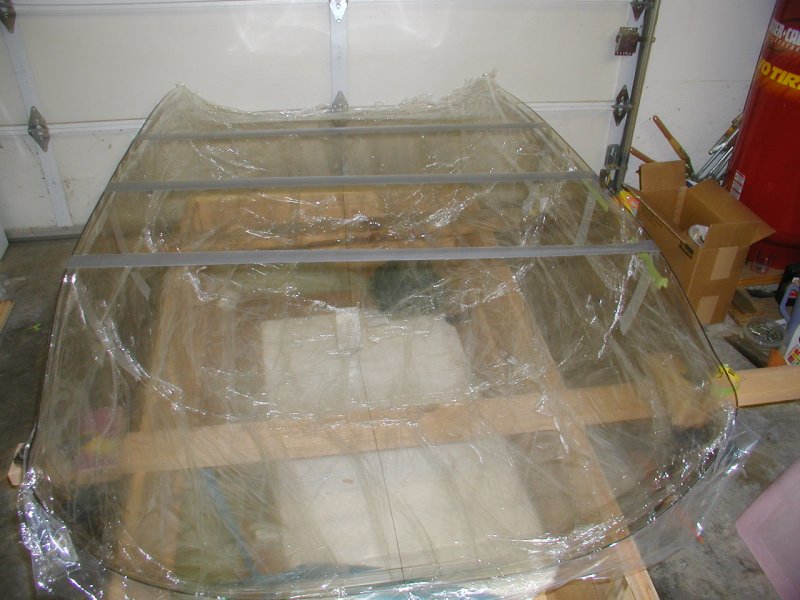
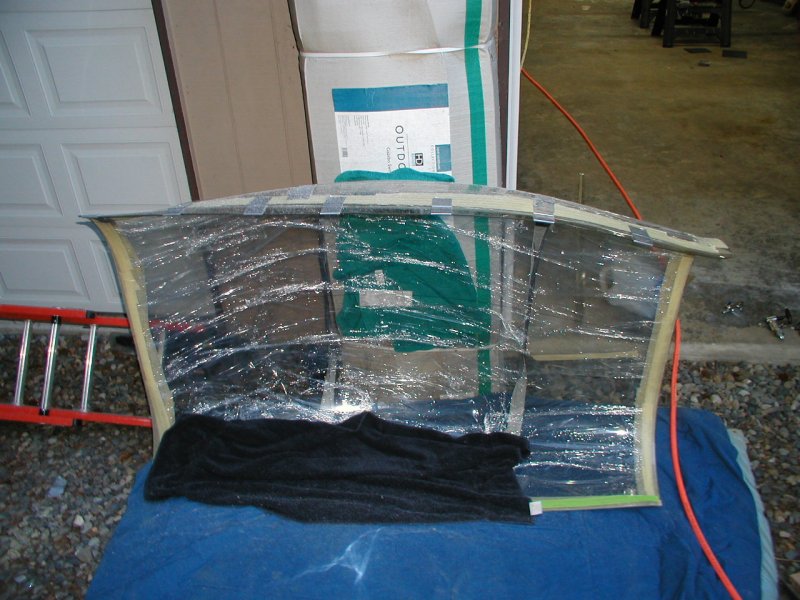
The majority of the inside protective plastic had sagged off from sitting, so I decided to pull it all off and redo it with plastic wrap
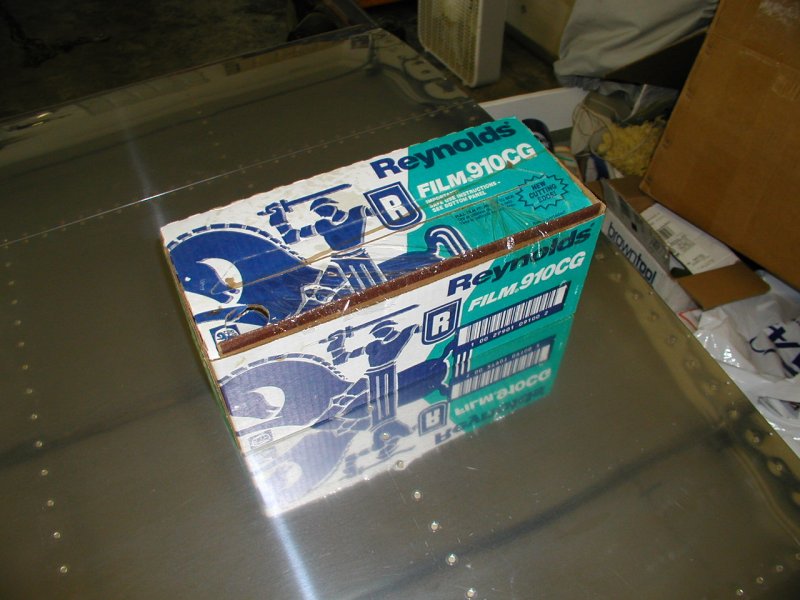
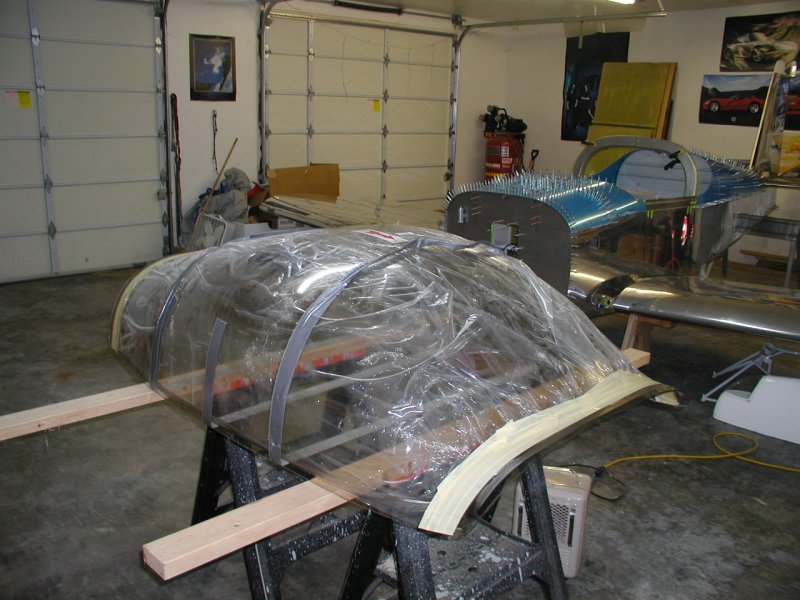
Duct taped it together to add strength
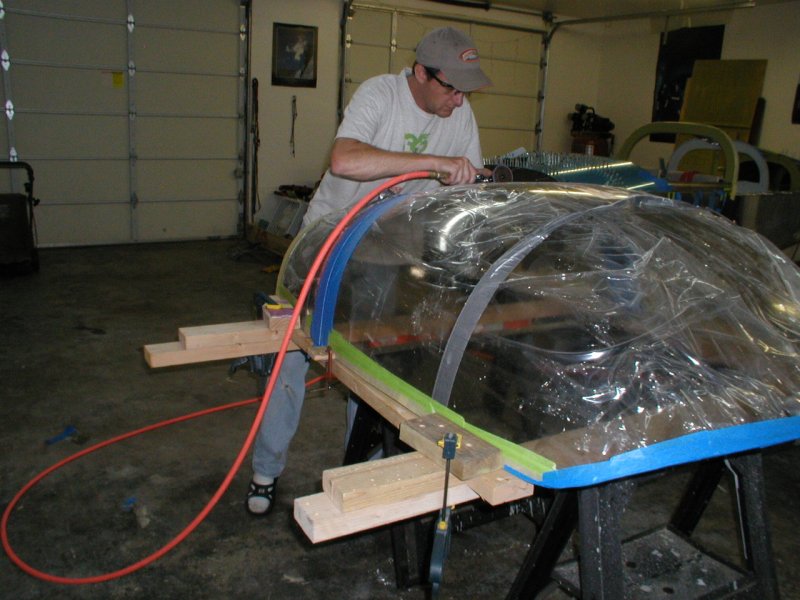
Heated the shop up to 80F in preperation for cutting
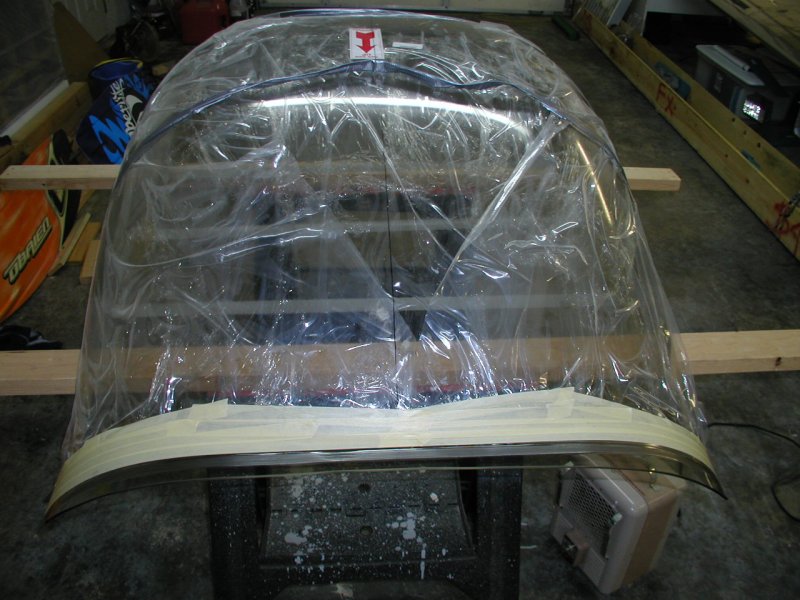
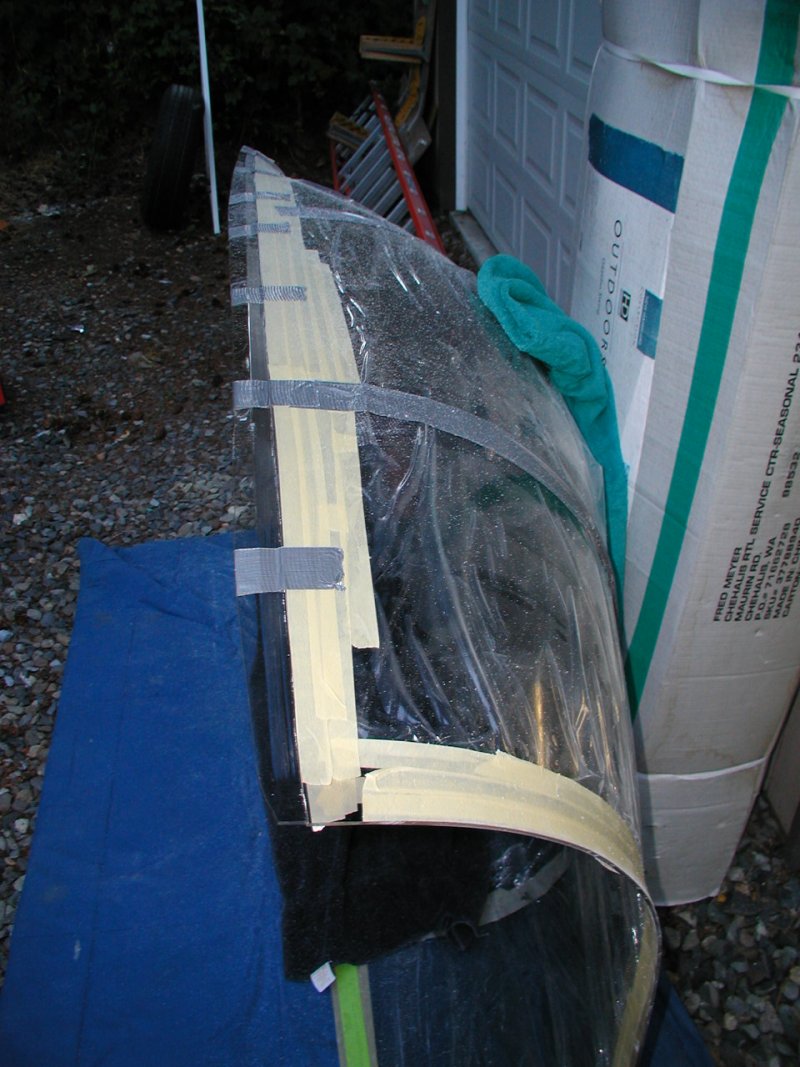
Each edge has a factory clamp mark from when the canopy was formed. Here is the front taped off for cutting.
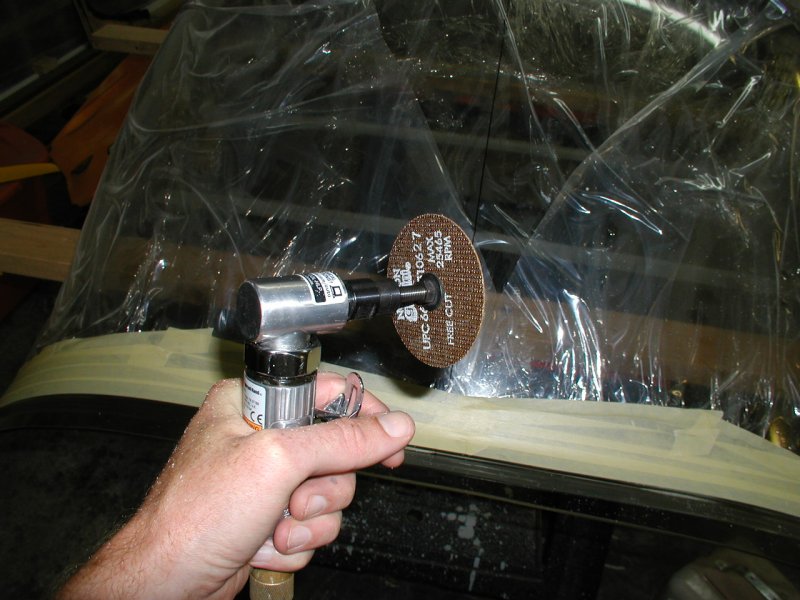
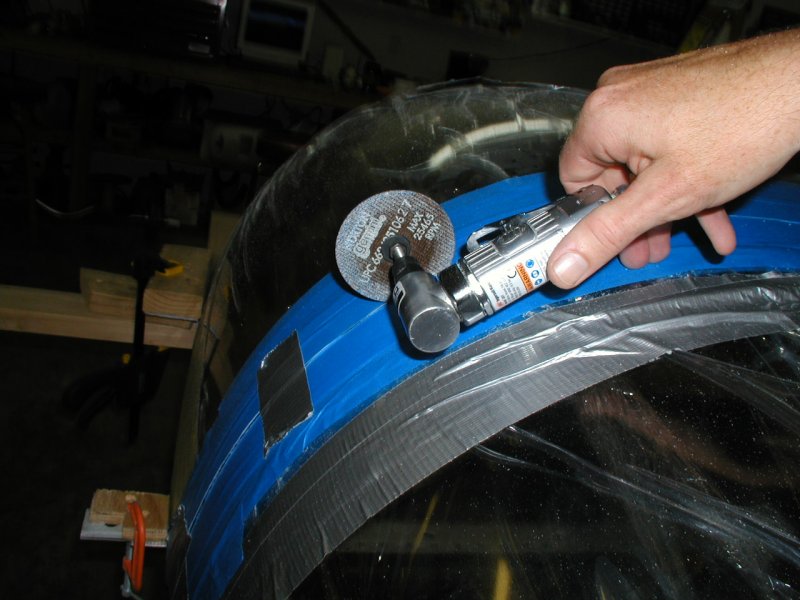
Van's supplies 2 off these cutoff wheels with the kit. Nice!
My very first test cut. Seems pretty easy.
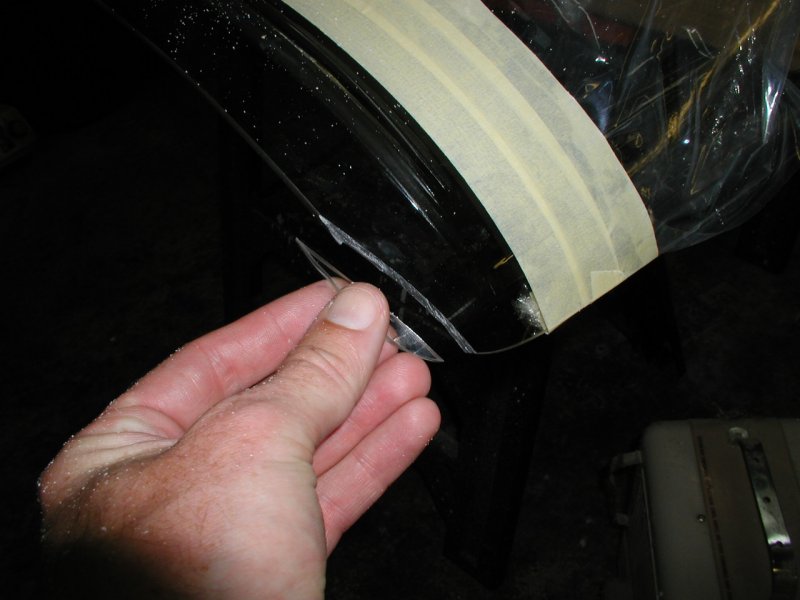
Here is the first full cut. As recommended I taped as I went along so there was never a load on the plexiglass.
Now the sides. Worked out good time wise because today it was 80F outside.
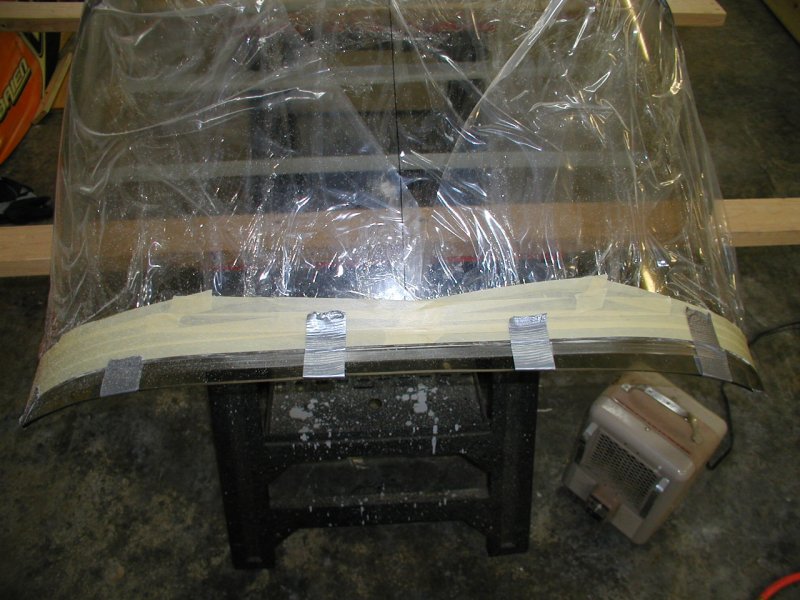
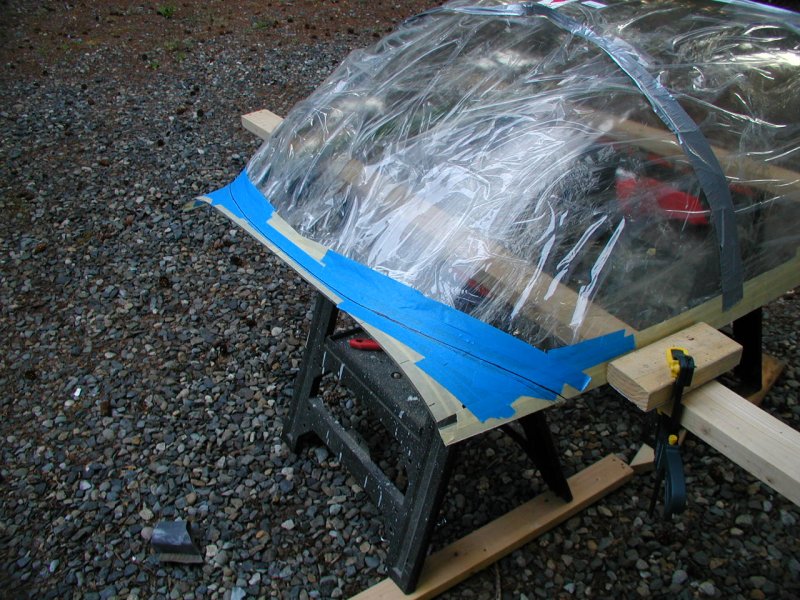
Here is the first real trim to fit the front deck
Marking the centerline of the rollbar in preperation for the "Big Cut"
Here we go
Nice!
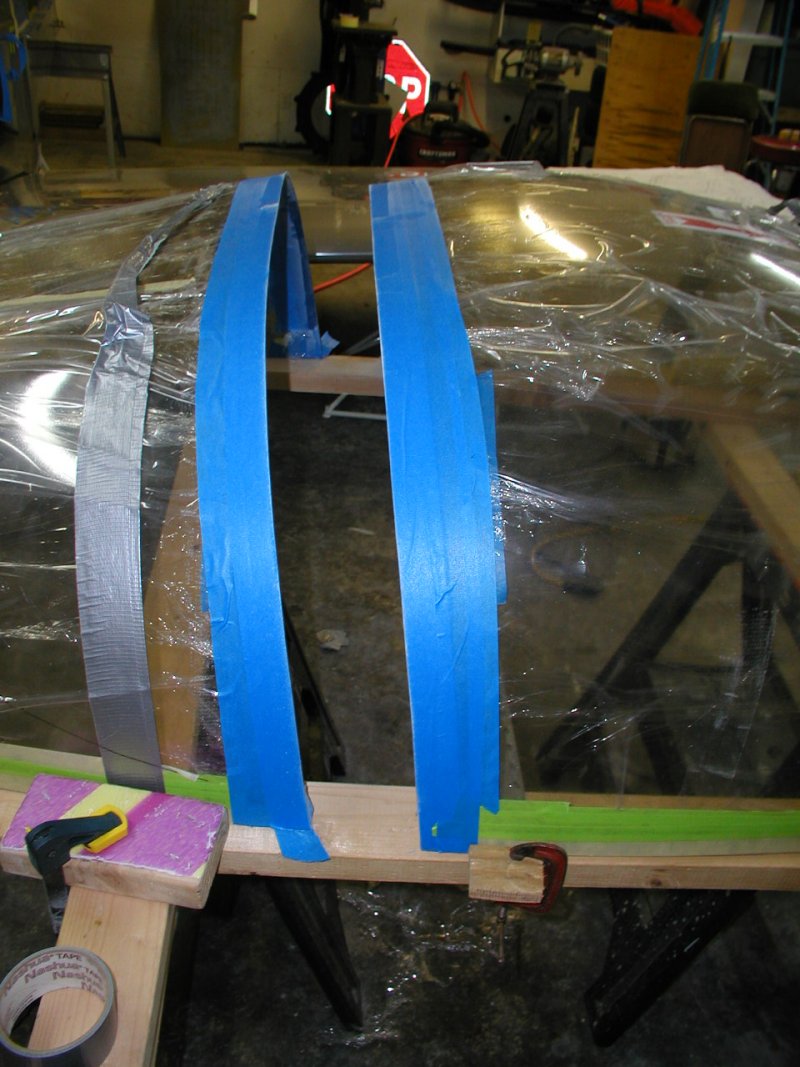
Turned out great. Whew! Pretty stressfull!

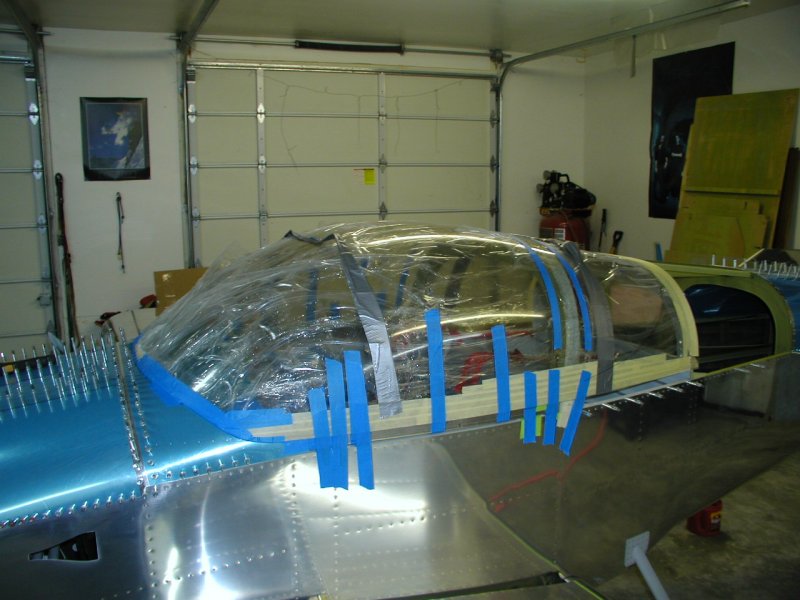
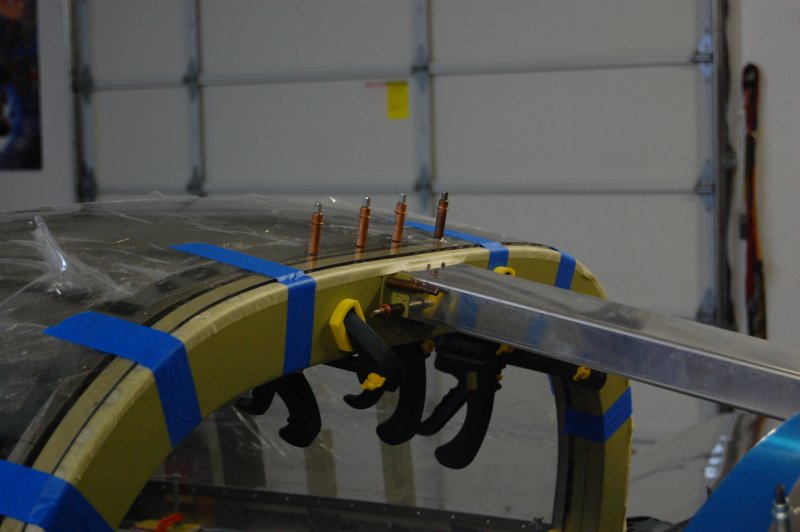
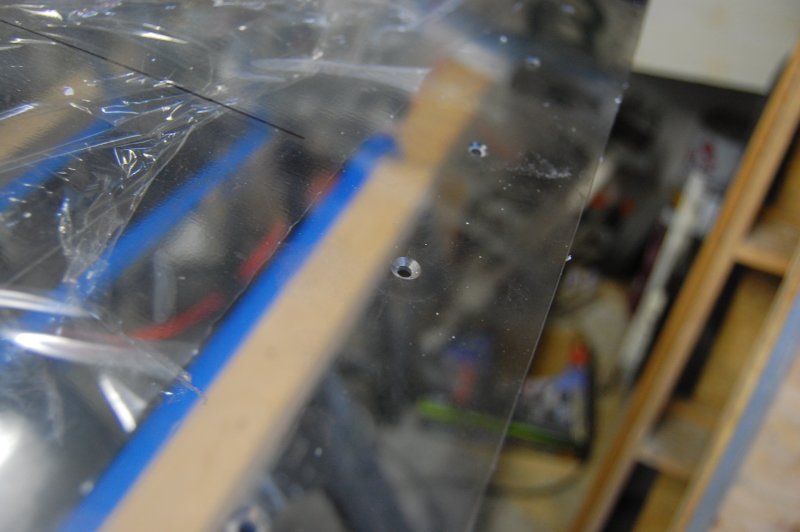
With everything in position and the shop over 80F, I nervously started drilling the plexiglass to the frame and side rails. Since the frame and side rails are drilled to #40, you eyeball and drill #30 though the plexi and through the existing #40 holes.
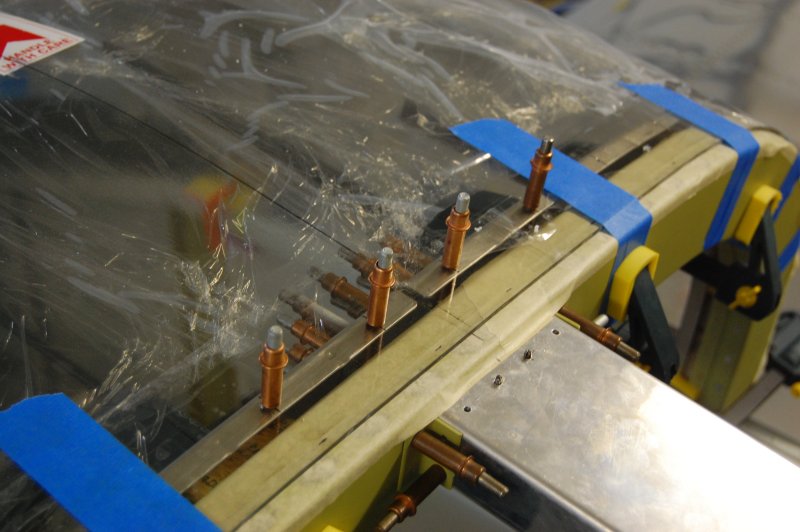
On to countersinking. This turned out to be quite time consuming. The weather was warm so I did this outside.
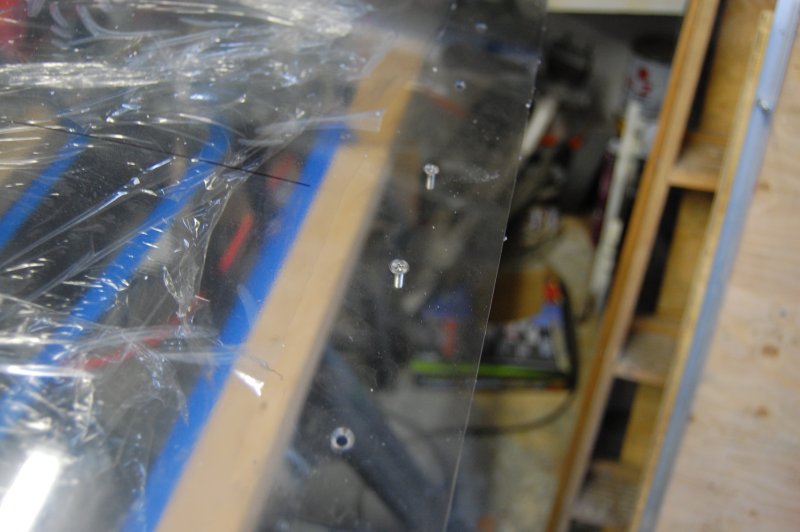
Here are some #6 screws set in the countersunk holes.
Blocks get cut out of this for the front hydraulic arm connections

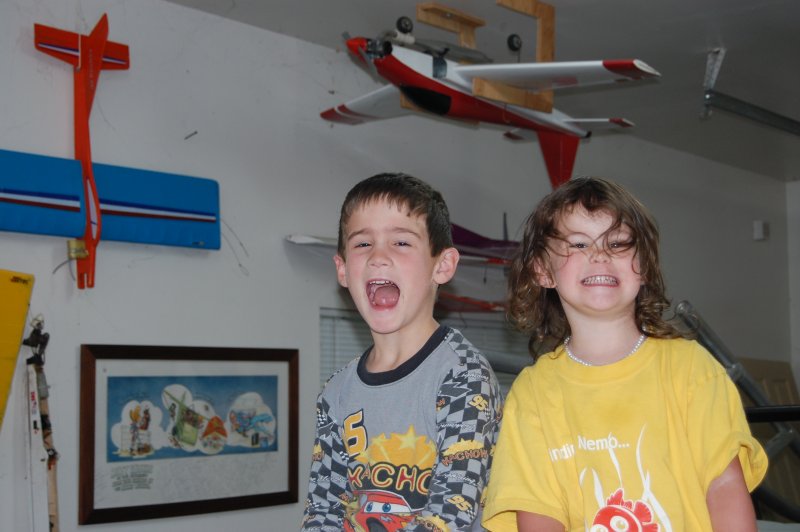
2 visitors this morning.
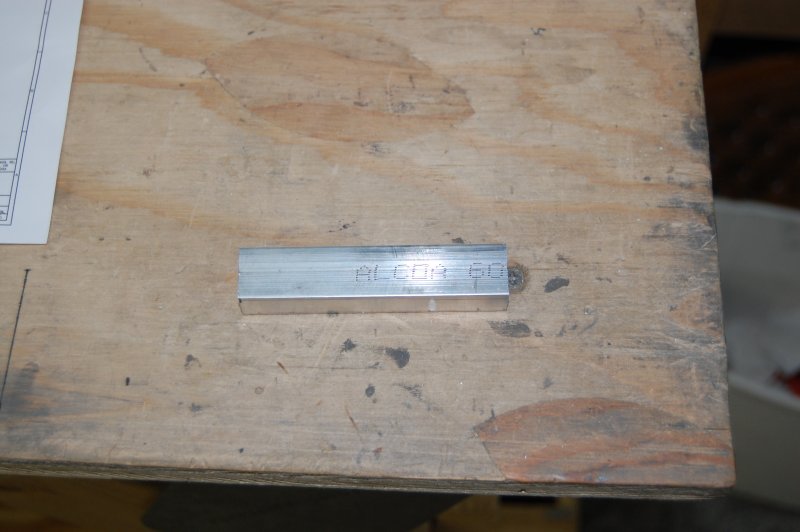
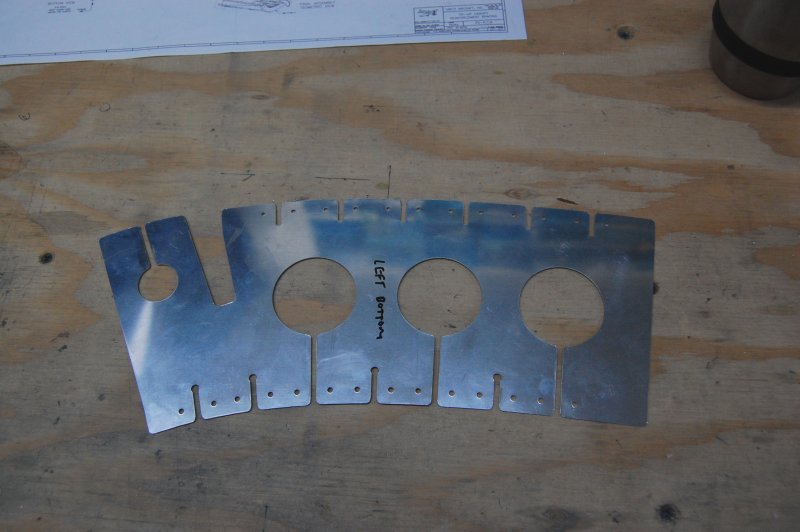
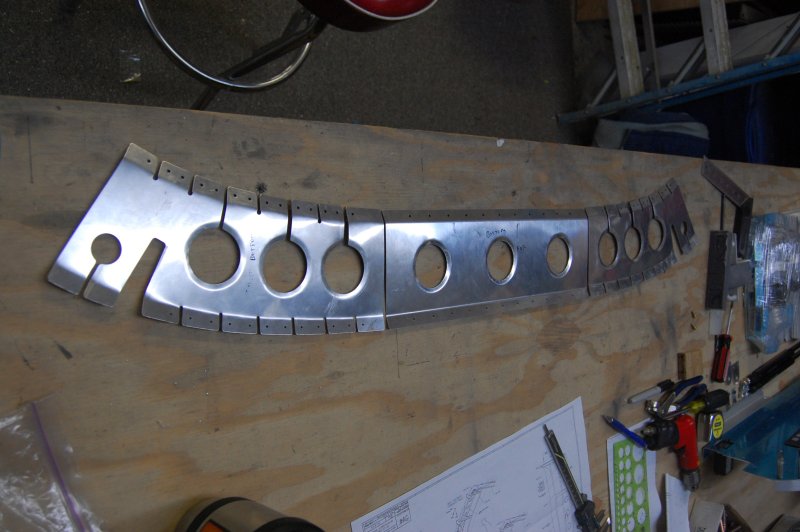
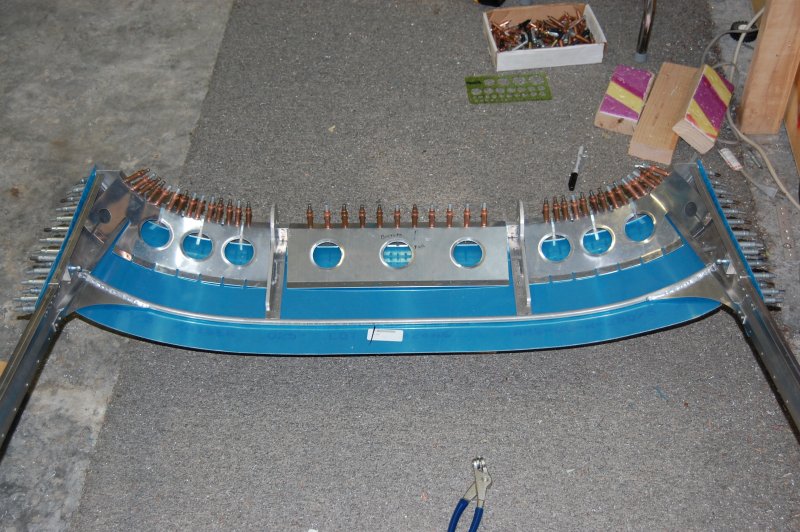
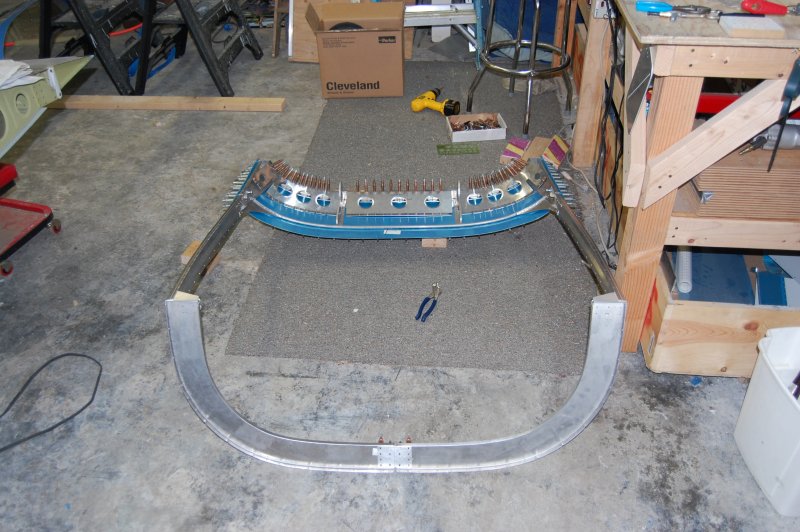
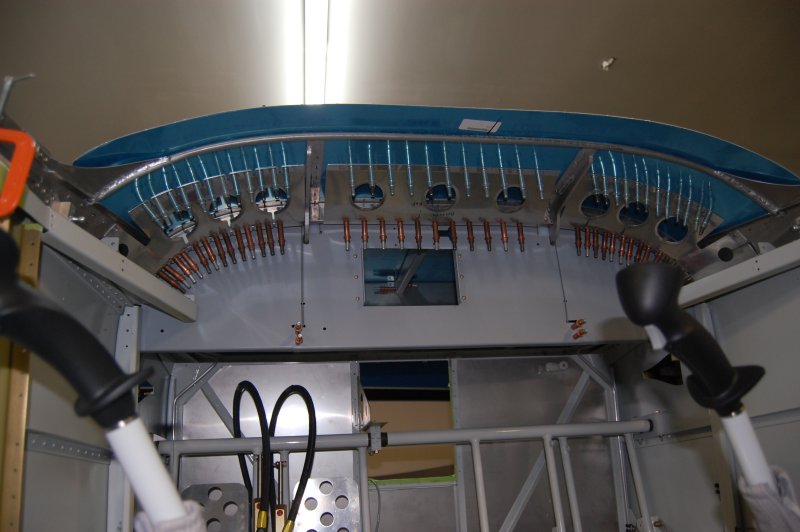
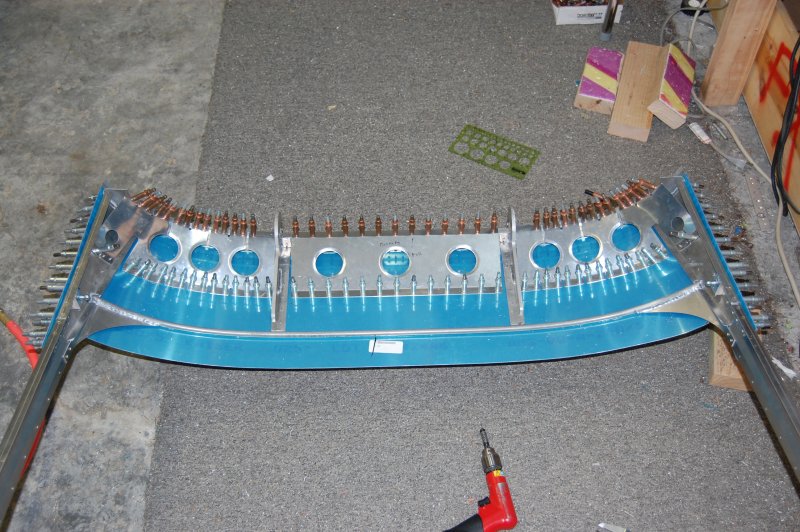
This is one of the three canopy reinforcement braces

I drilled the front on the ground
And drilled the aft flanges with it installed on the plane so it wouldn't get tweeked or something
Back