Started messing with the longerons
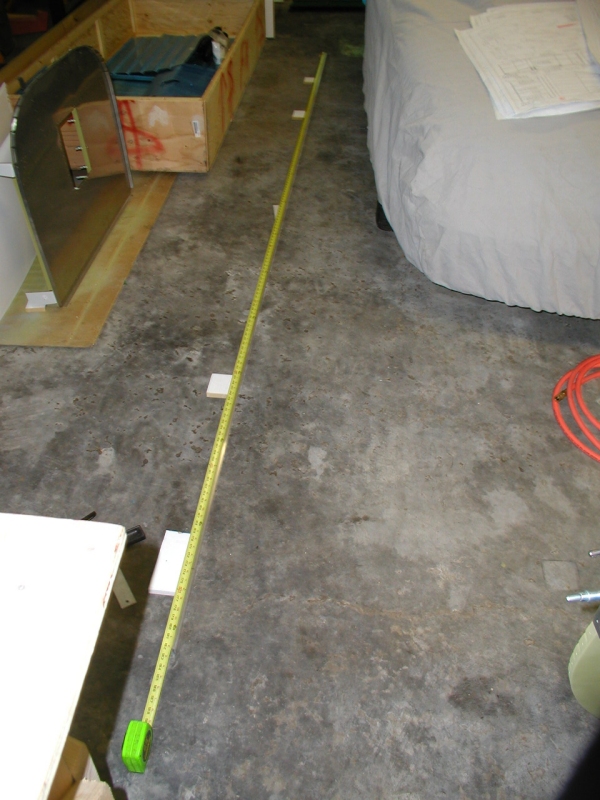
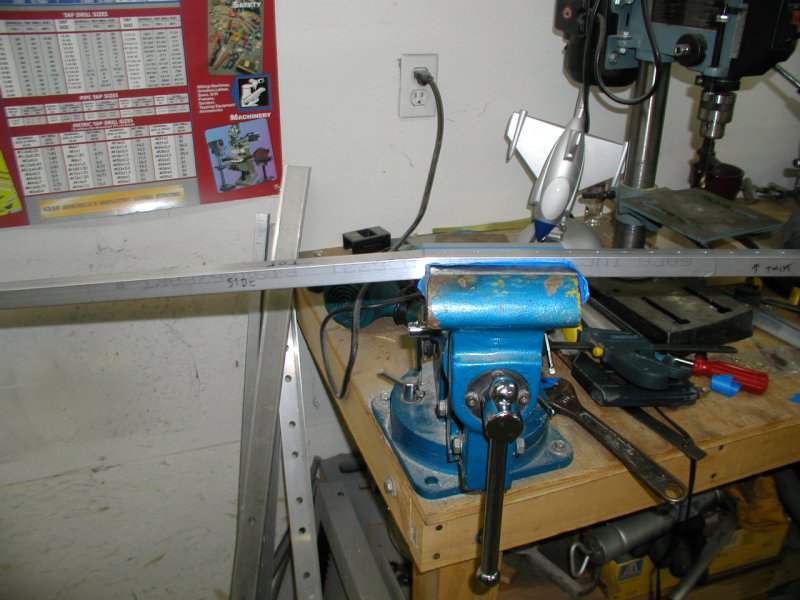
Bent the right one. This is a pain like everyone says. You clamp the longeron in position in the vice and apply a small preload in the direction of the bend with your hand. Then you wack the longeron with a rubber mallet in your other hand. Then you move it 1/2" or so and do it again. It took me about three seperate passes and several hundred whacks to get it to match the desired curve. When you bend it, it also bends in the other plane and twists. So there is quite a bit of back hand bending and twisting with a wrench to get it right. I'm going to give my hands a break before I do the left one.

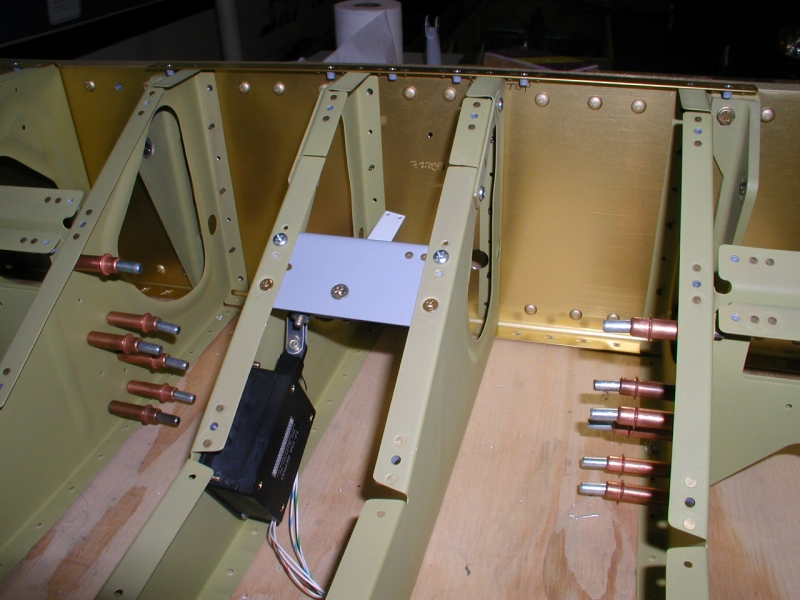
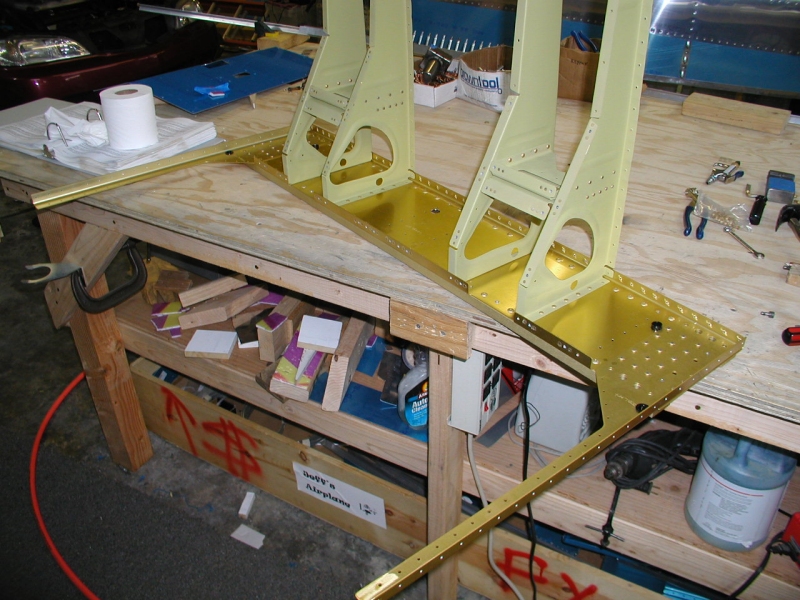
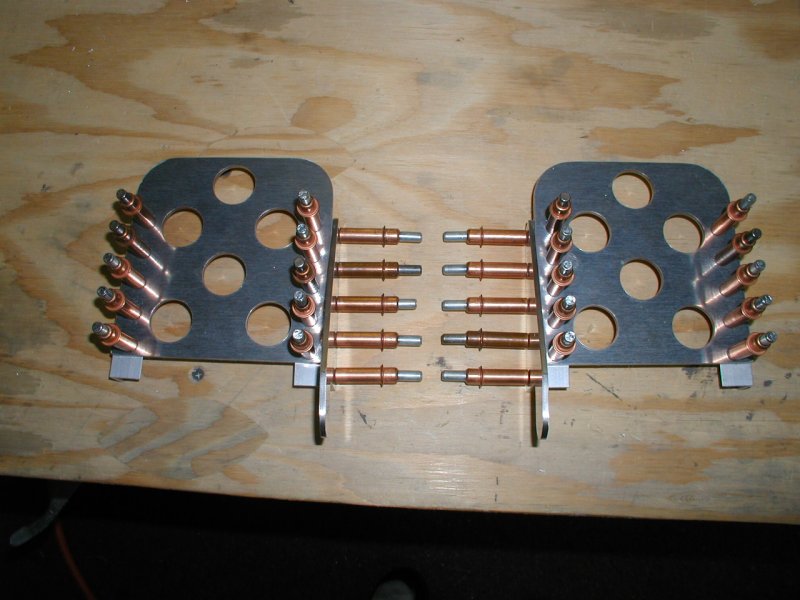
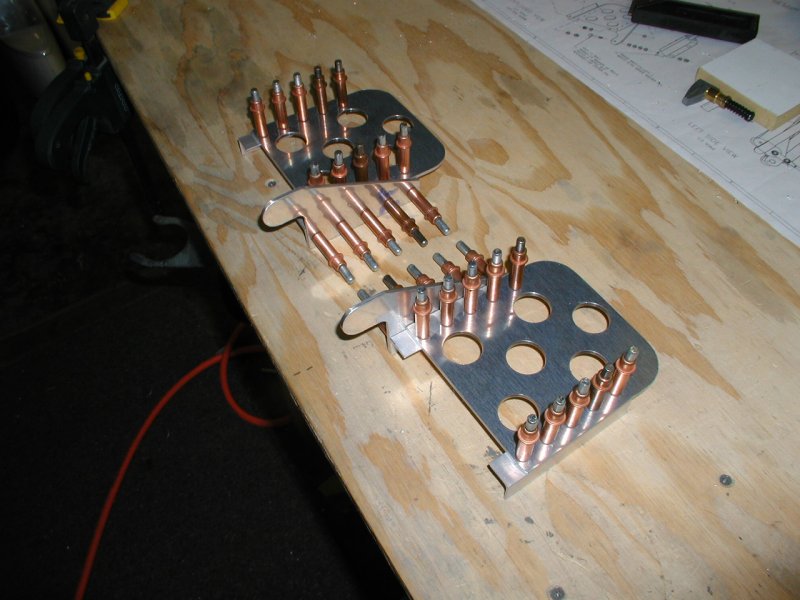
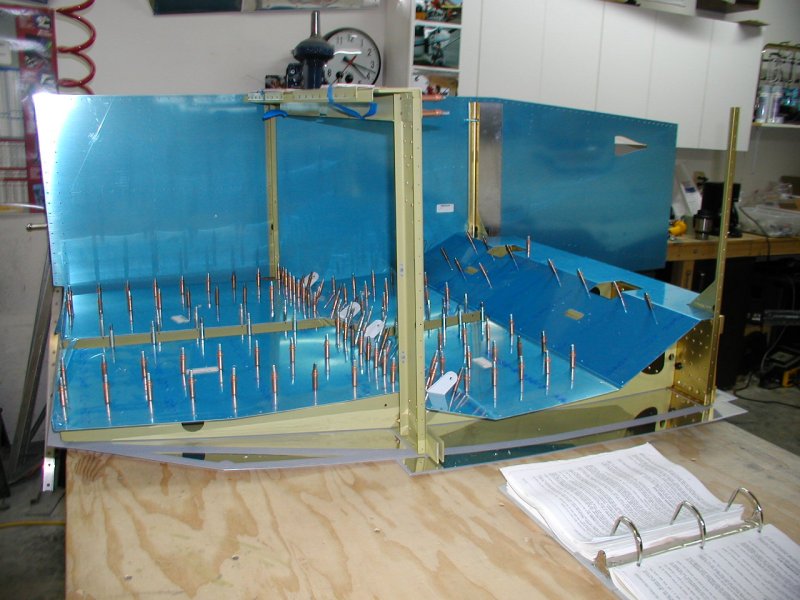
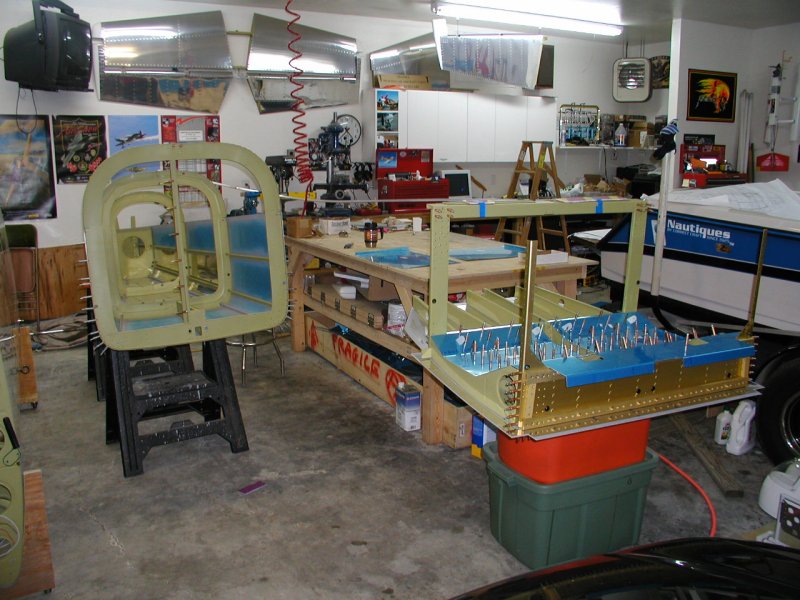
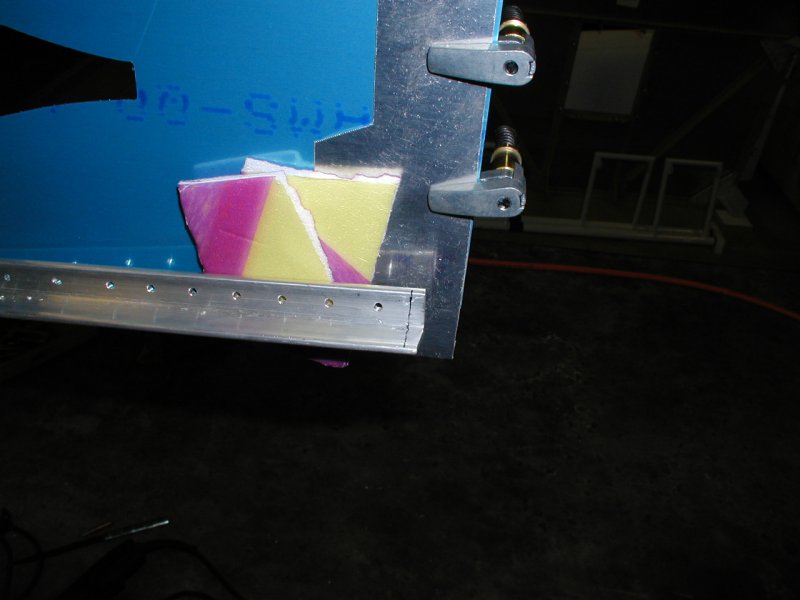
So anyway I moved on to the electric aileron trim. This bracket mounts in the middle and holds the bellcrank of sorts. The bellcrank then connects to the control sticks with springs. The only reason I'm doing this now is because if I wait until the ribs are riveted to the spar, it will be tough and I'd need a small angle drill or something to get in there.
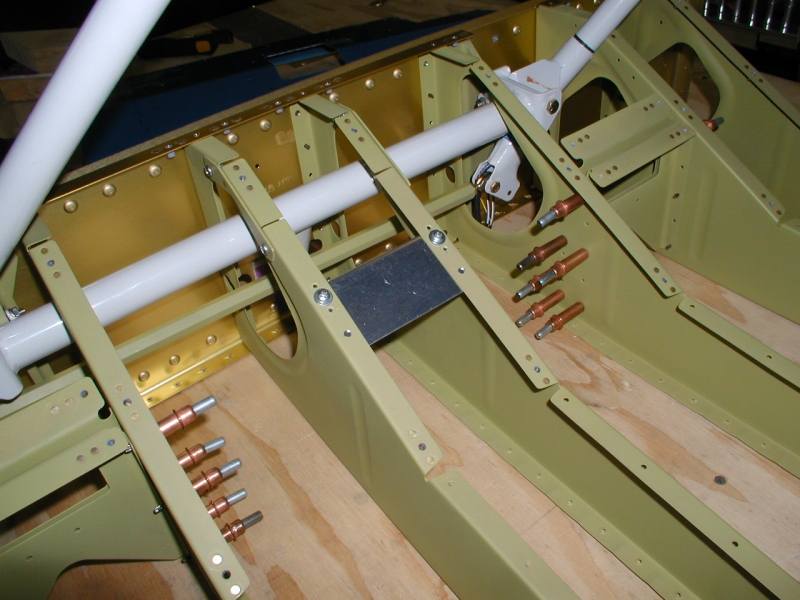
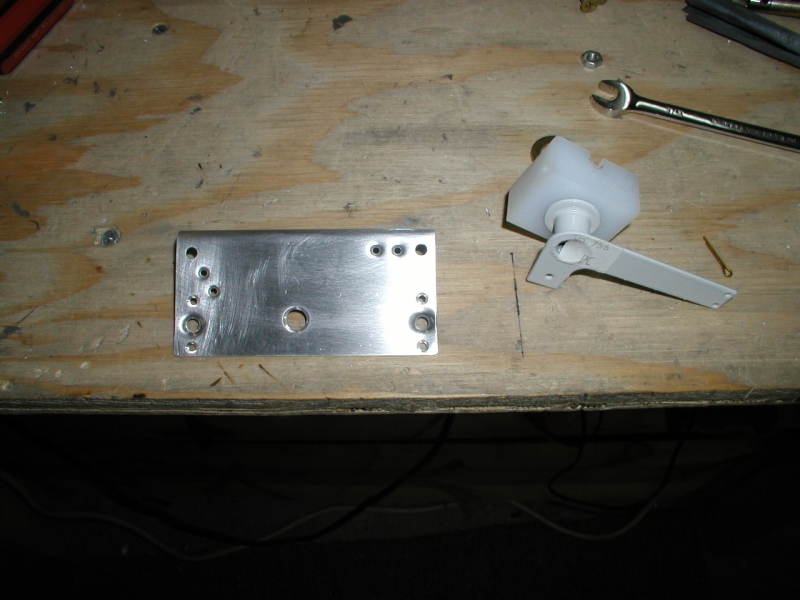
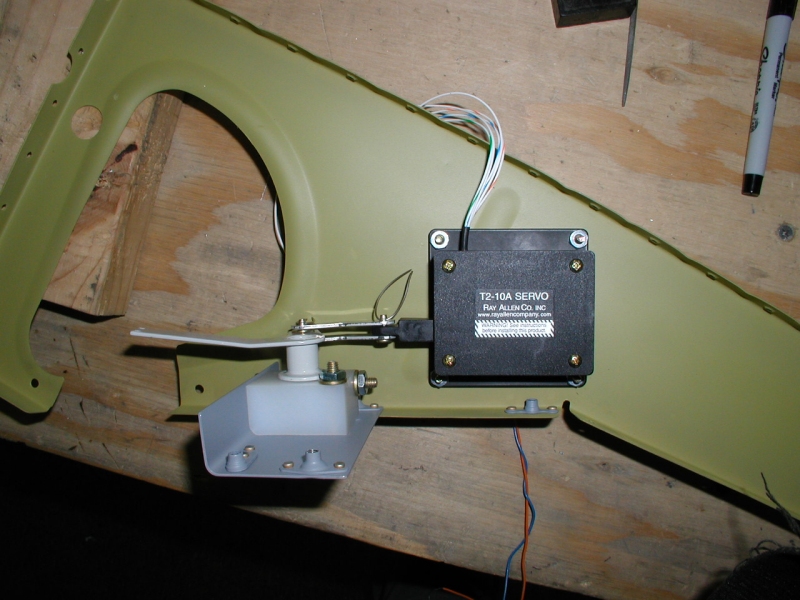
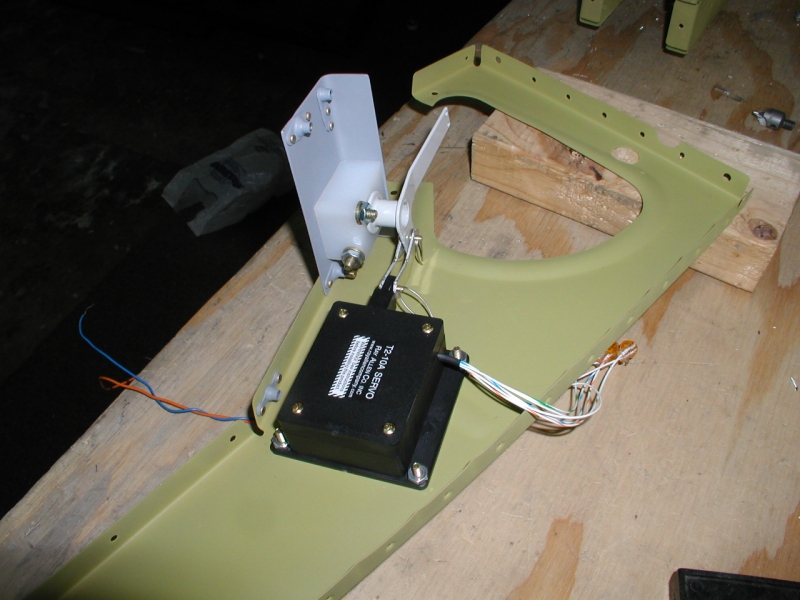
Doesn't look like much, but I probably have 4 or 5 hours into this thing. Lots of measuring, drilling, deburring, dimpling, and countersinking. Looks and works great though.
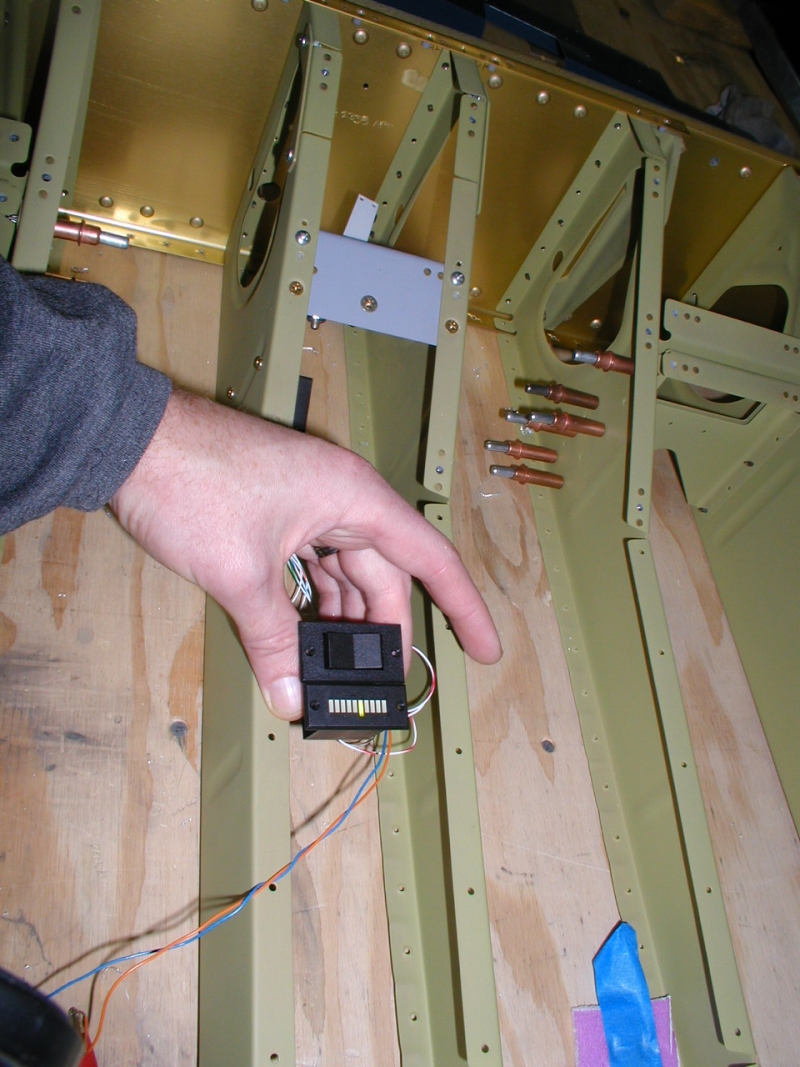
Here it the switch and the position LED that mounts on the panel. I will parallel the switch with the joystick hat switch.
Back to riveting again
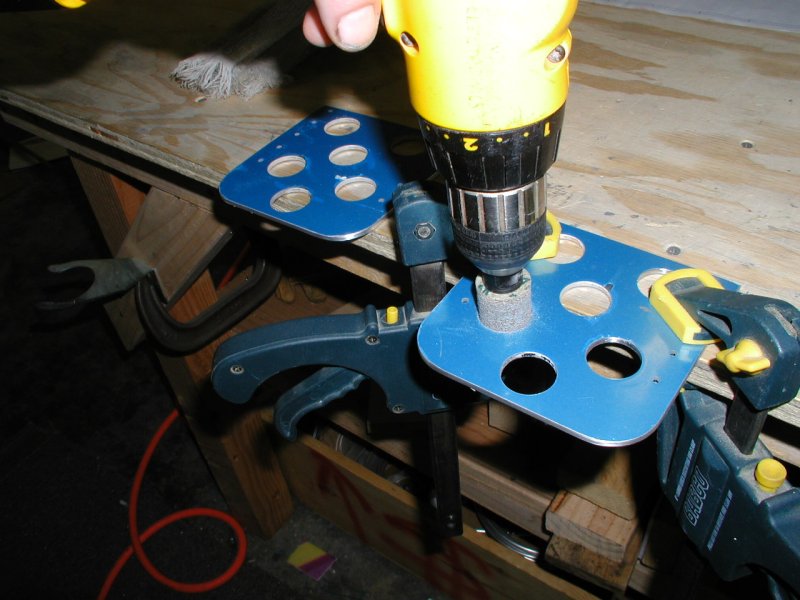
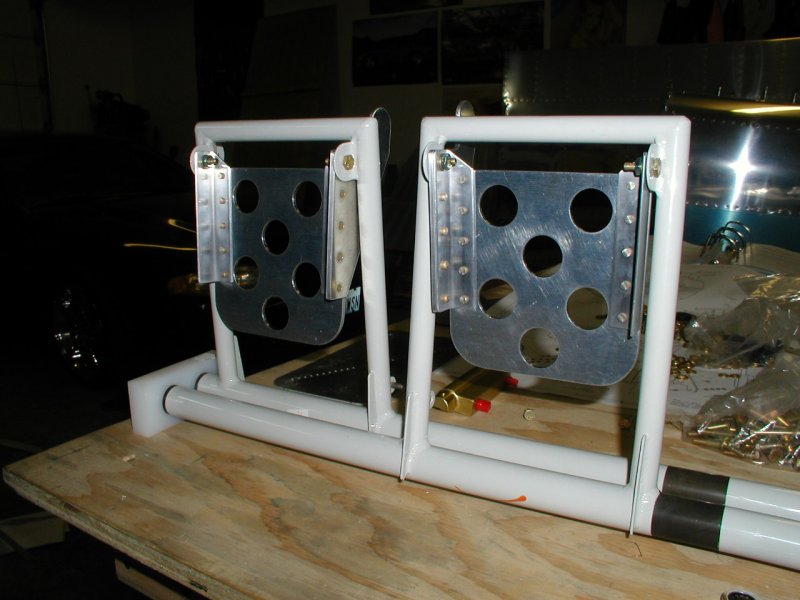
Started working on the brake pedals.
Temporarily bolted in place. Upside down shown from the back side.
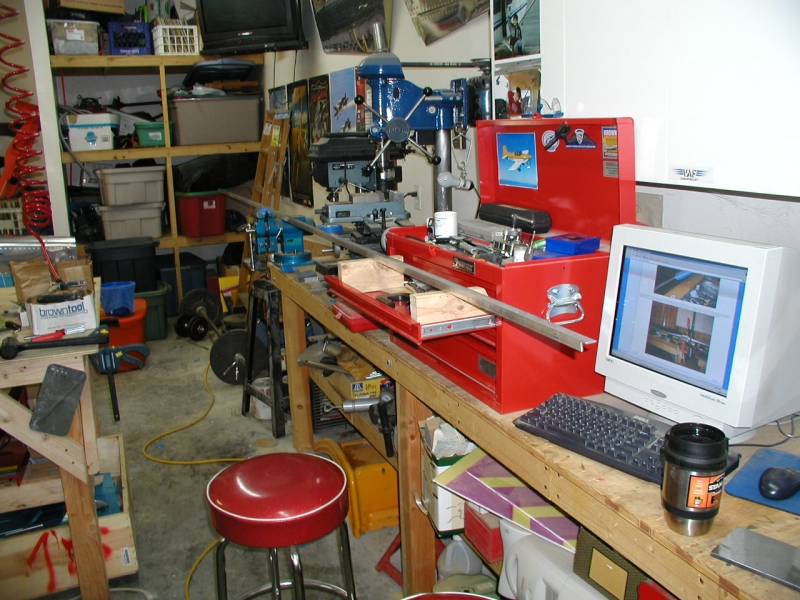
More work on the right longeron.
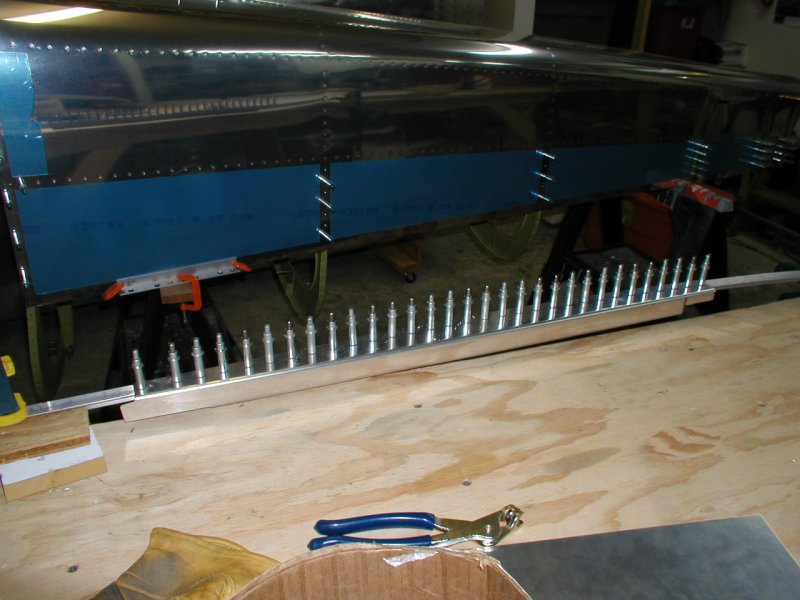
Getting ready to rivet
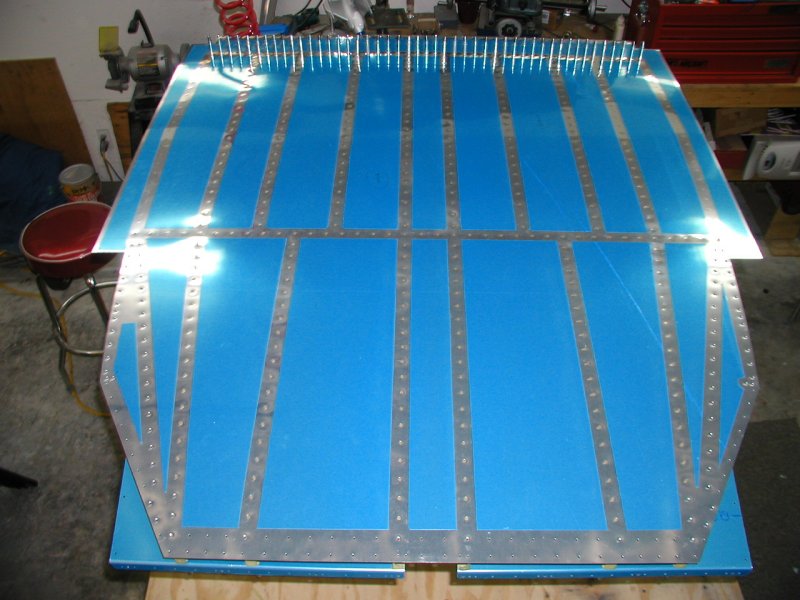
Ready to rivet
Robert came over and we banged this thing out in just under 2 hours and it turned out great!
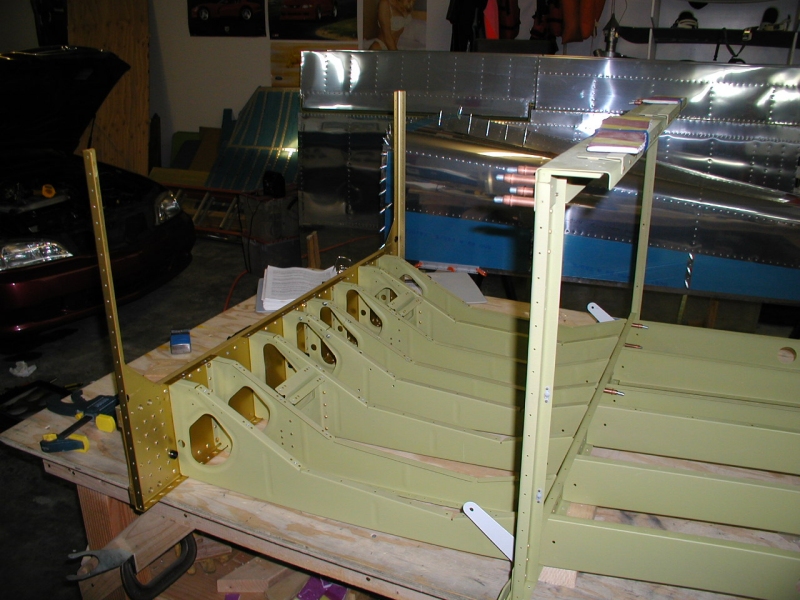
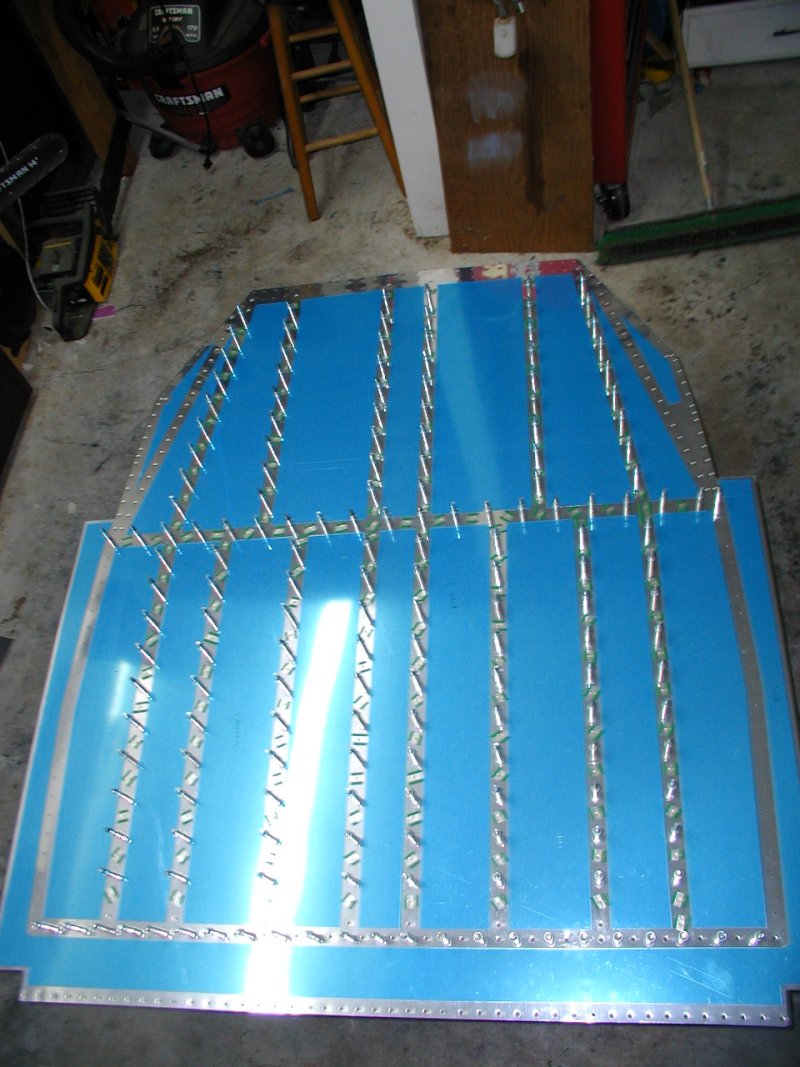
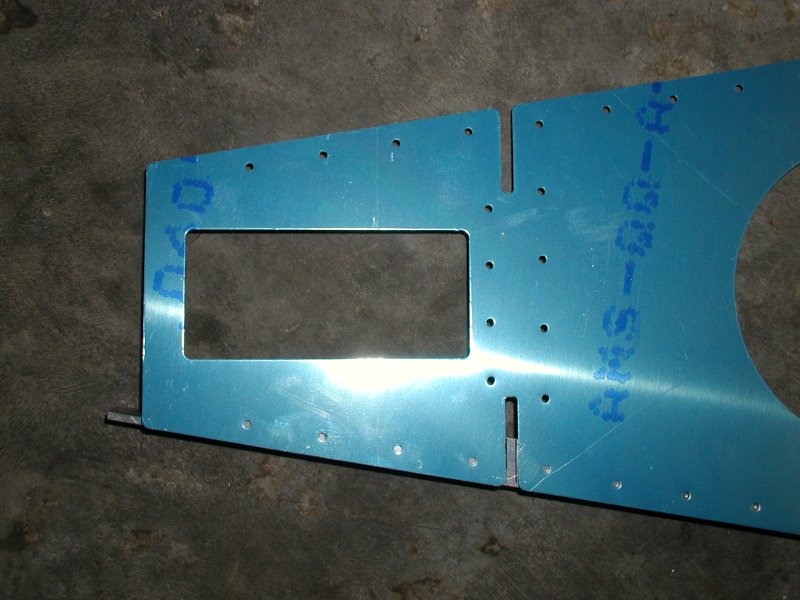
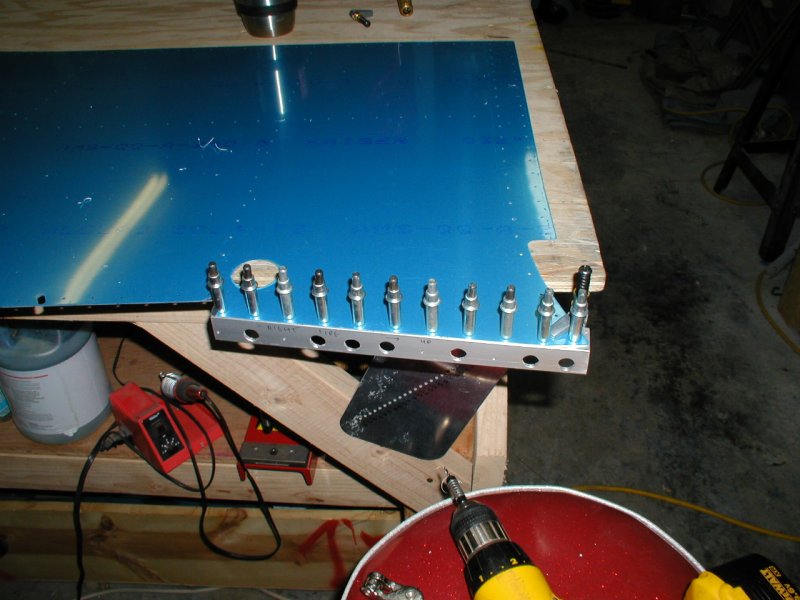
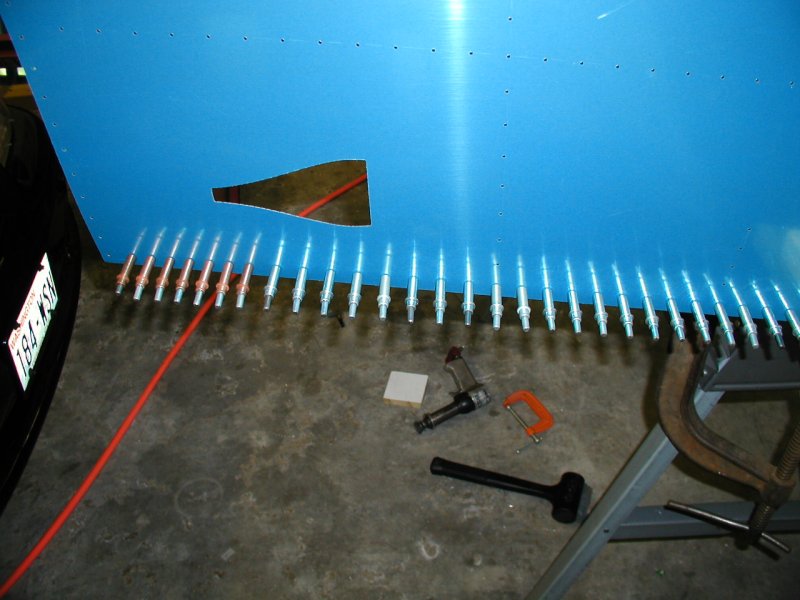
I installed the seating area and baggage area skins and match drilled them.
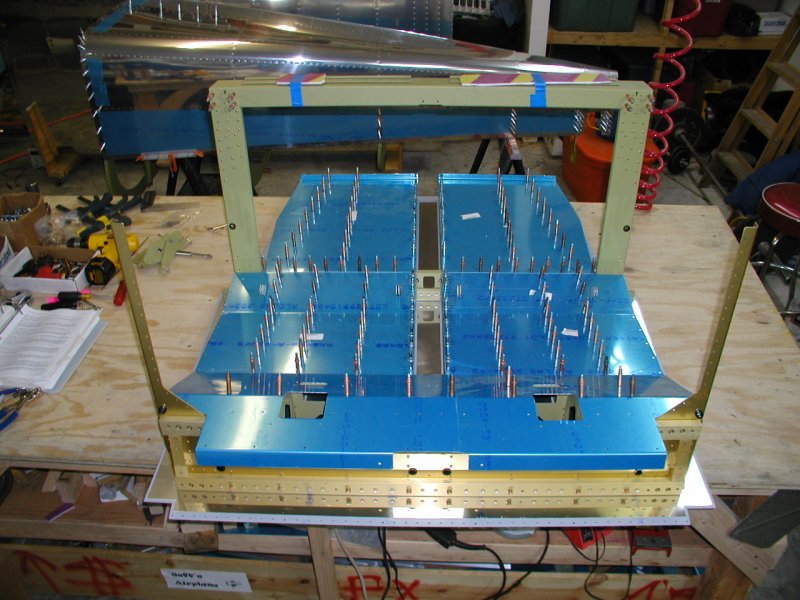
These edge seating ribs are not pre-punched and have to be drilled.
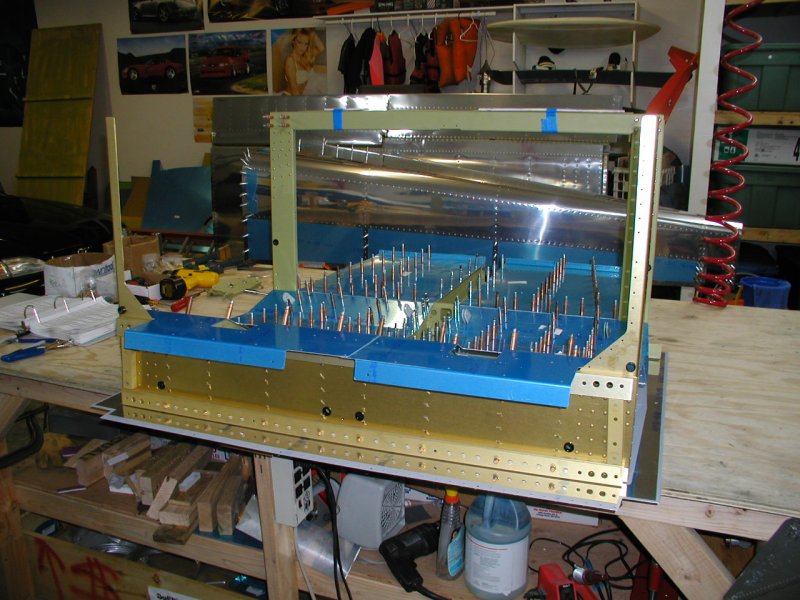
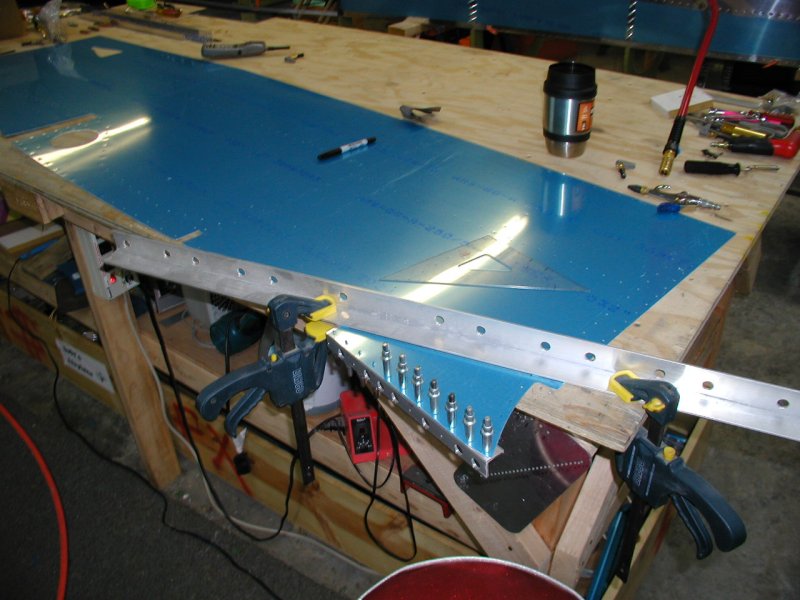
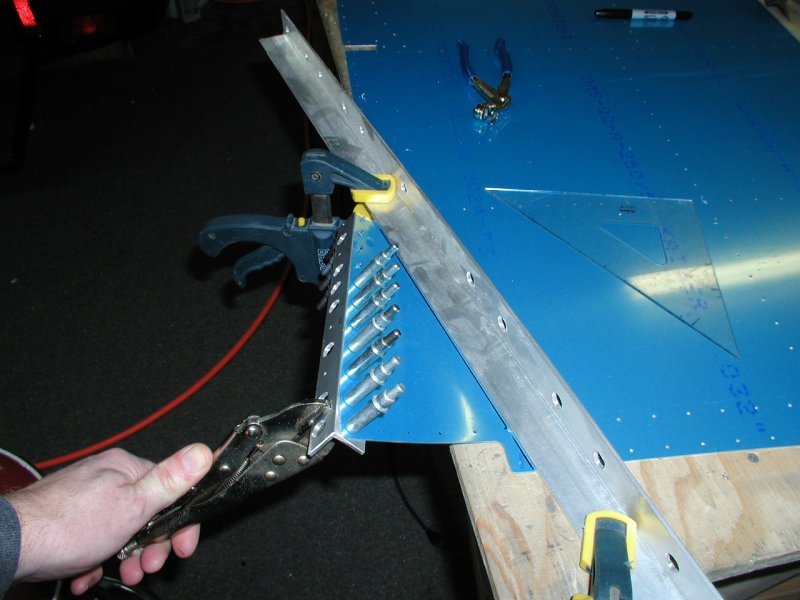
I temporarily installed the side skin to check the alignment of the edge seating rib.
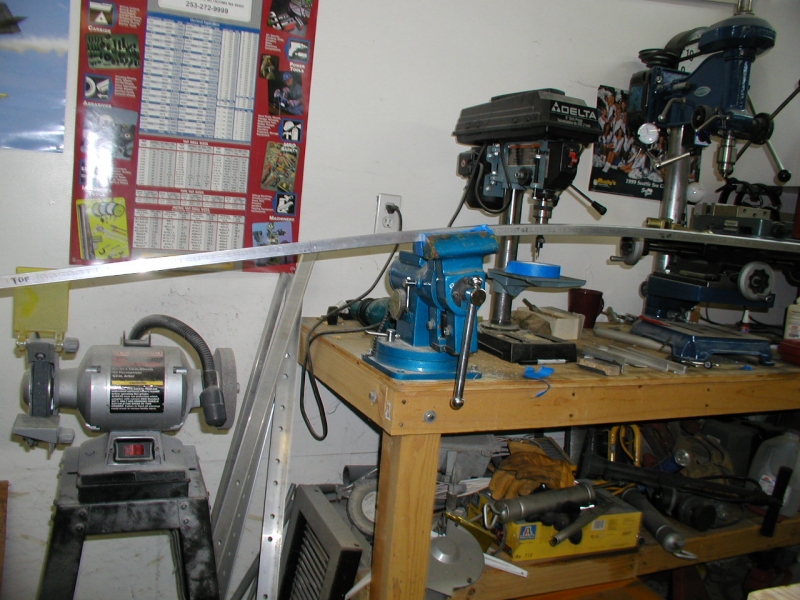
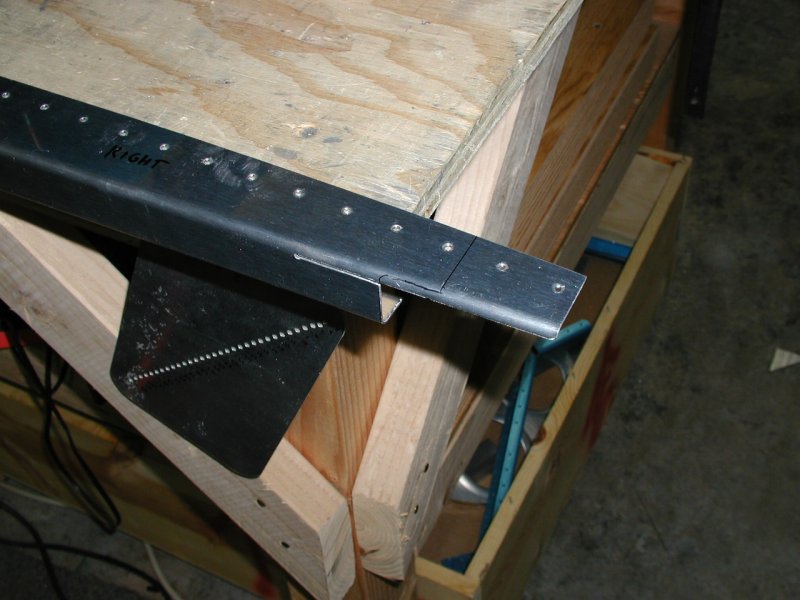
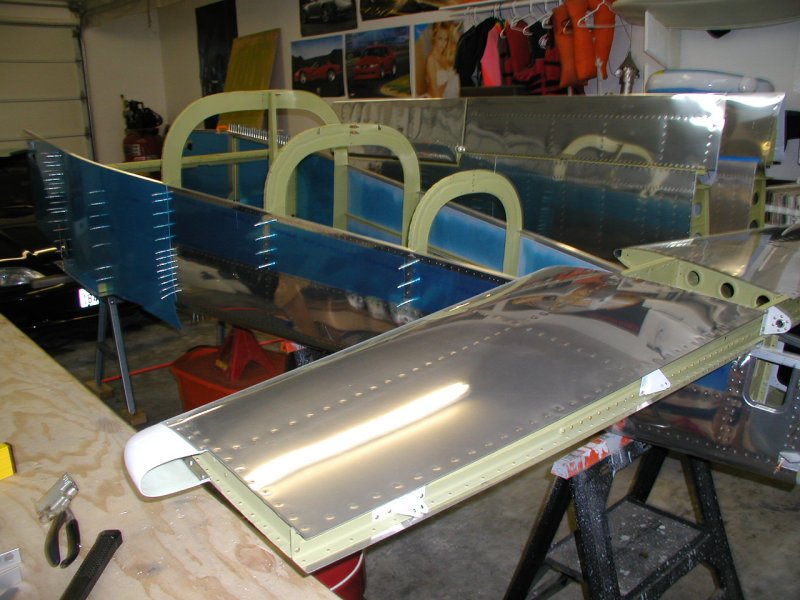
Well here they are with the exception of the sharp downward bend and the front twist. I have not had a good time with these things and can't wait to be done with them.

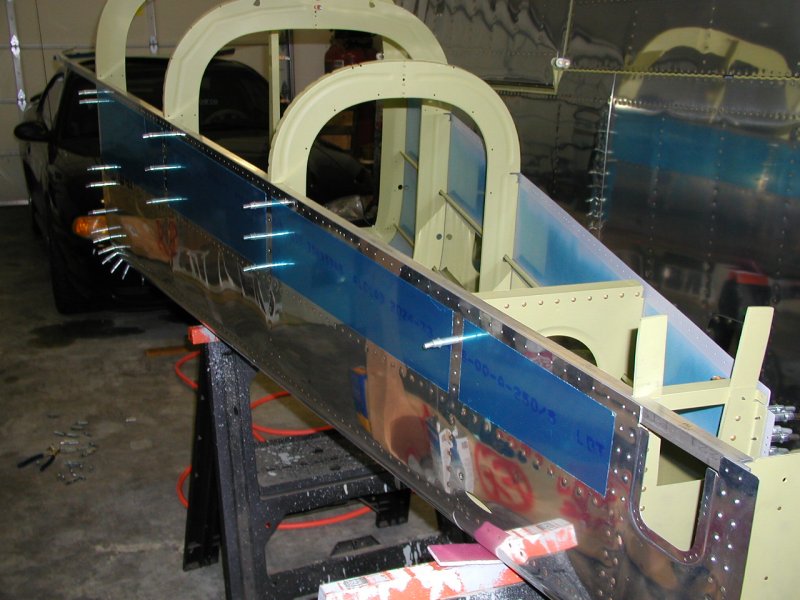
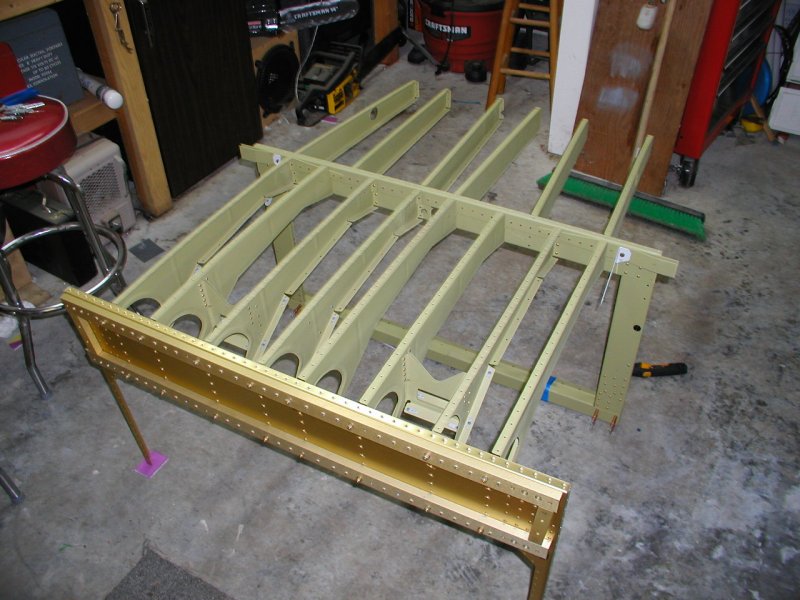
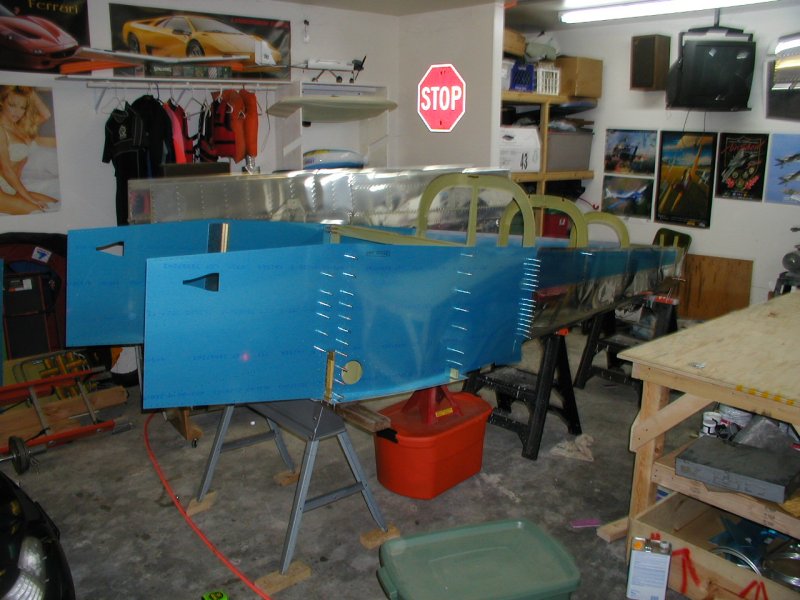
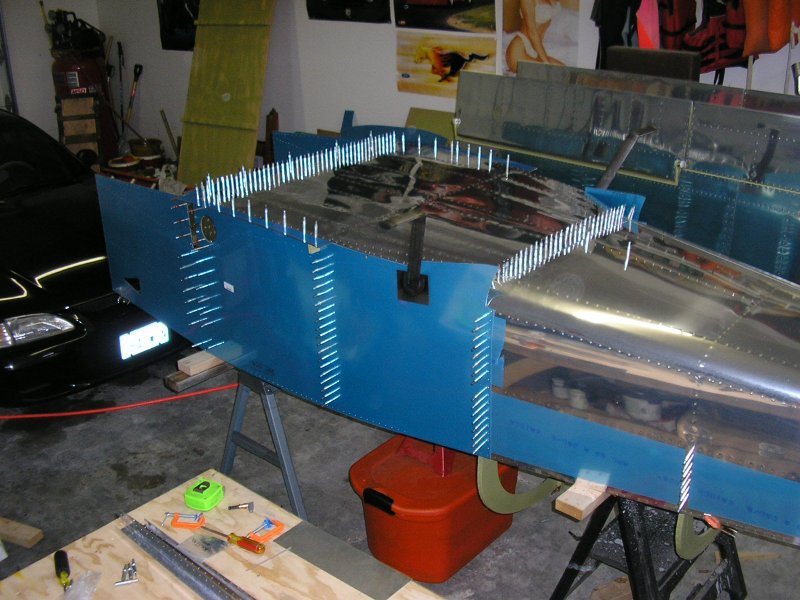
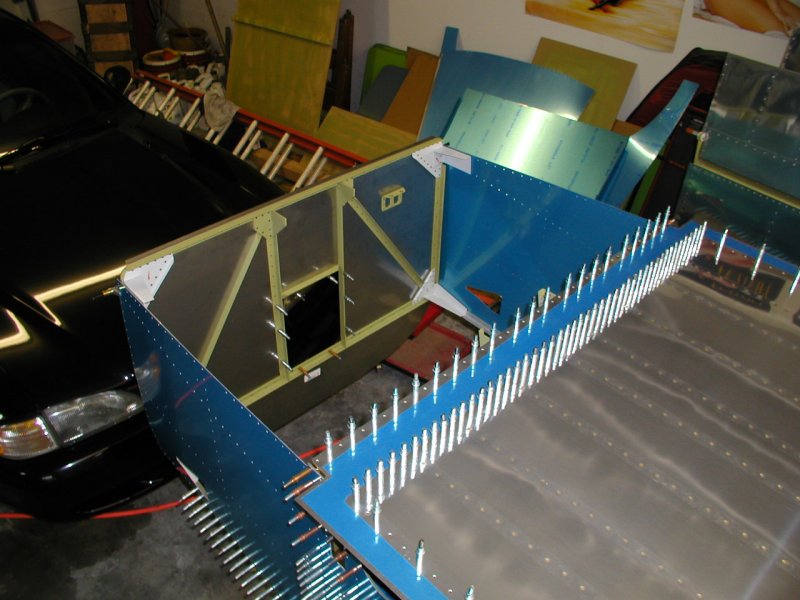
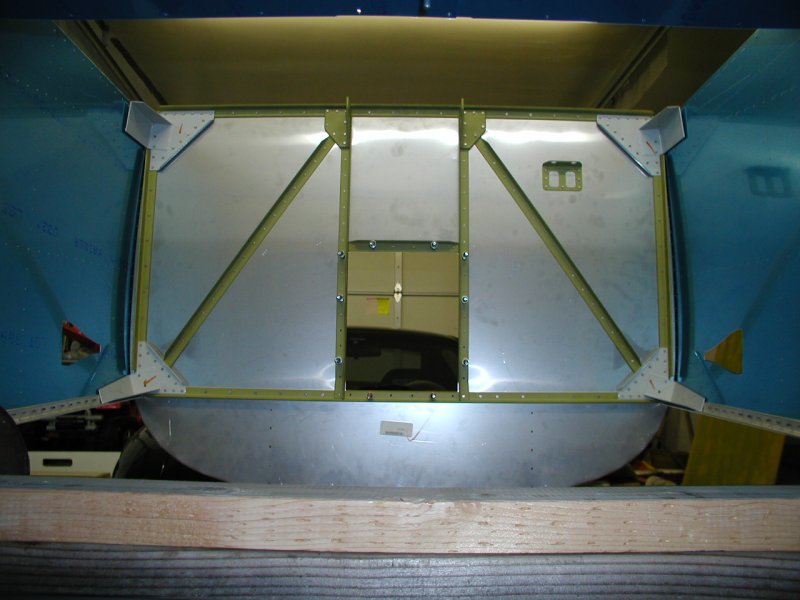
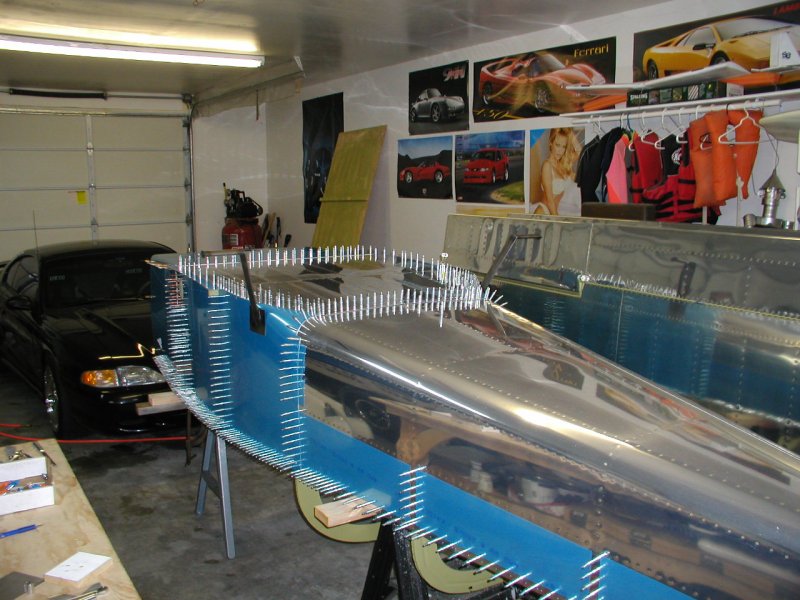
The plans at this stage say to do everything upside down but I really wanted to see how the longerons fit so I decided to put it together right side up. Once I confirm everything is perfect, I'll flip it over and move on.
I needed a good way to mate the center and aft fuselage by myself, so I looked around and found these storage containers. I figured they would slide a lot better than saw horses and allow me to tip and wiggle the part easily by myself.
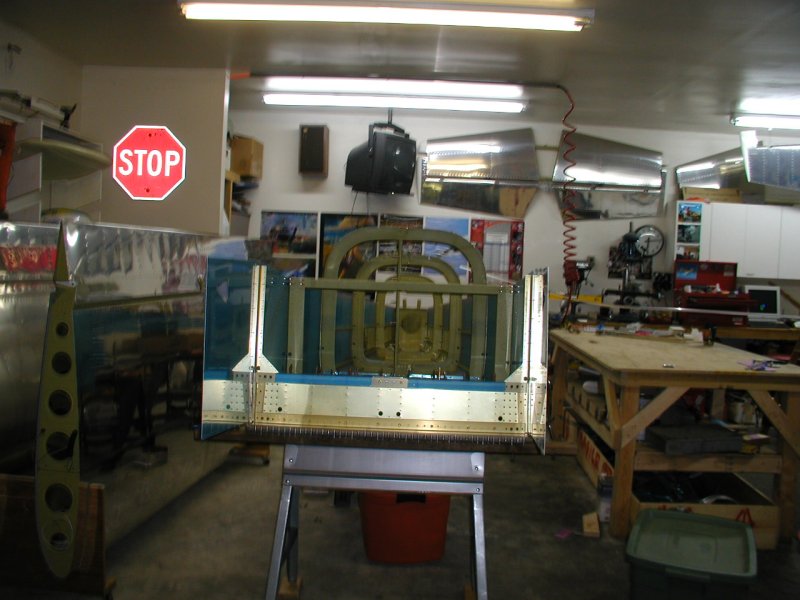
In position
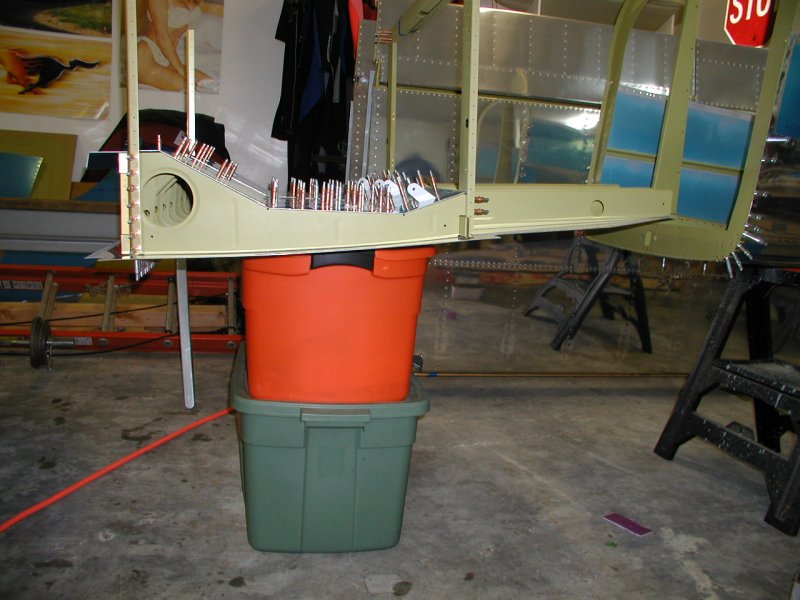
A little tip, and there it is, perfect!
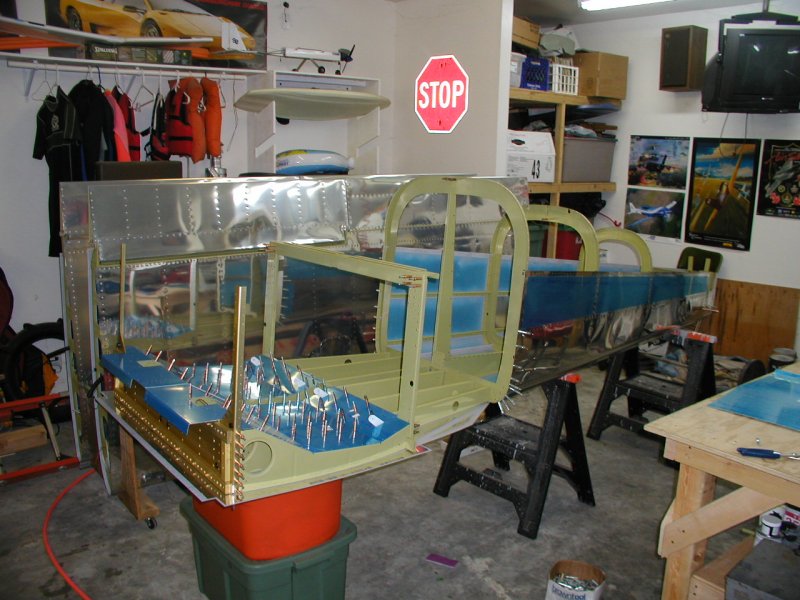
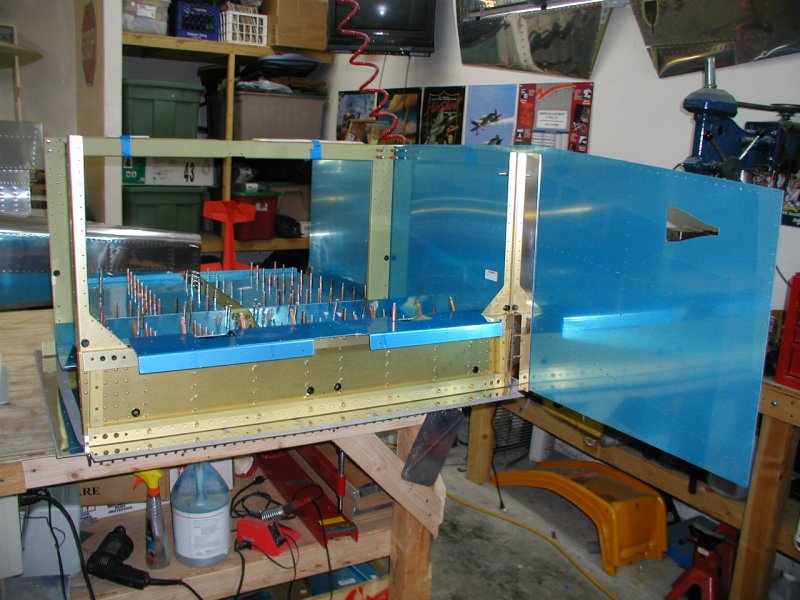
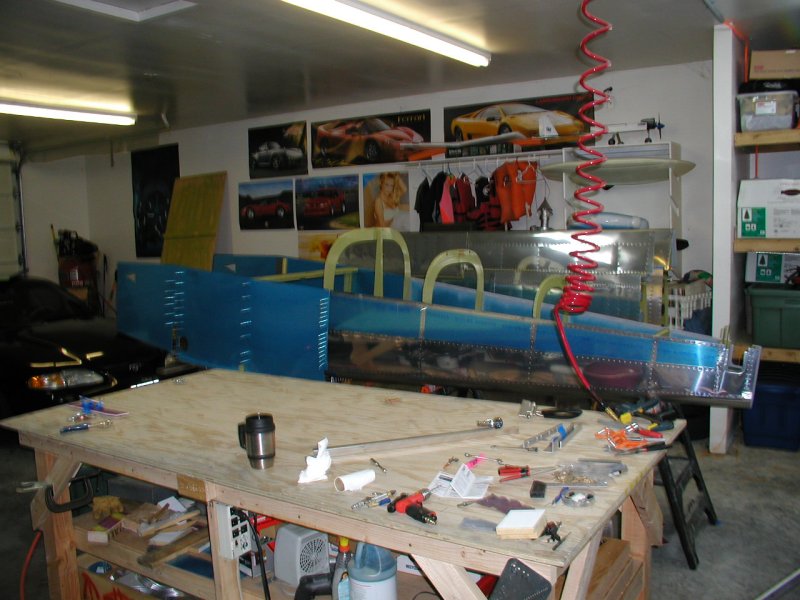
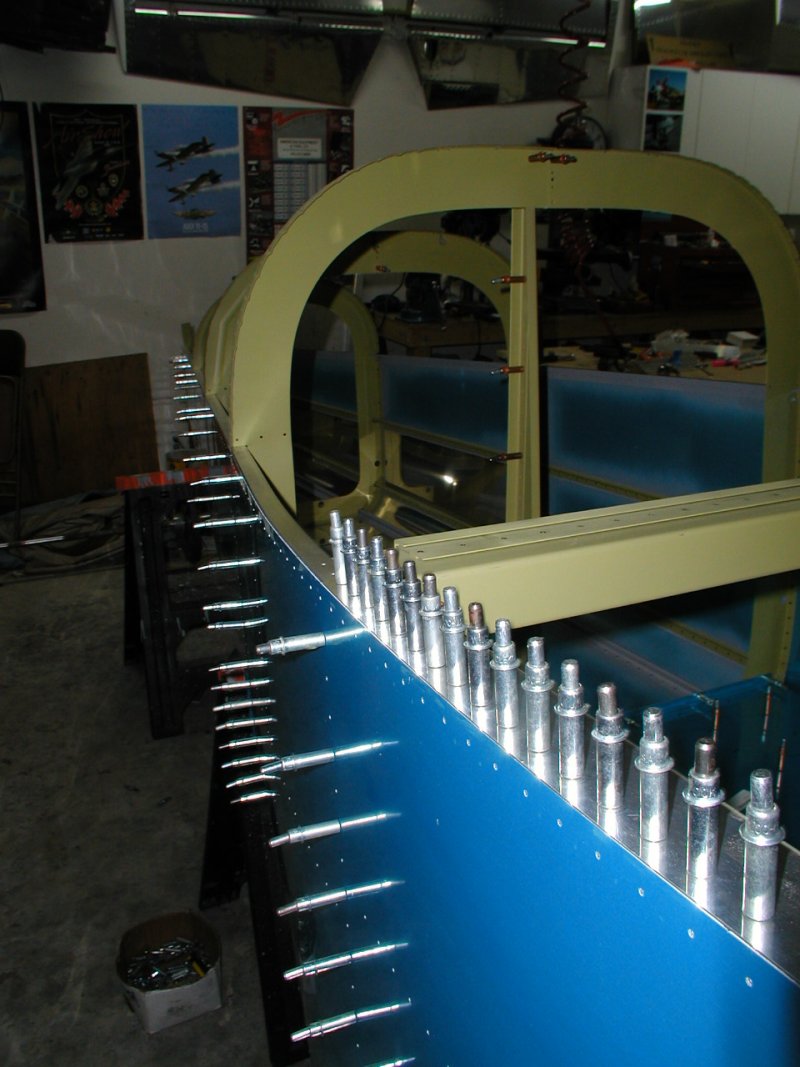
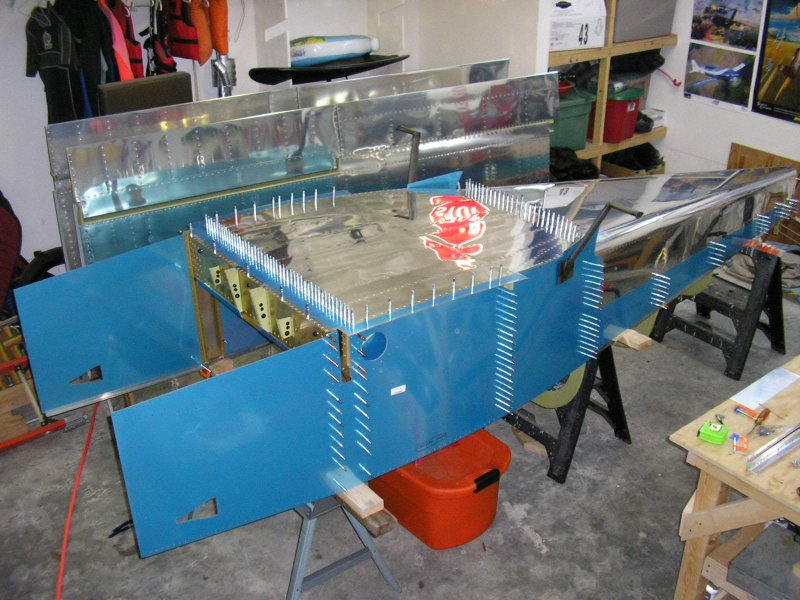
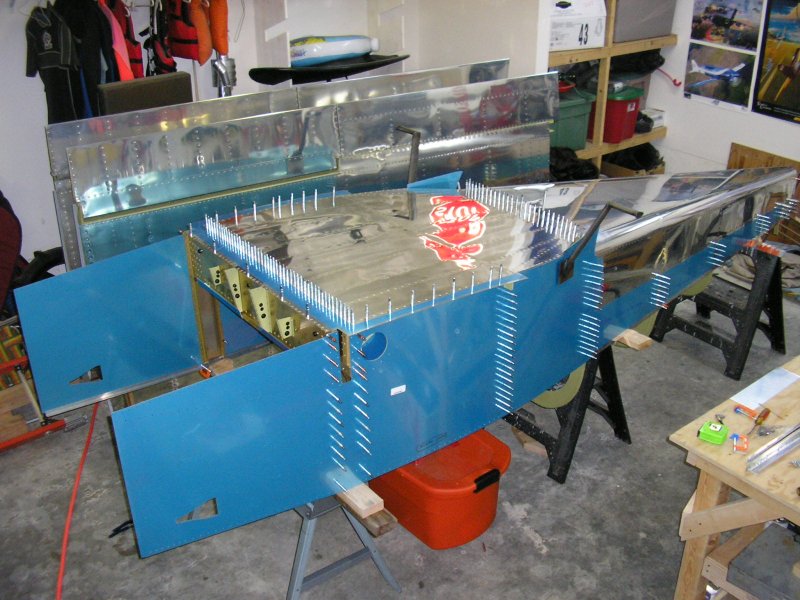
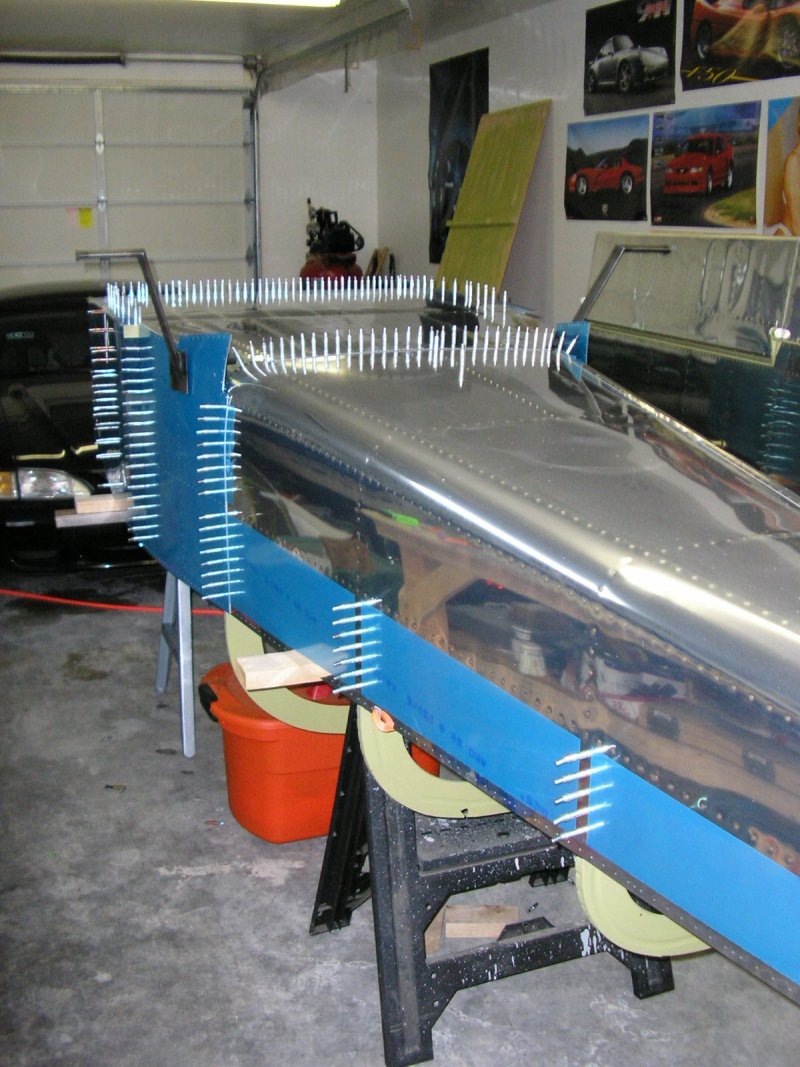
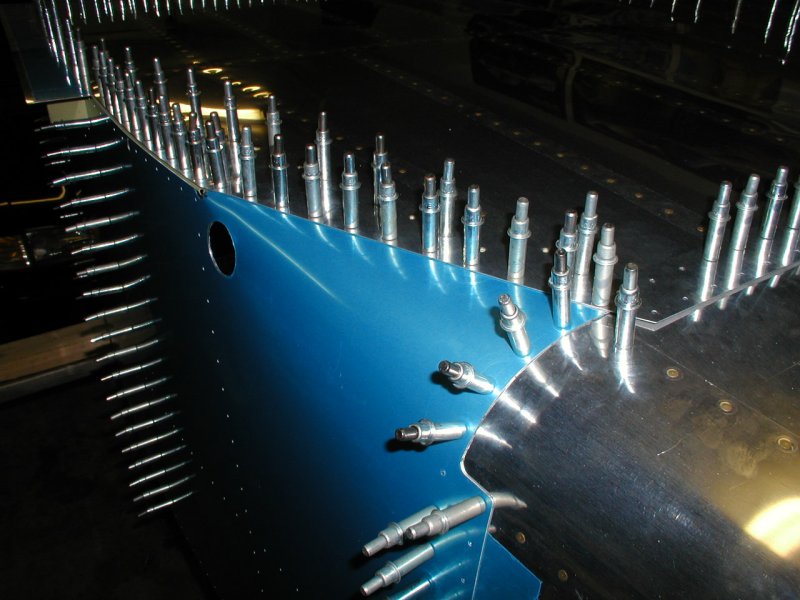
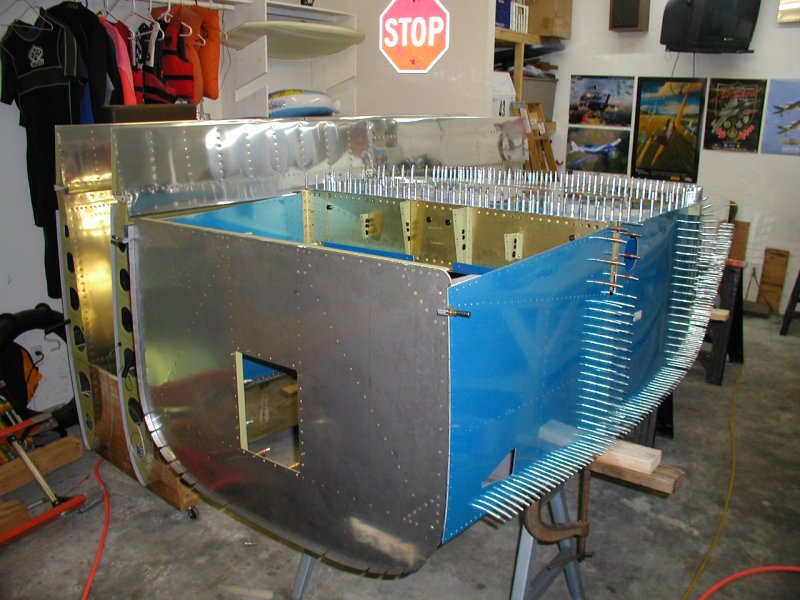
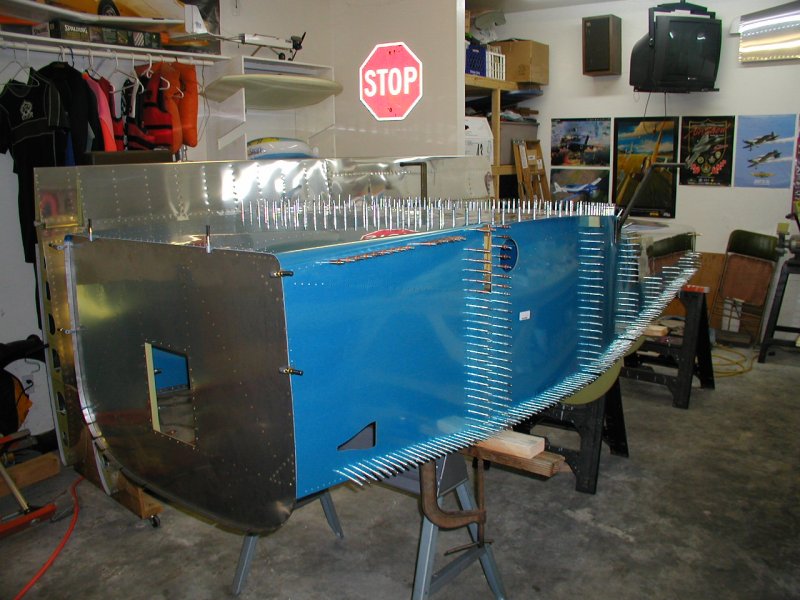
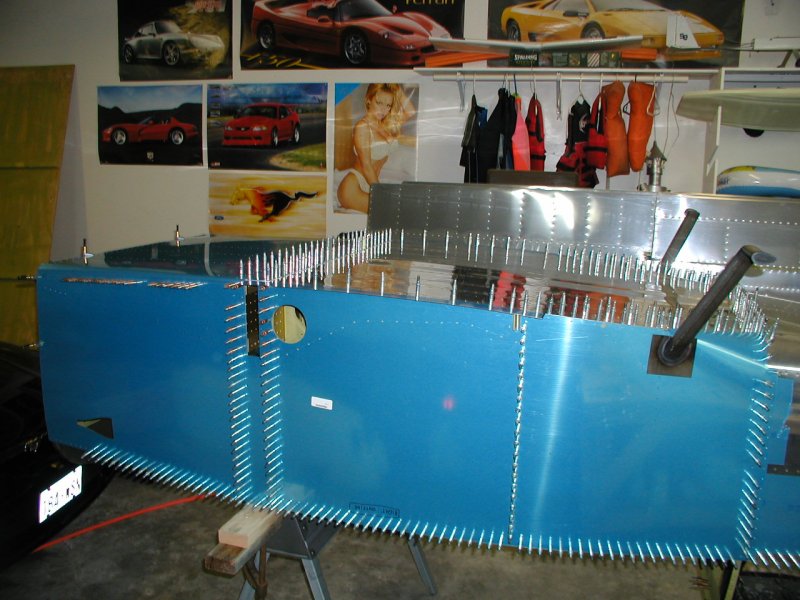
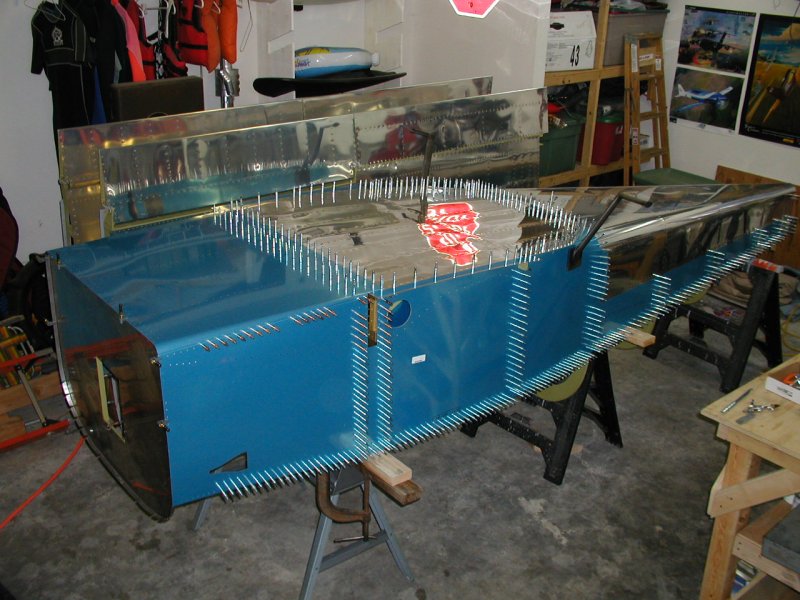
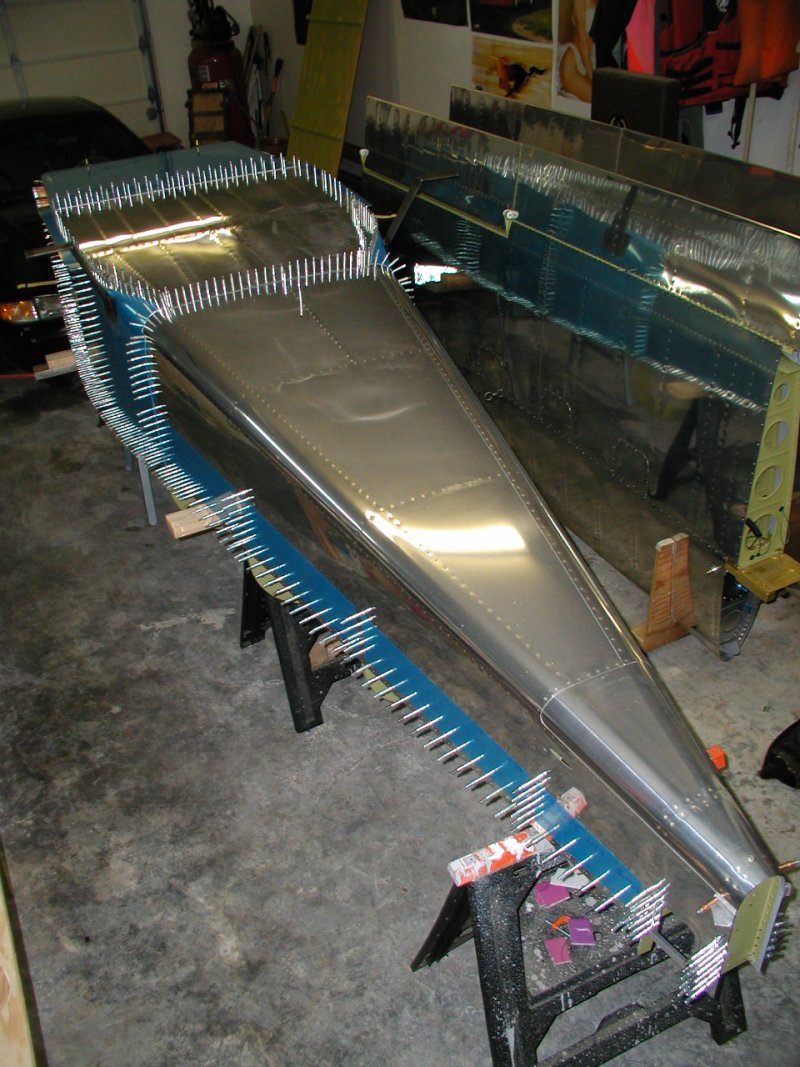
Then I clecoed on the side skins. This thing is getting big!
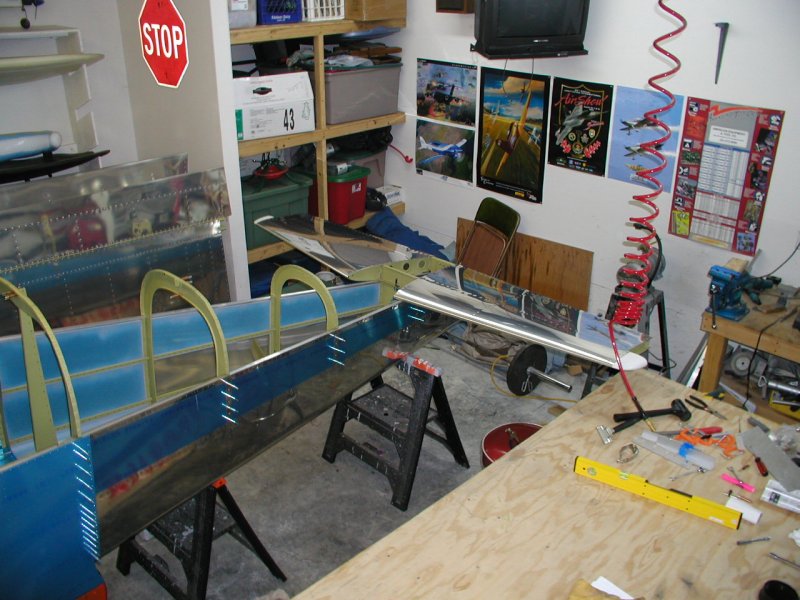
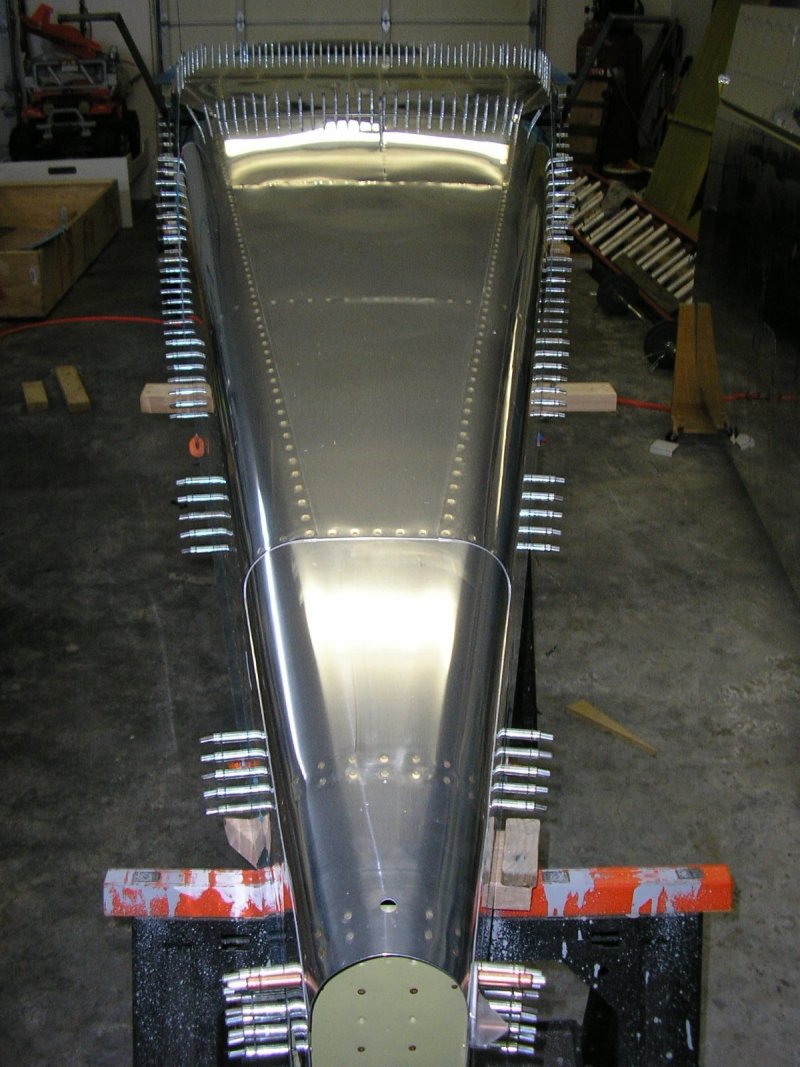
Here is the right longeron installed. It looks great!
I couldn't resist setting the horizontal stabilizer on. It looks so cool! Very exciting!
Making the downward bend on the left longeron.
I flipped the fuse back over to continue per the plans.
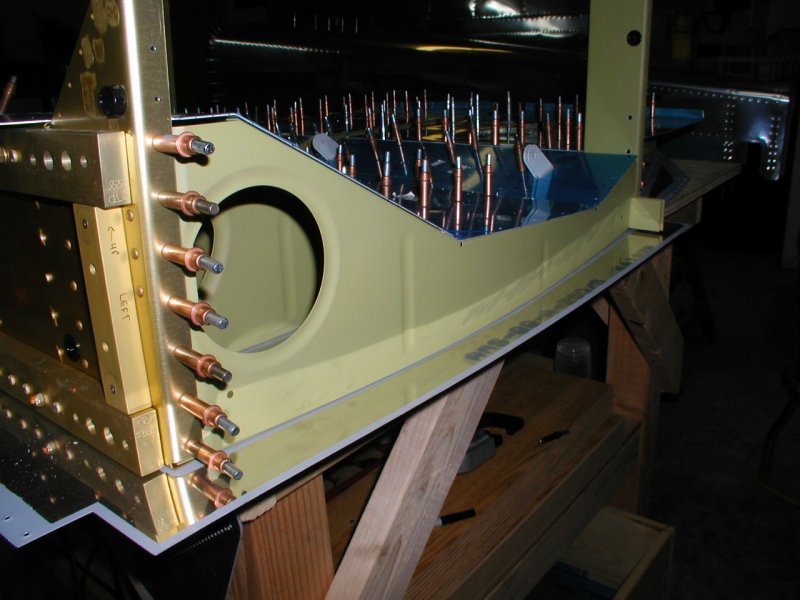
Here is how you make the conical bends. Kind of tough and time consuming doing just a little at a time. The front ends up being a sharp just about 90 deg bend while the back is a gradual sweeping curve. Many have problems with cracking in the front but mine turned out good.
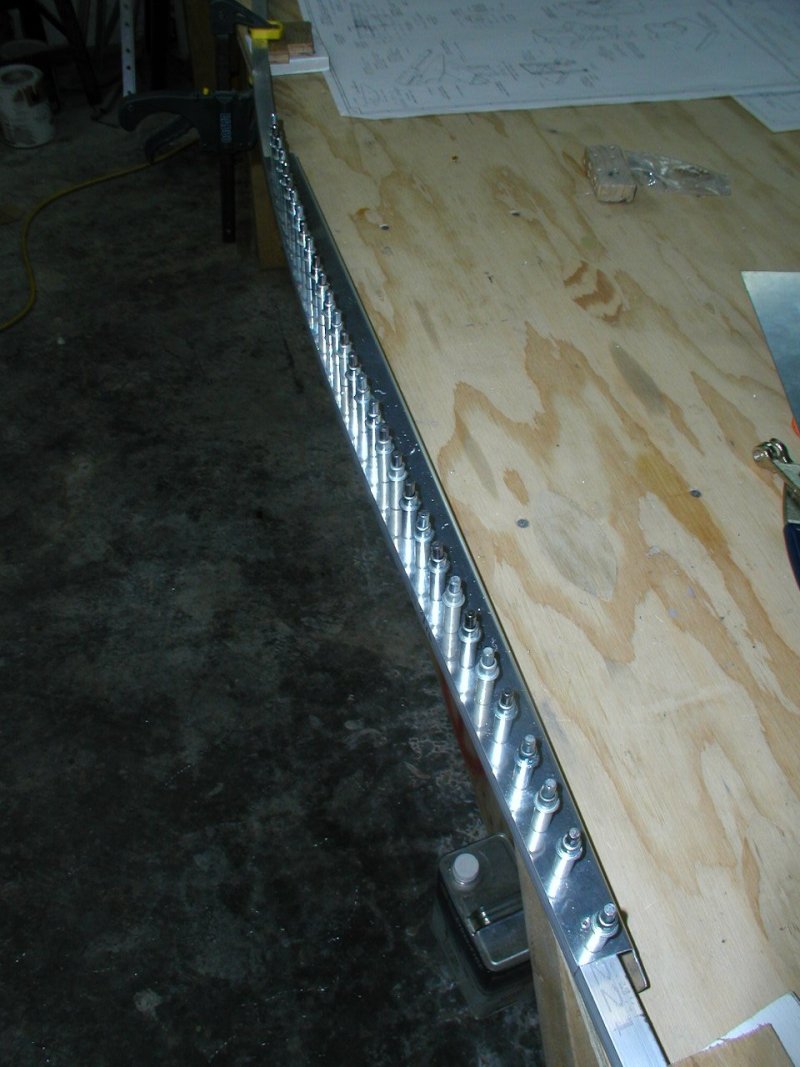
Started drilling the longerons working from the back toward the front. There are a mere 180 holes per longeron. Yikes!
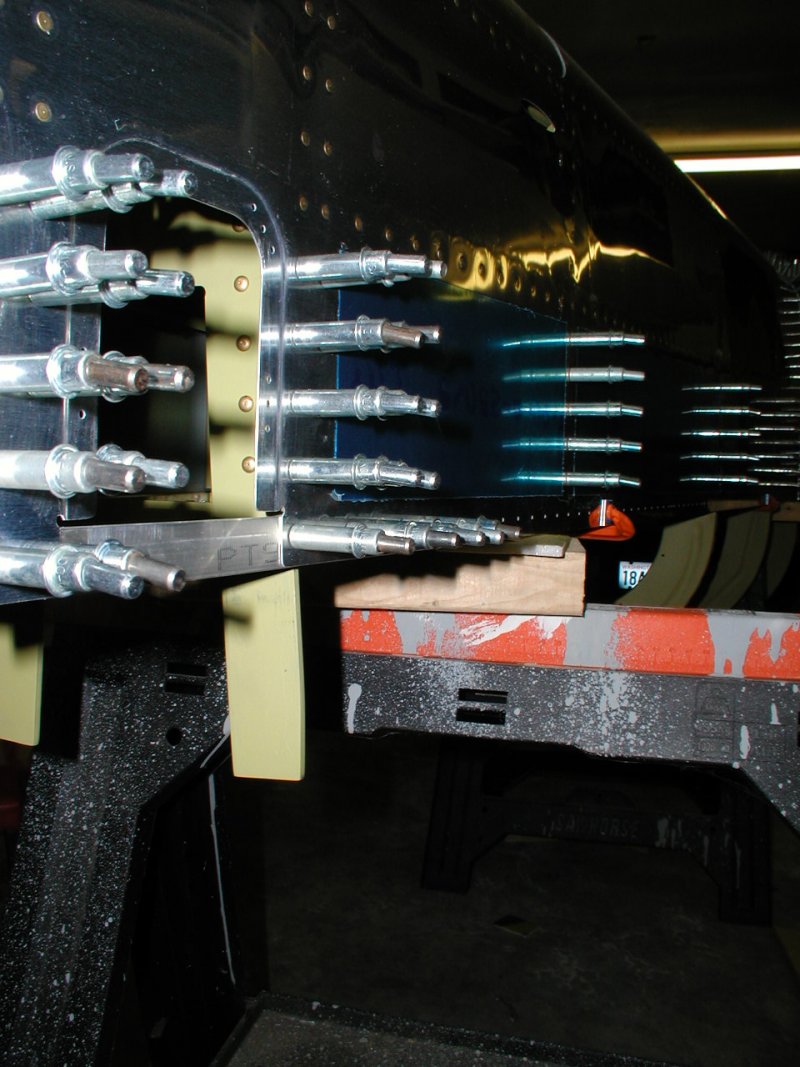
Plugging away...

Hole 358, 359, and 360. Oh man that was tiring and took about 5 hours to do both sides.
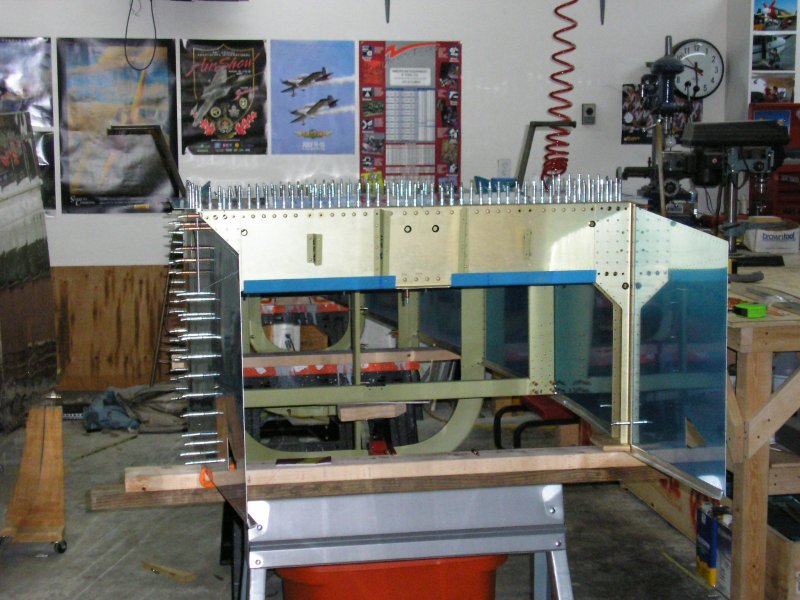
Set the firewall in place
Per the plans I had to trim the front of the longerons to be 3/4" fron the front of the skin. I used an angle grinder and it was pretty easy.
Here it is with the firewall and the bottom skin. It's amazing how all these pre-punched holes line up so perfectly.
Back