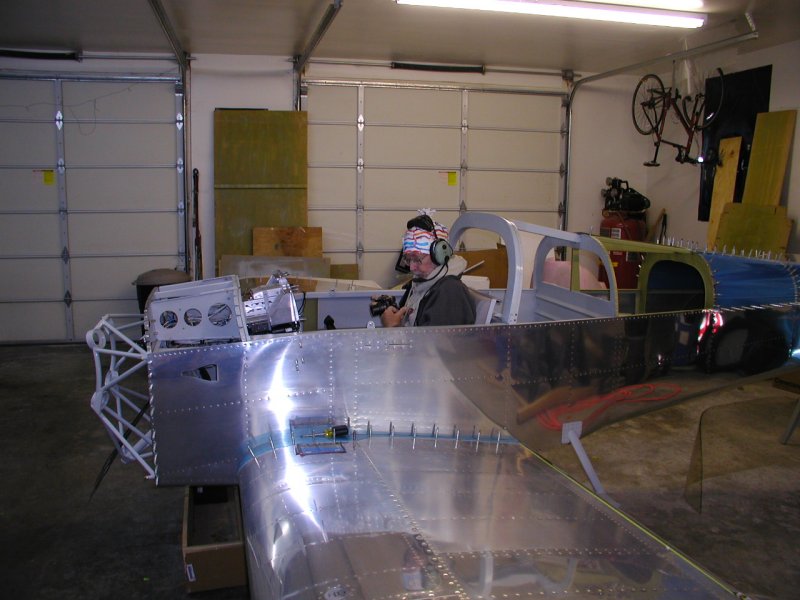
Finally an update!
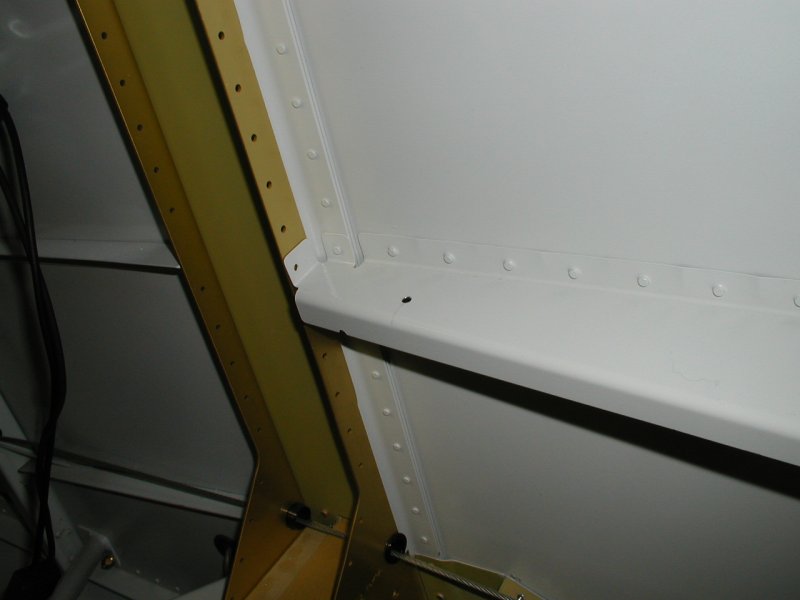
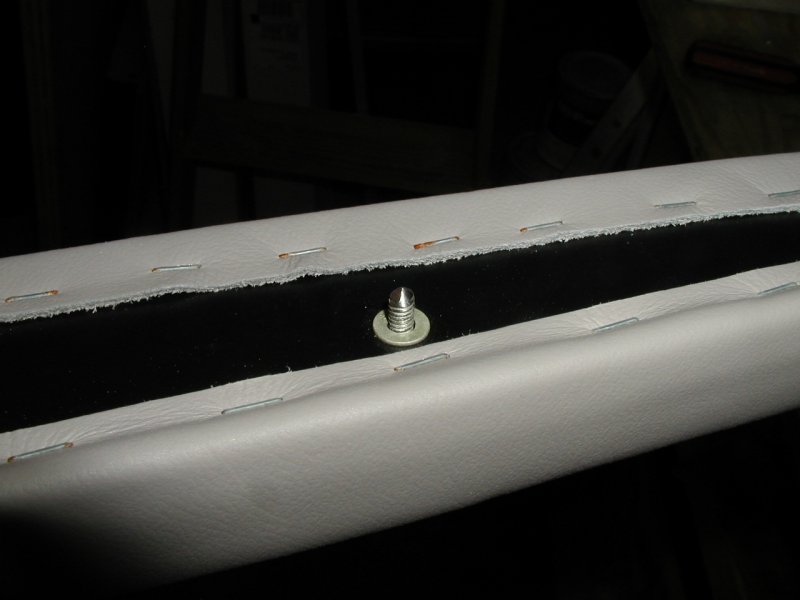
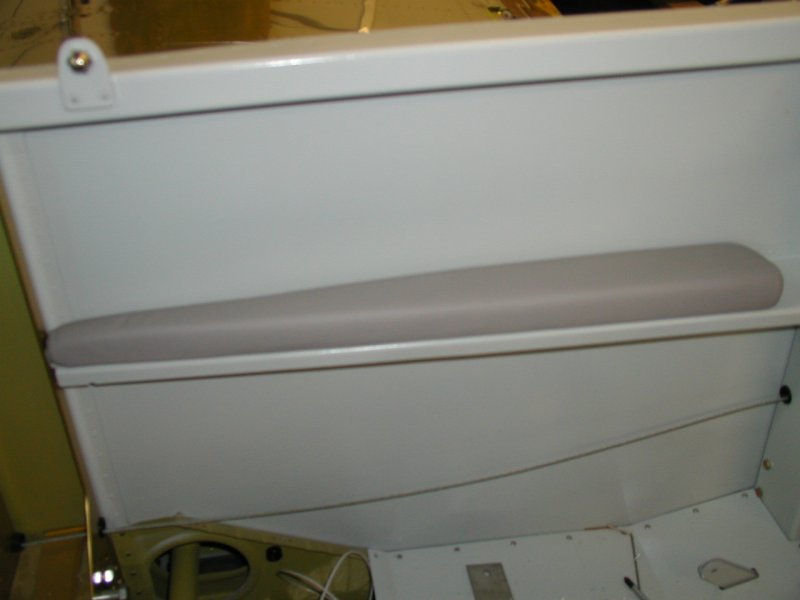
Installing the armrests
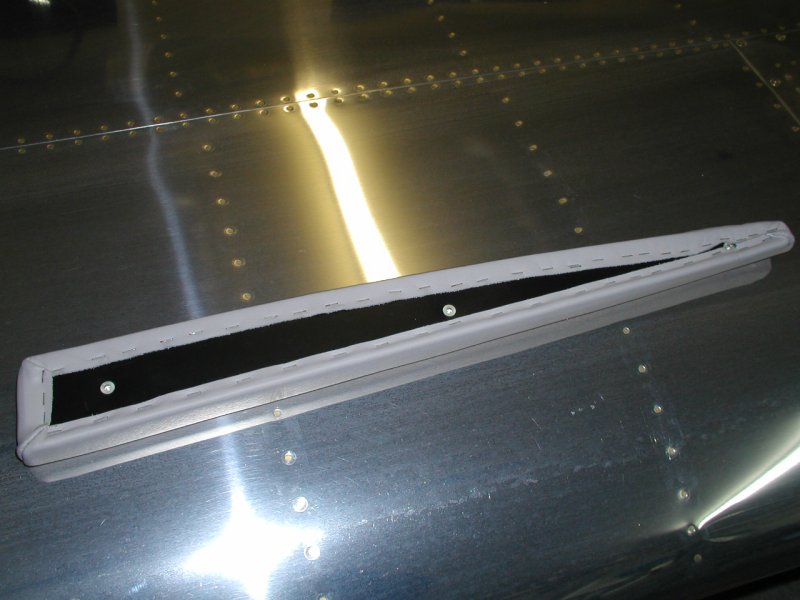
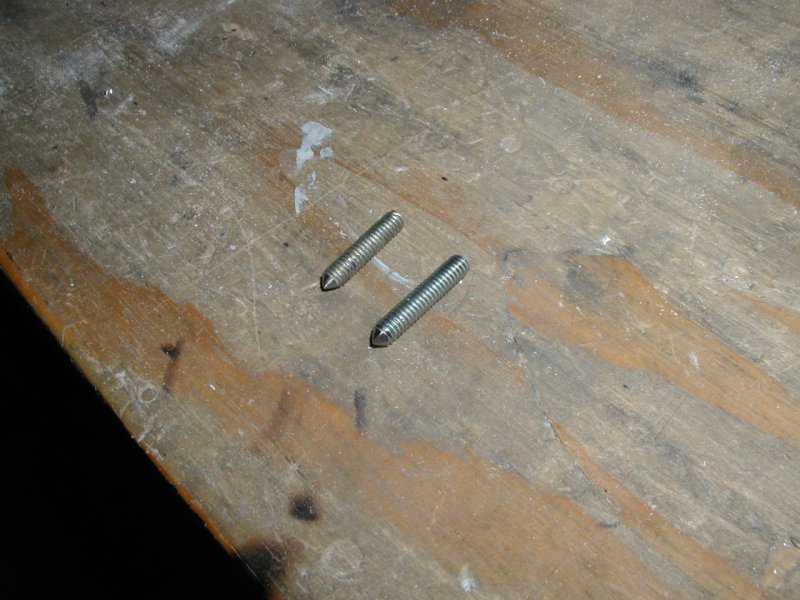
I cut of some screws and made these "transfers" to mark the holes.
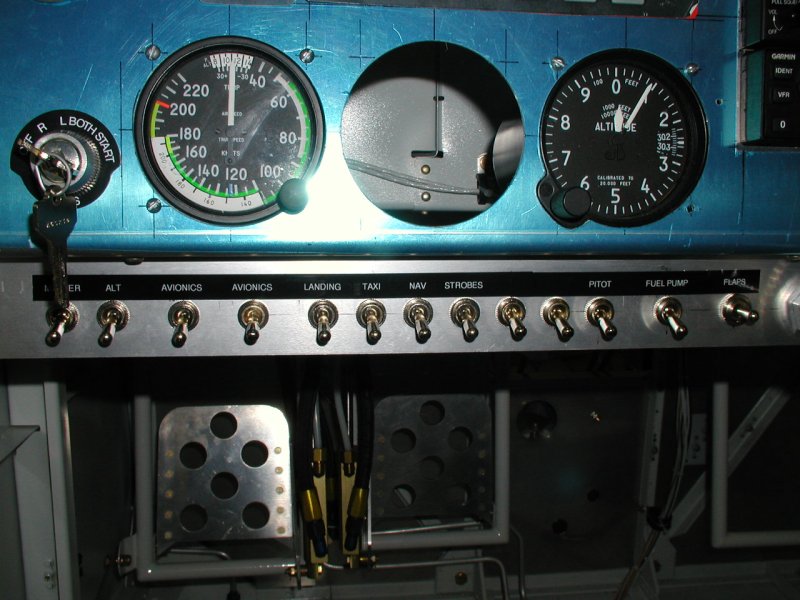
Temporarily labeled the switchpanel
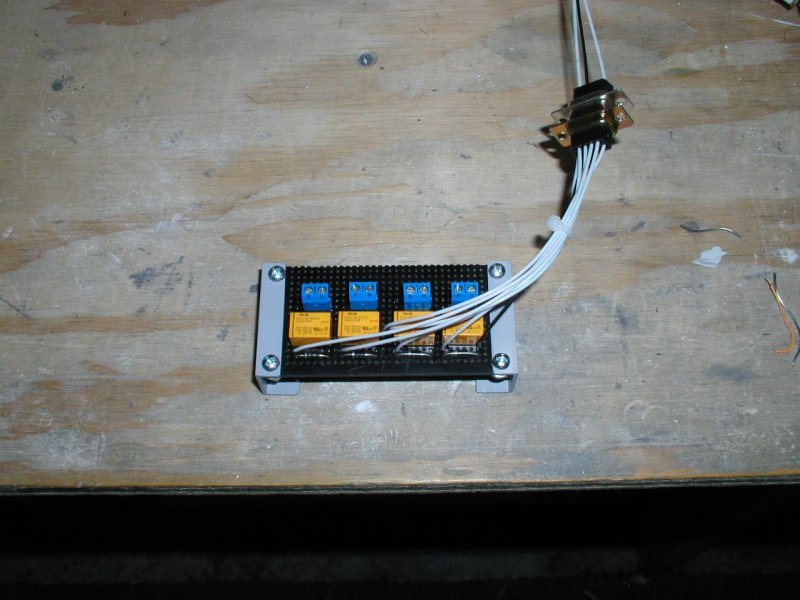
I made this relay deck that is controled by the buttons on the pilot's stick

Layed out the Dynon D100 EFIS cutout
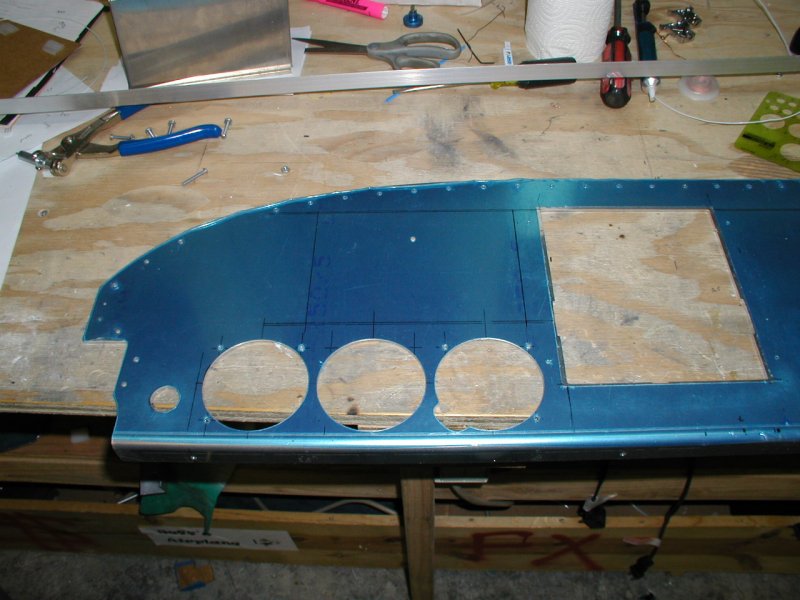
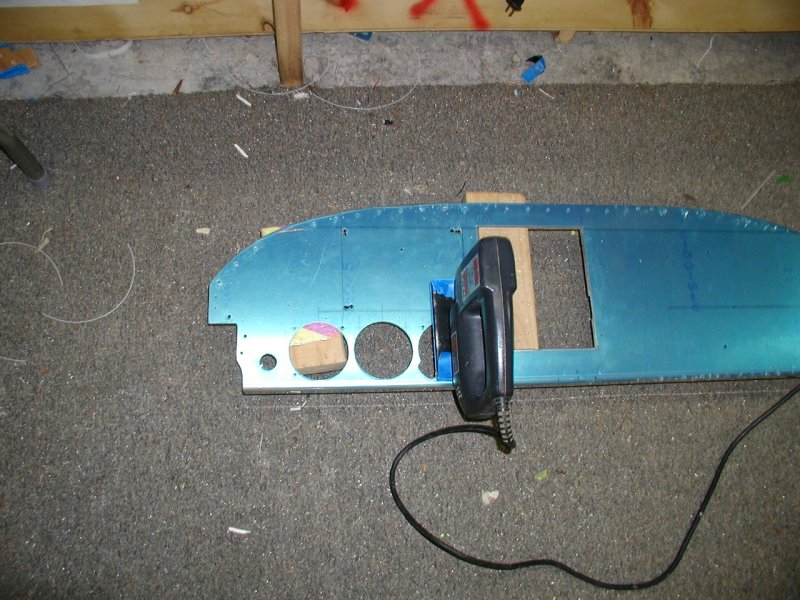
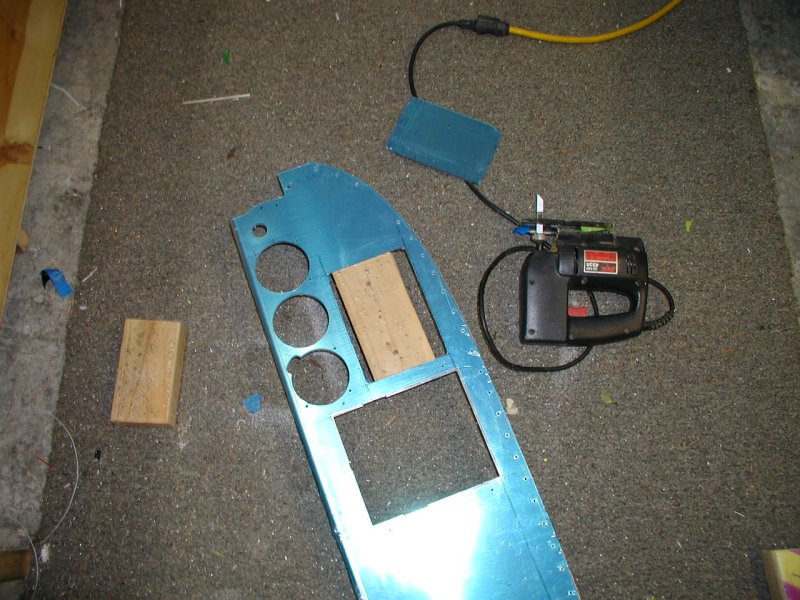
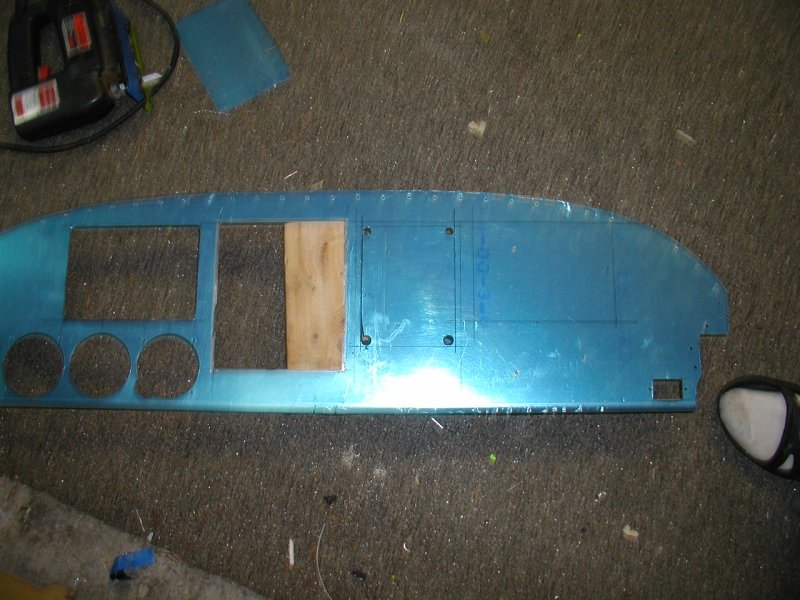
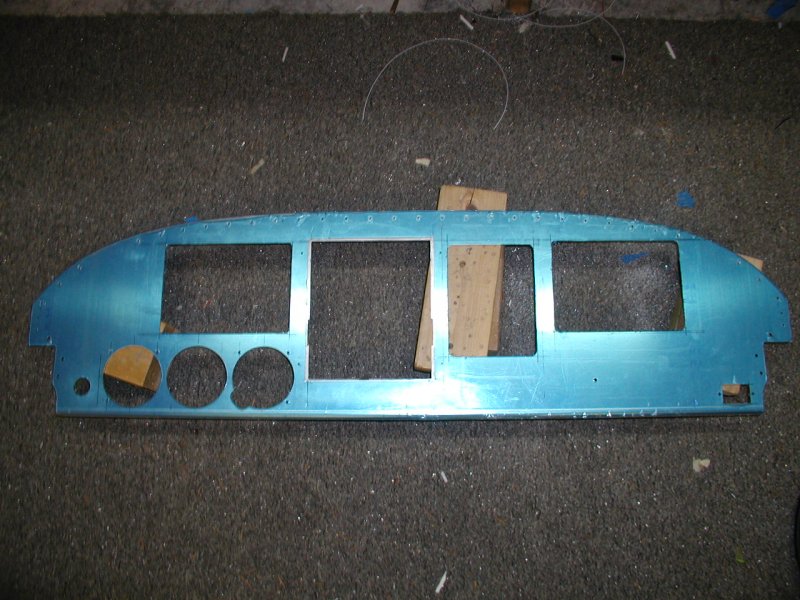
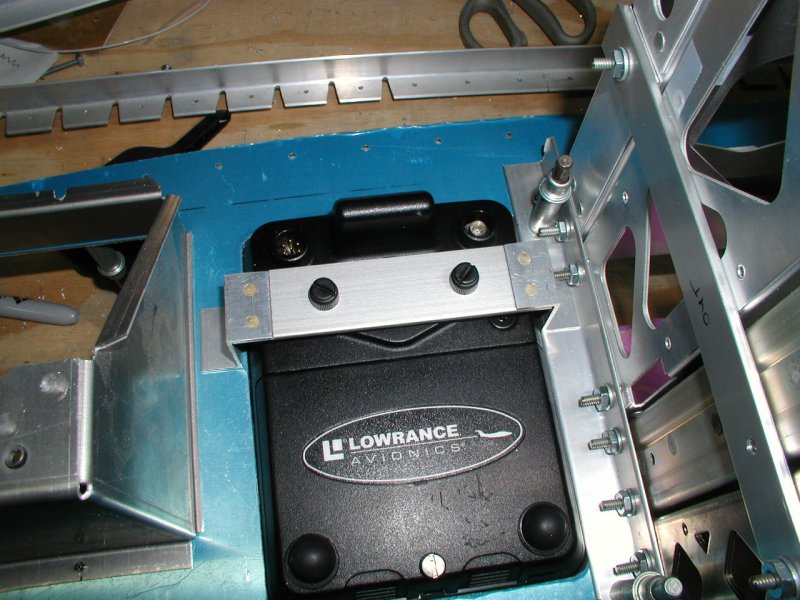
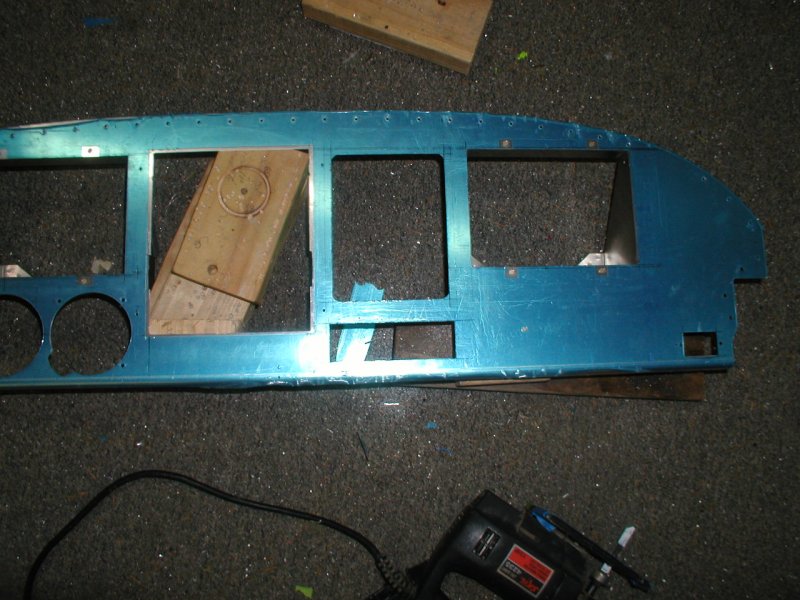
Marked and cut the openings for the Lowrance GPS and Dynon D120 engine monitor
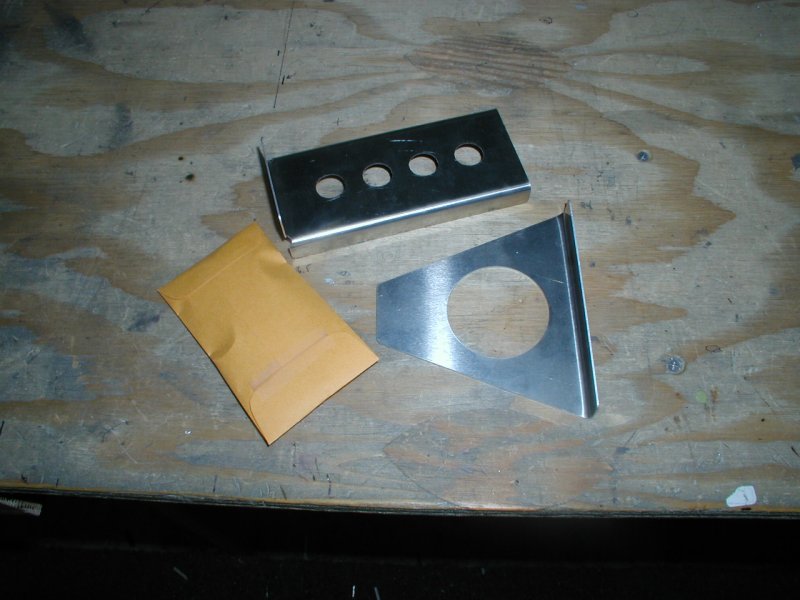
This is one of the two Dynon trays
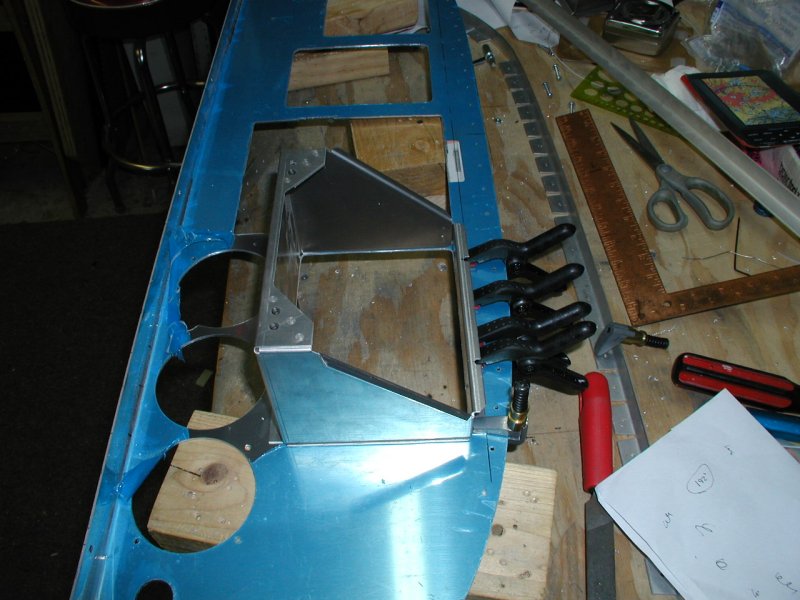
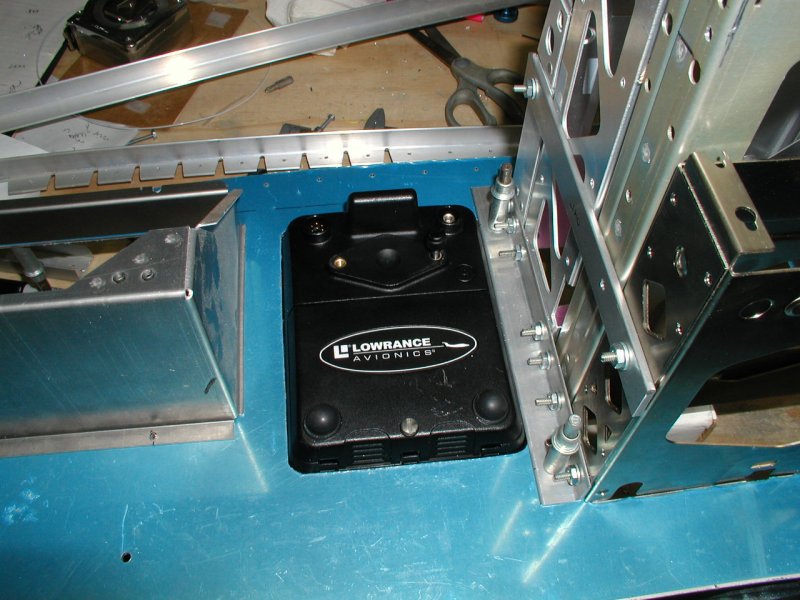
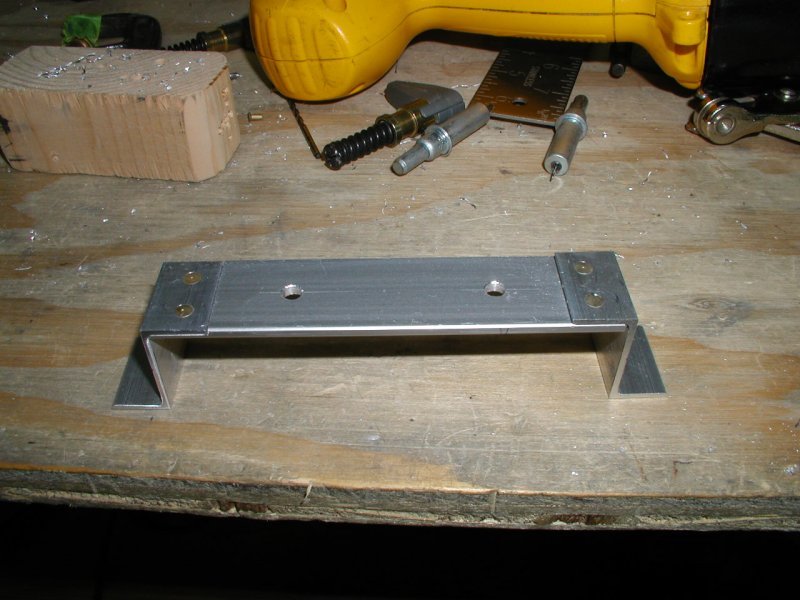
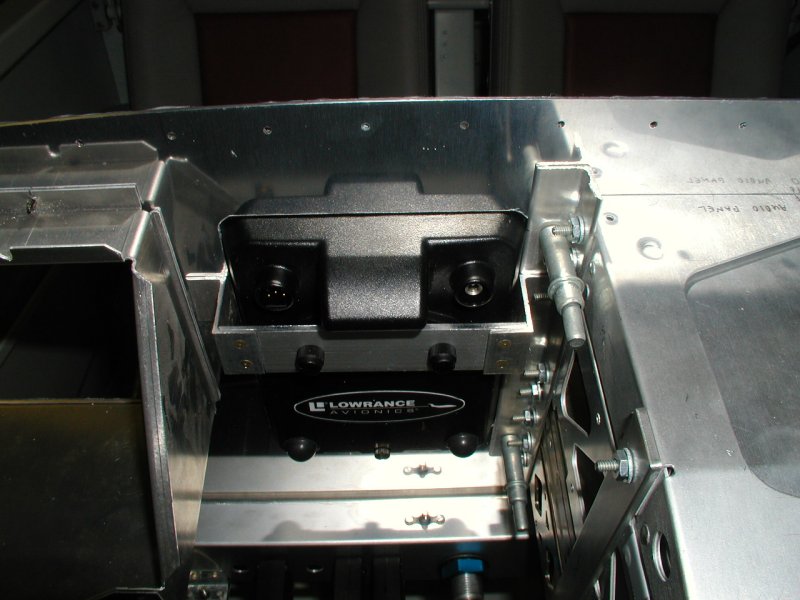
Made a bracket for holding the Lowrance GPS
Dad visiting from California
Cut wiring hole in firewall
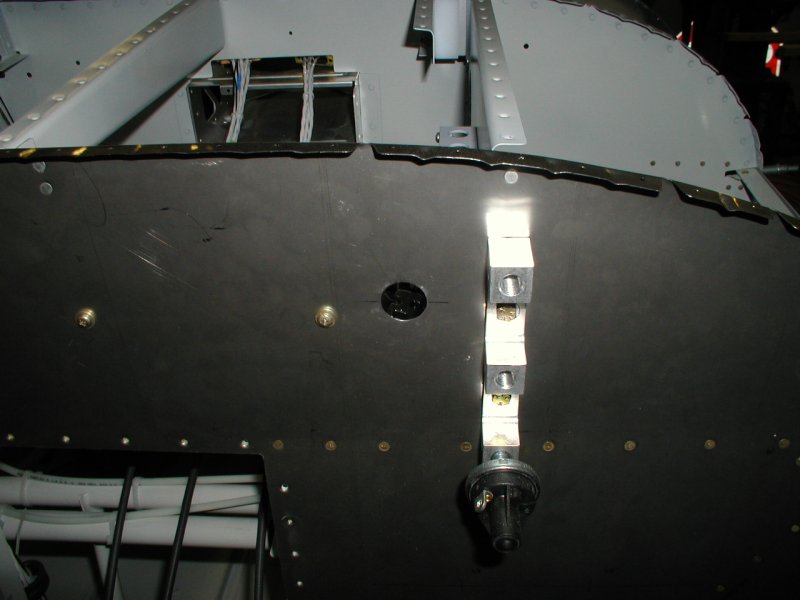
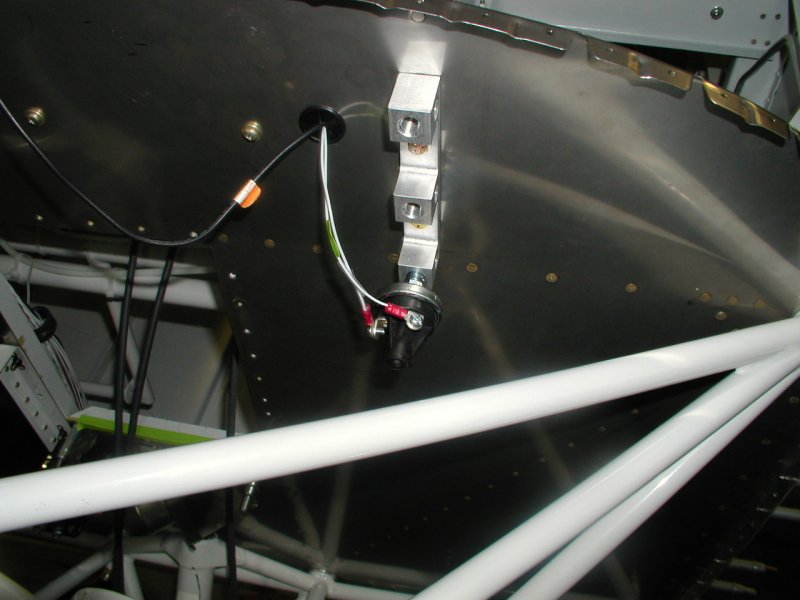
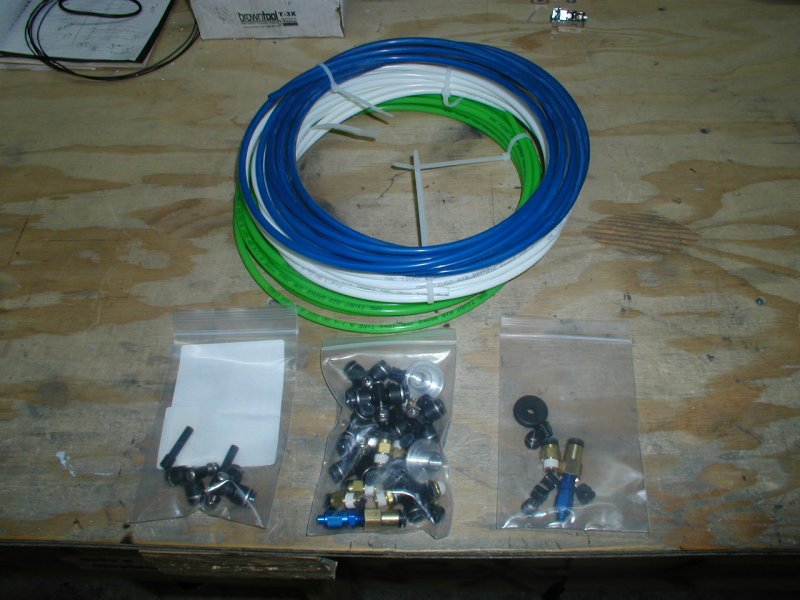
These are the Pitot, Static, and Angle of Attack lines
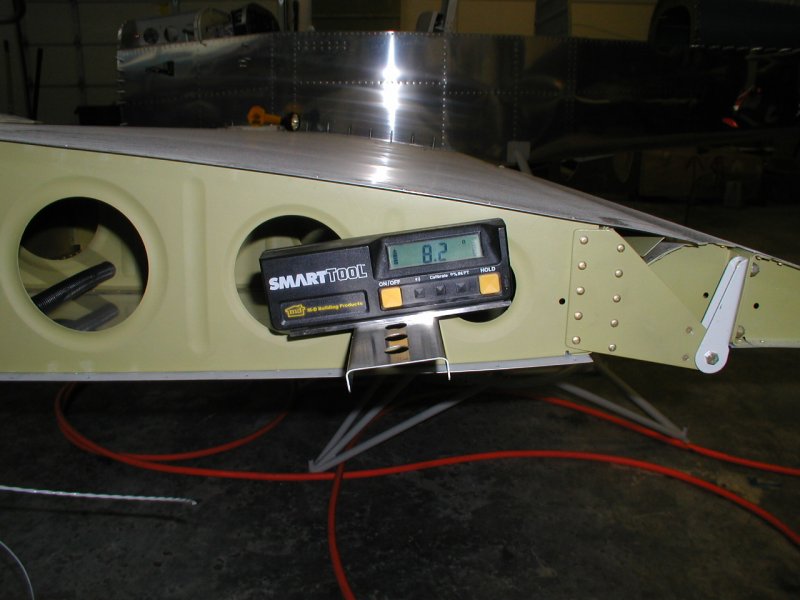
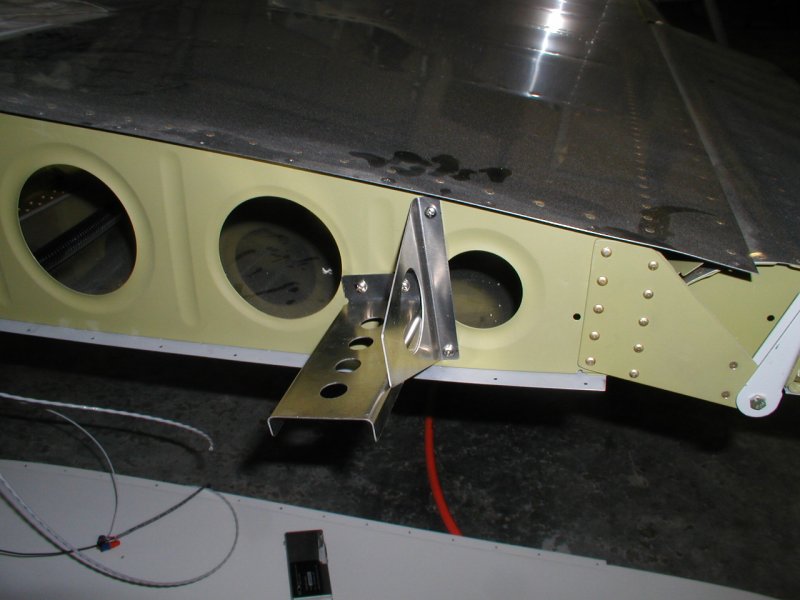
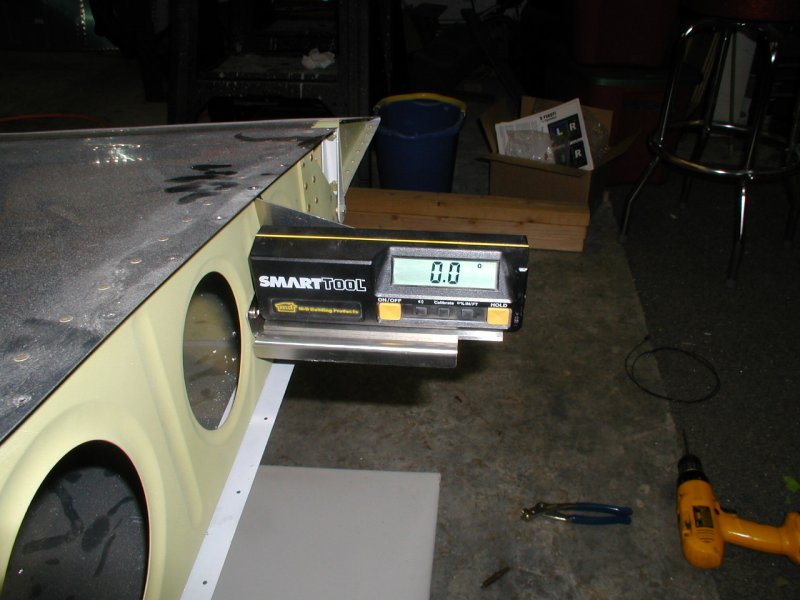
Wingtip bracket for Dynon remote compass
Here is the remote compass
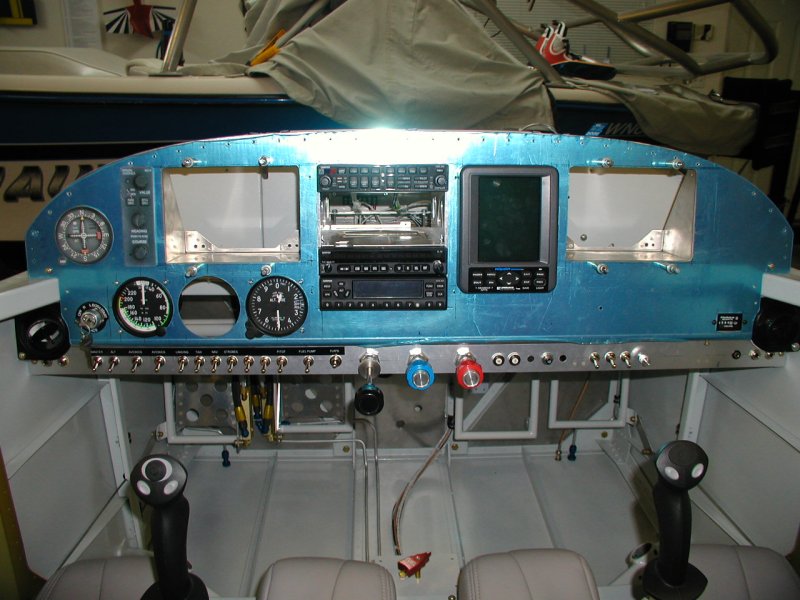
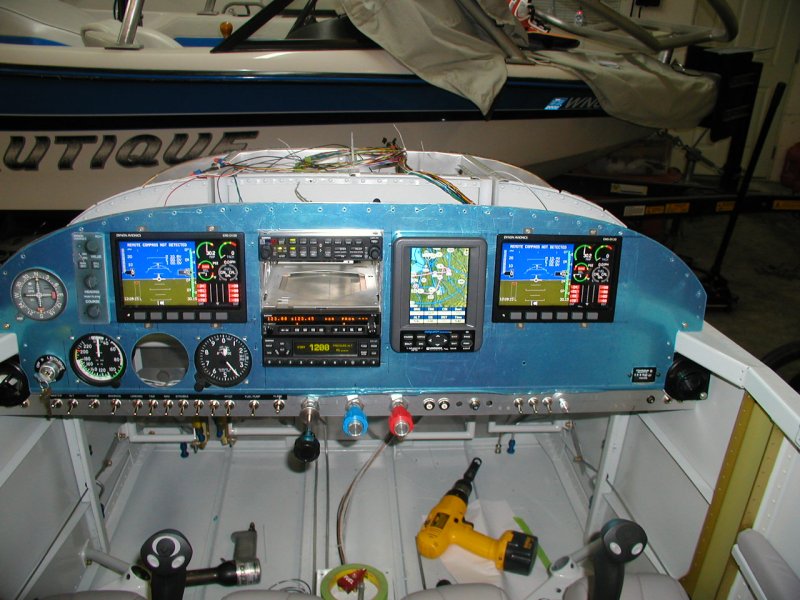
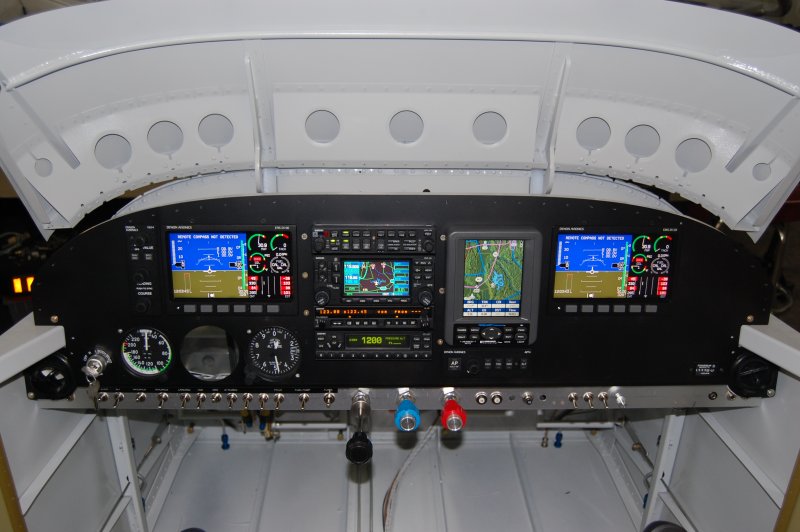
Here is the D100 EFIS and the D120 Engine monitor. Very exciting!!!!
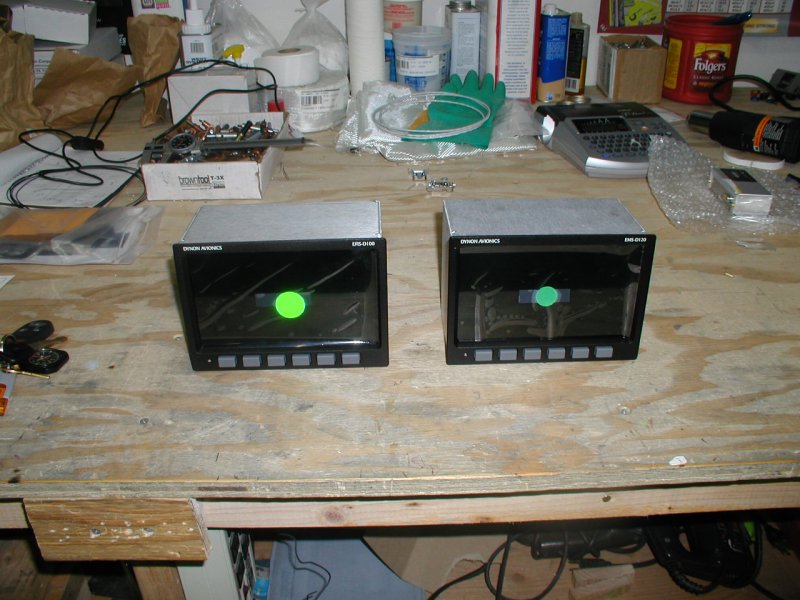
Here are the Dynons powered up. Since they are connected with a data bus, they share and will display each others data. Now the EFIS info is on the left, and the engine monitor info is on the right.
Now they are both showing EFIS info
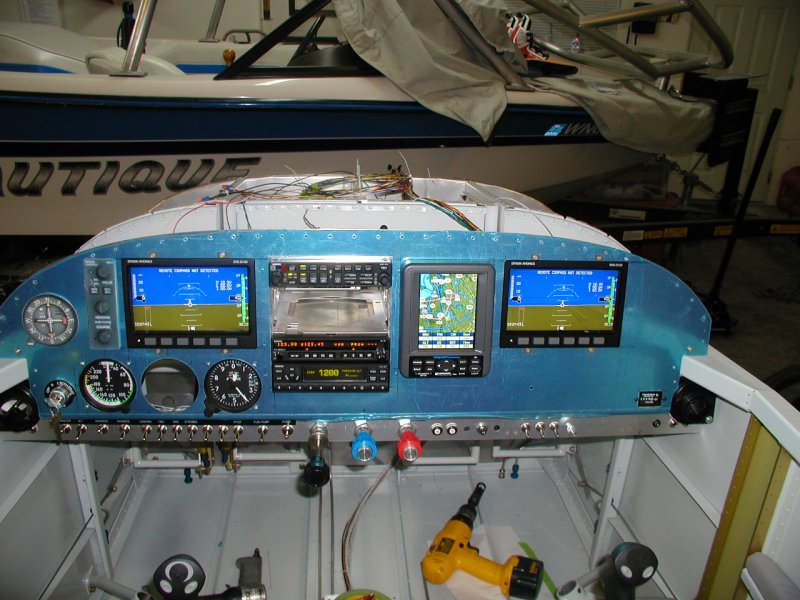
Now they are both showing both EFIS and engine info. There are many other options for what you want to display.
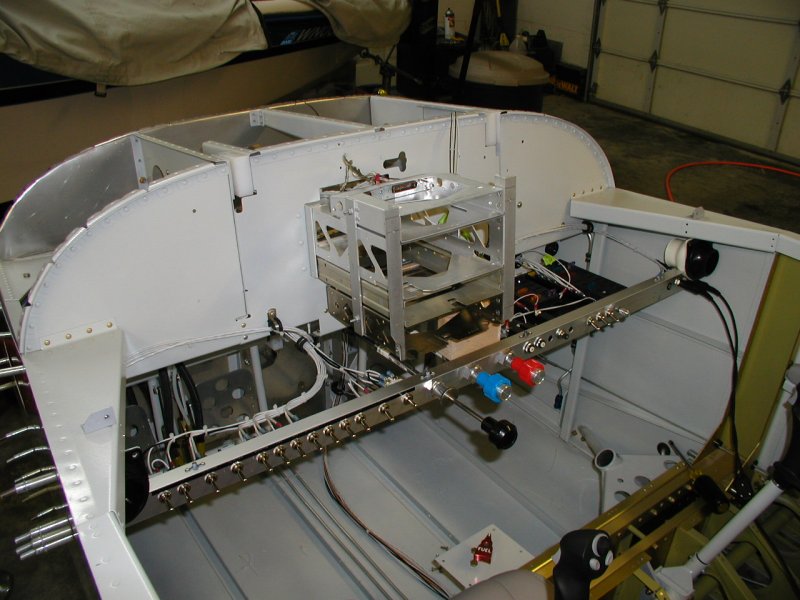
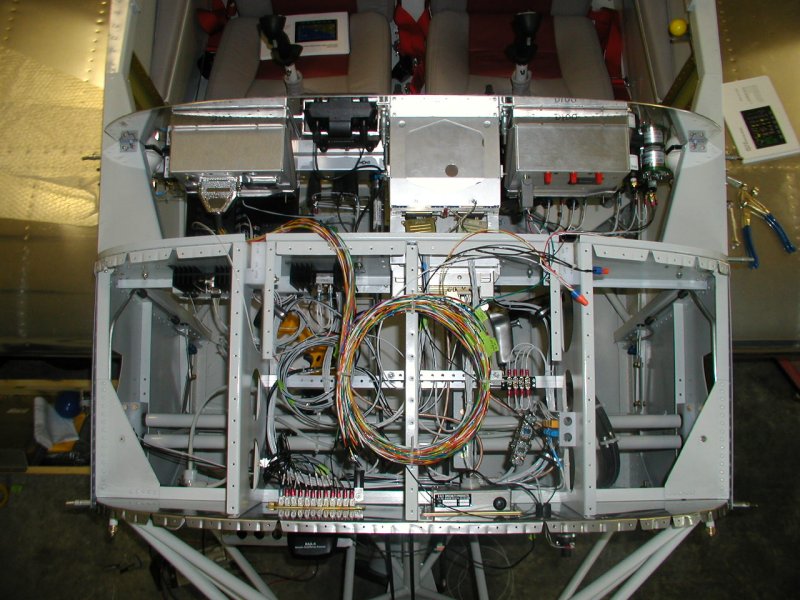
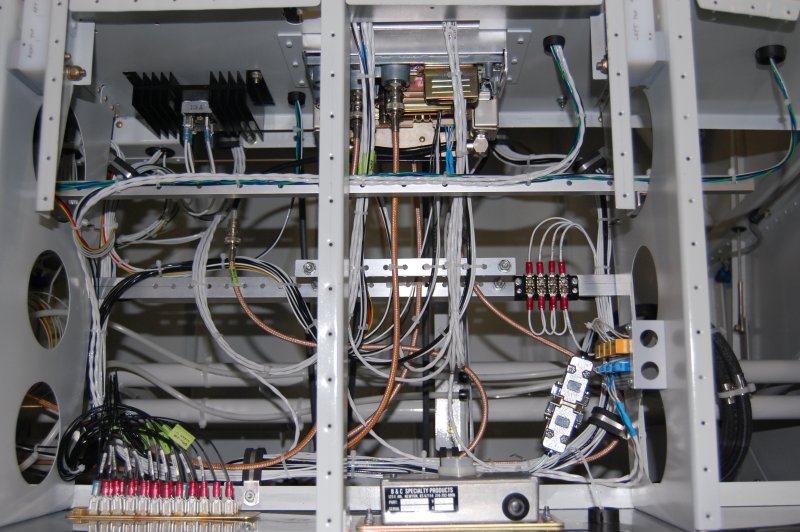
Now there's lots more wire to take care of.
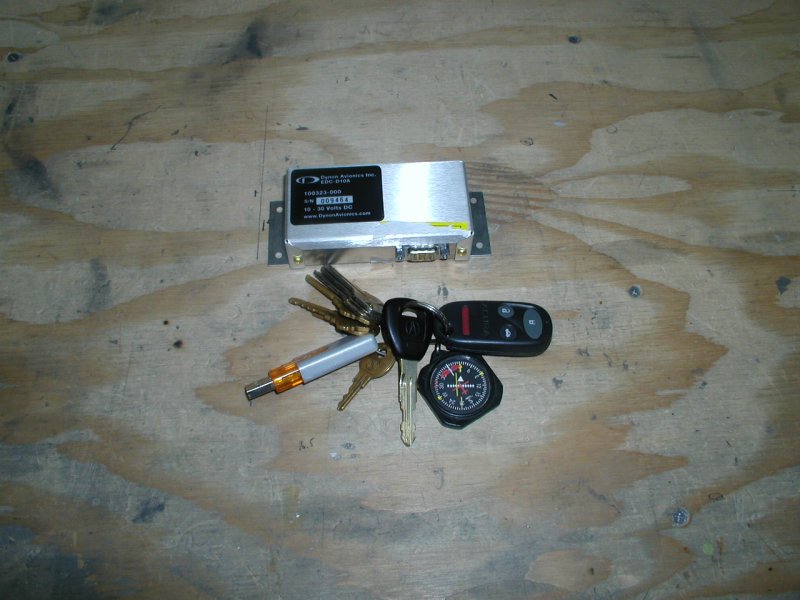
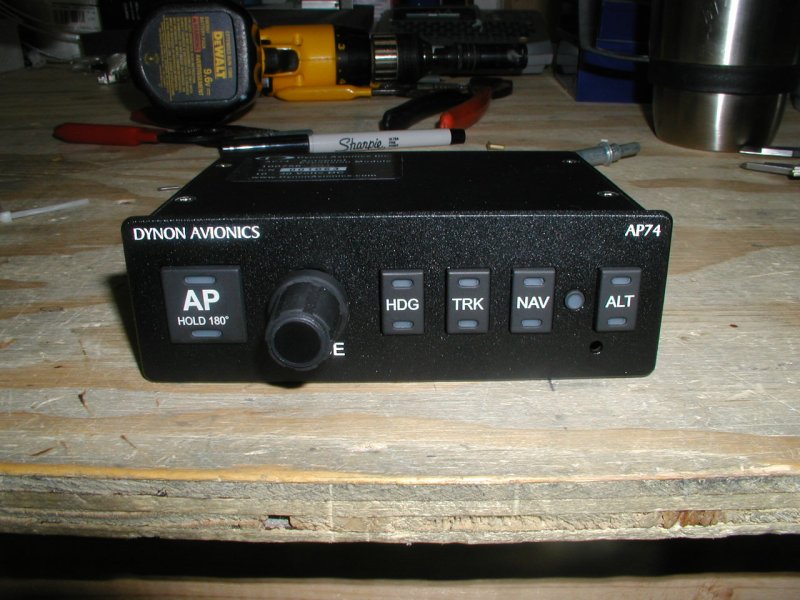
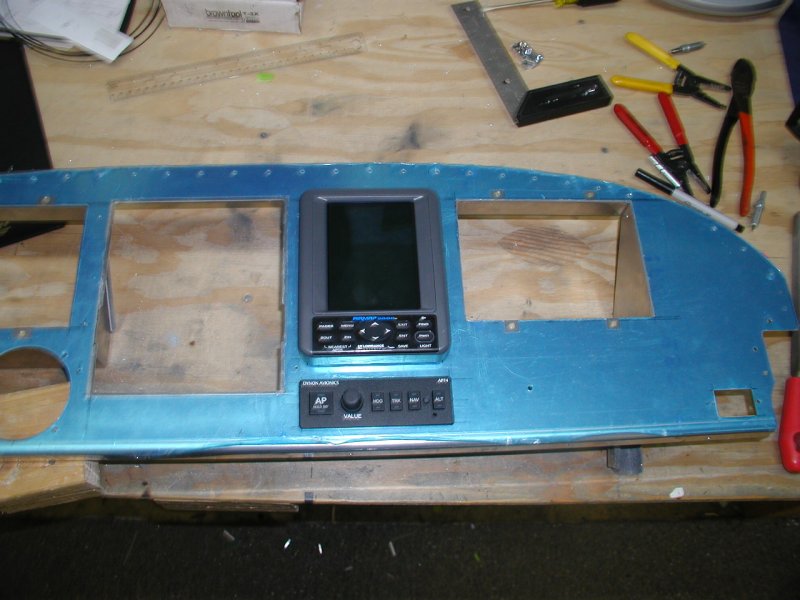
This is the Dynon autopilot controller
Cutting the opening for it

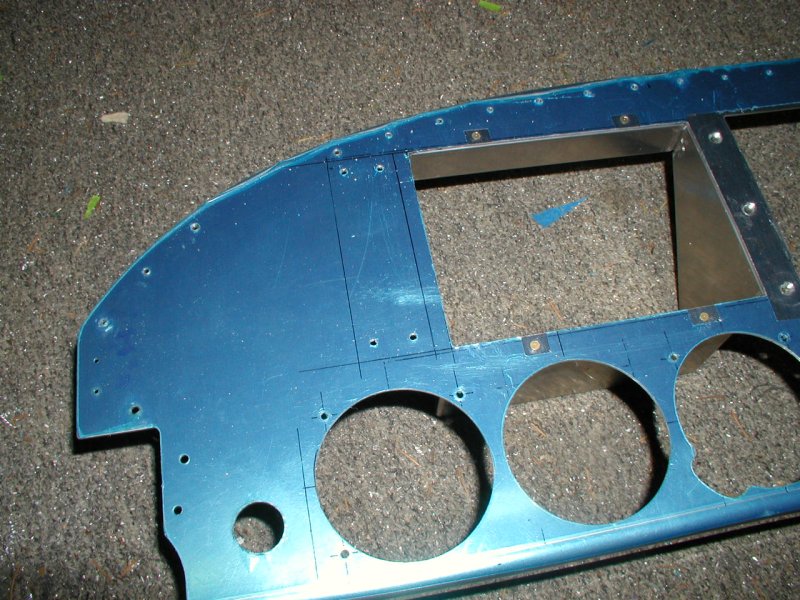
This will be the opening for the HS34 HSI controller.

Kian spent the night with Lane so they got up a little early and came out for a visit.

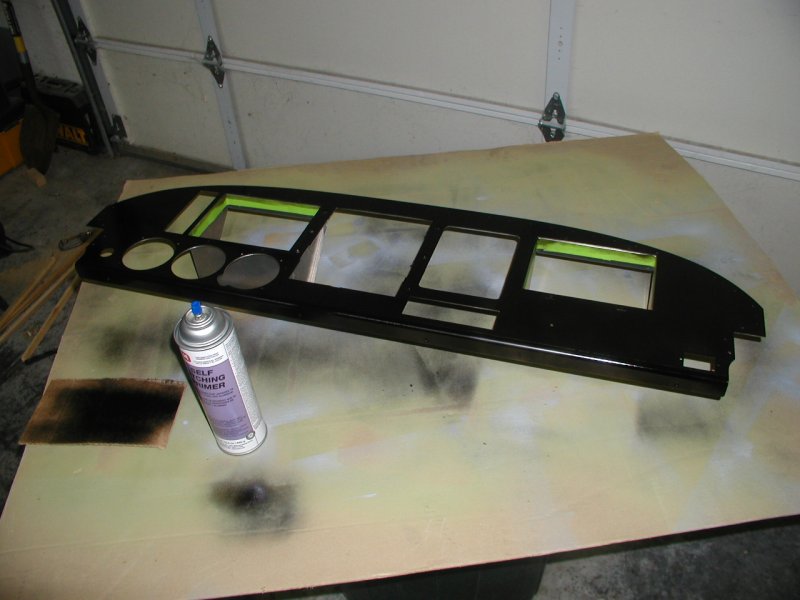
Primed the panel with self etching black primer.
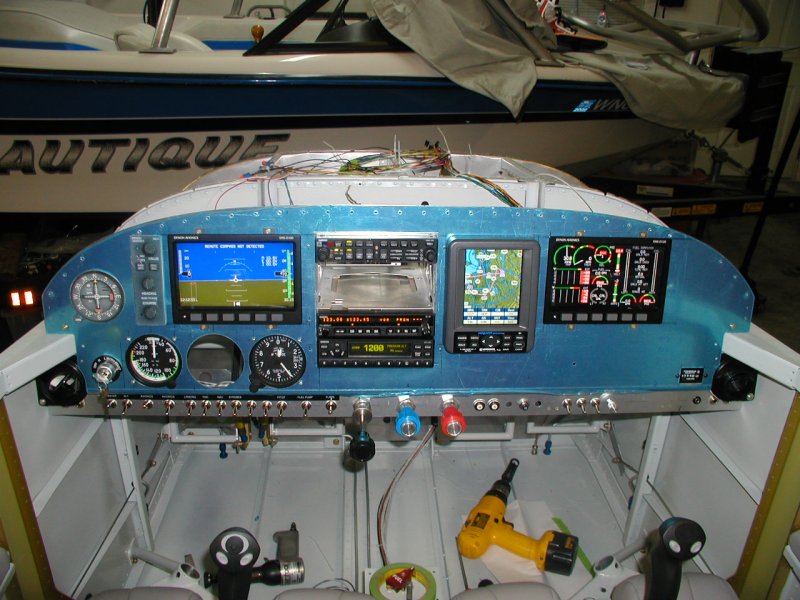
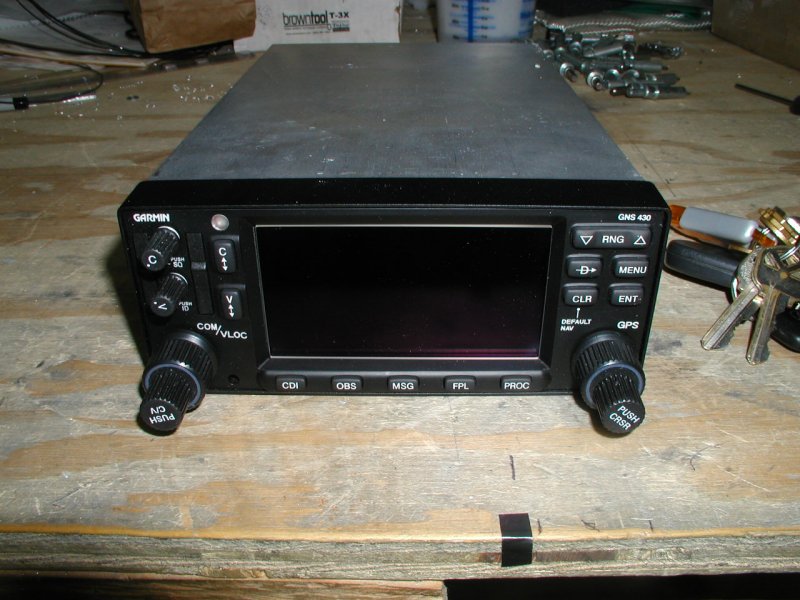
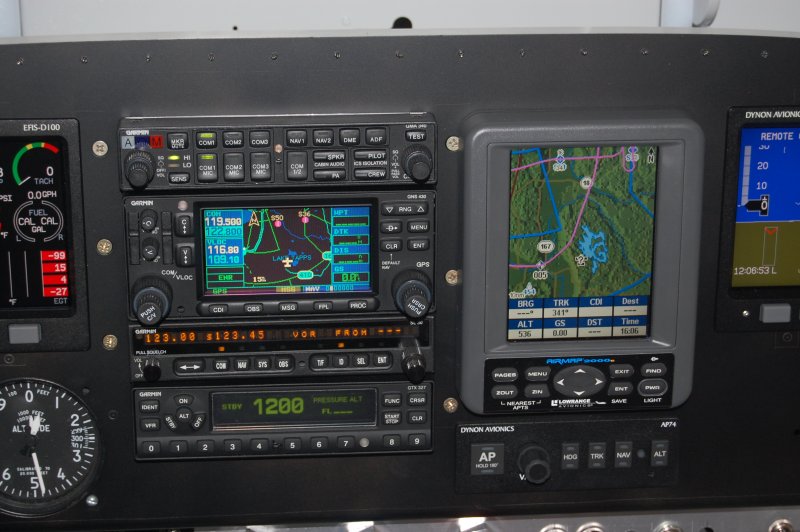
Here is my GNS-430 NAV/COM/GPS!! This unit is the bomb and the definately the highlight of my radio stack.
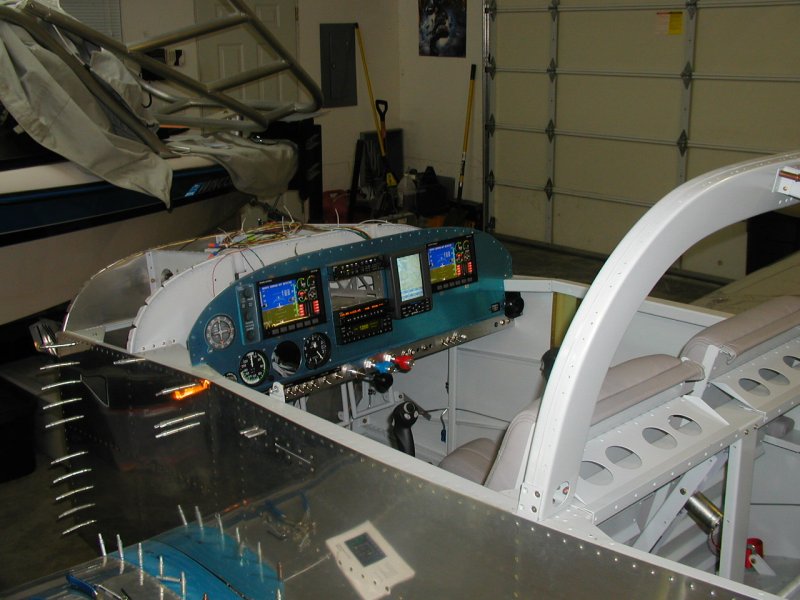
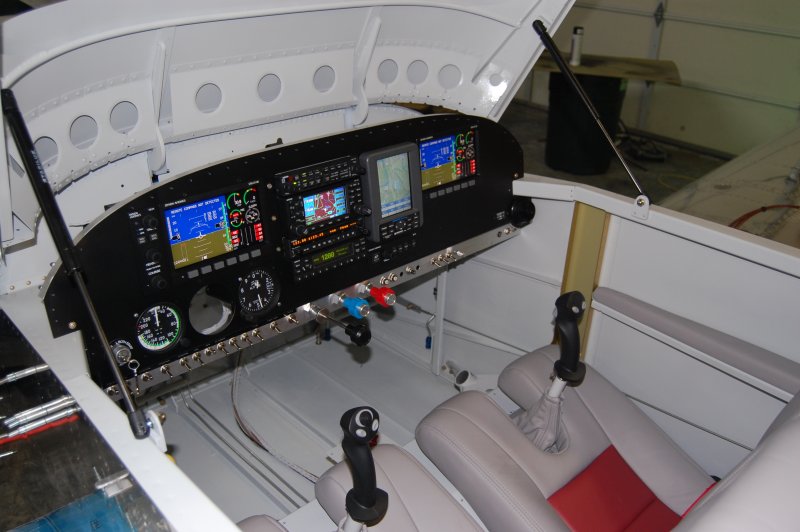
Really starting to look like something. Very exciting!!
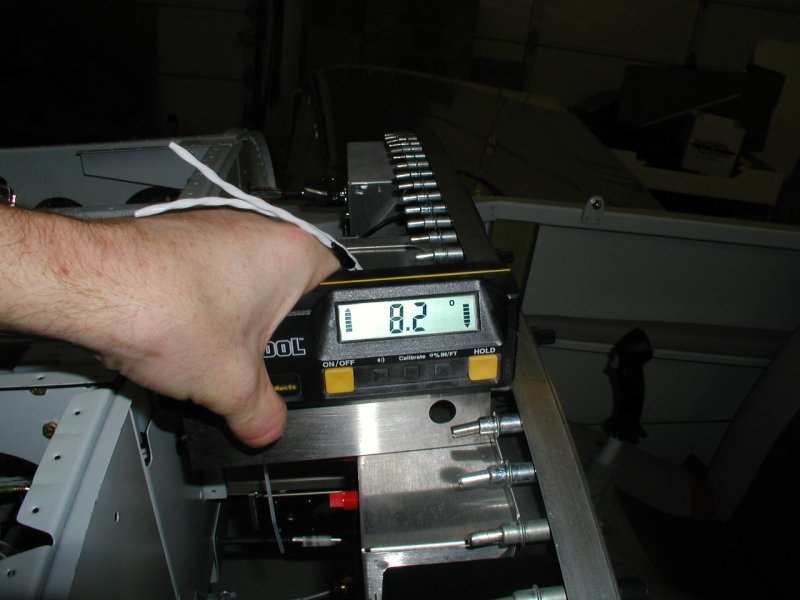
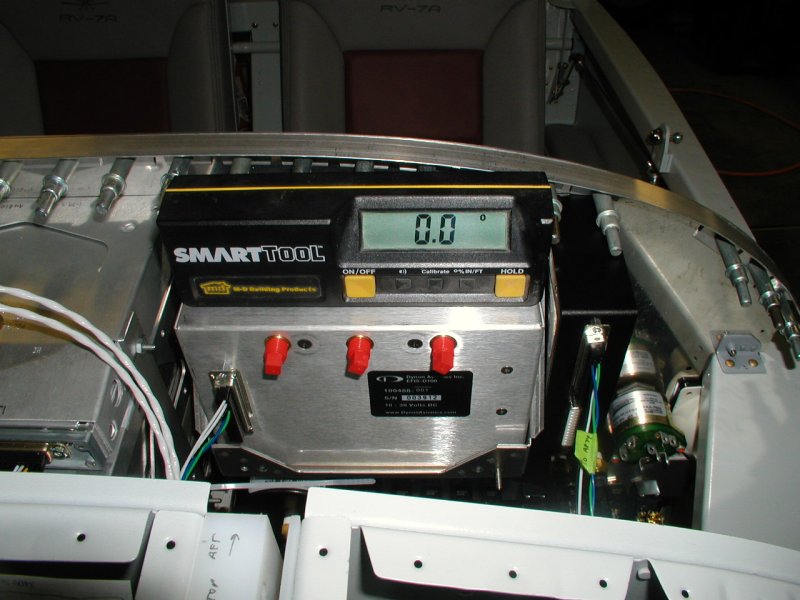
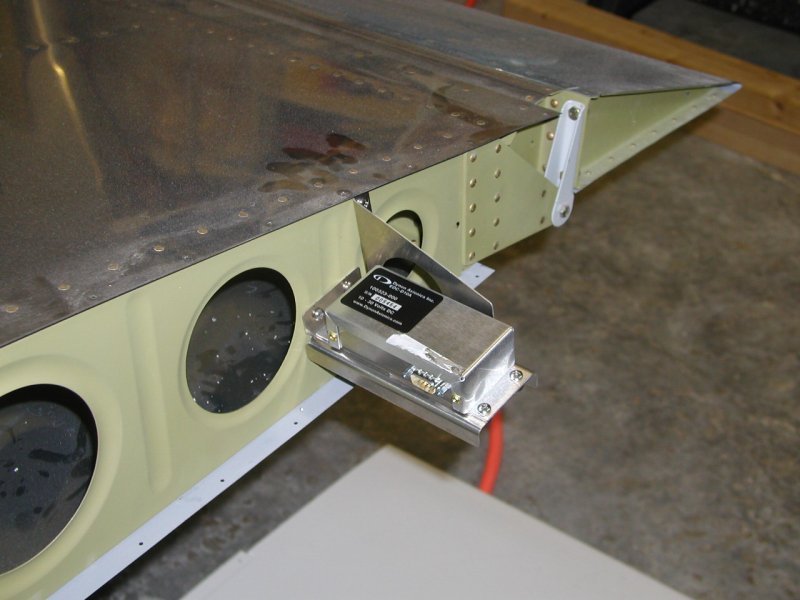
Alright time to get back at it, the new panel is very distracting. The Dynon EFIS has a remote compass (located in the wingtip) that has to match the angle and level of the EFIS.
Here is the mount in the left wingtip
Back