Technically we hung the engine yesterday in February but I thought the pictures would be a better start to March.
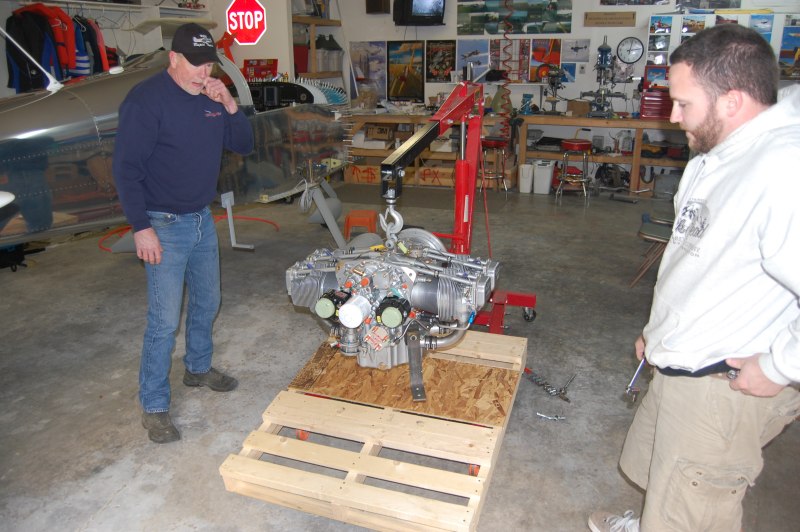
Anyway my friends Dave and Robert came over and helped me out. Dave has the 9A and Robert has the 8A and hey I have a 7A.
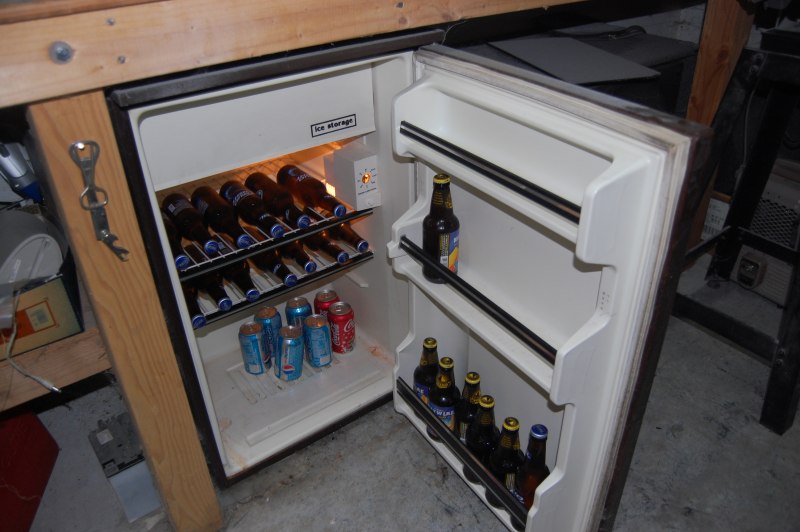
Got beer, good.
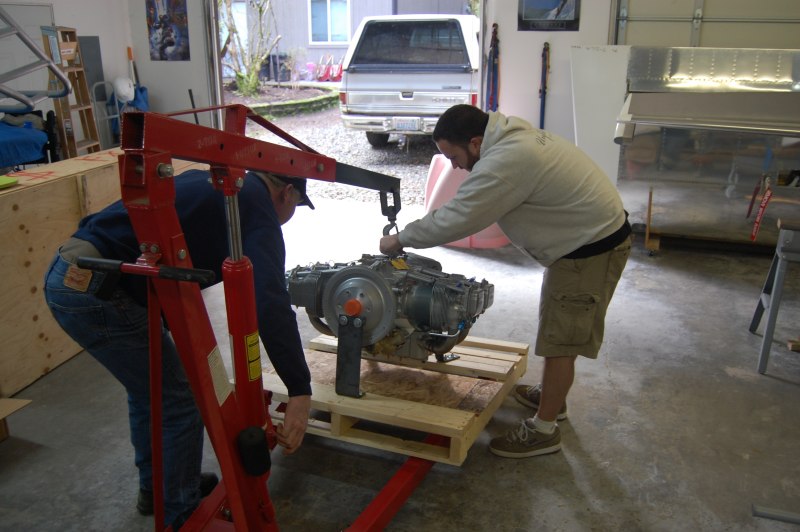
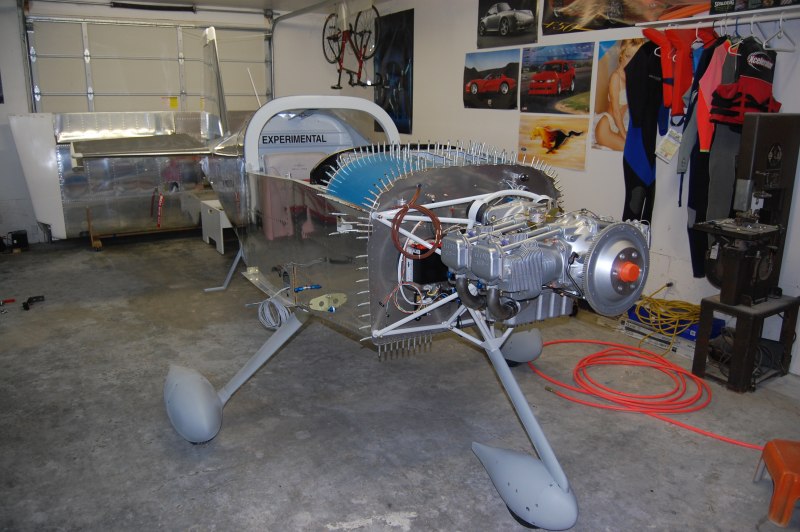
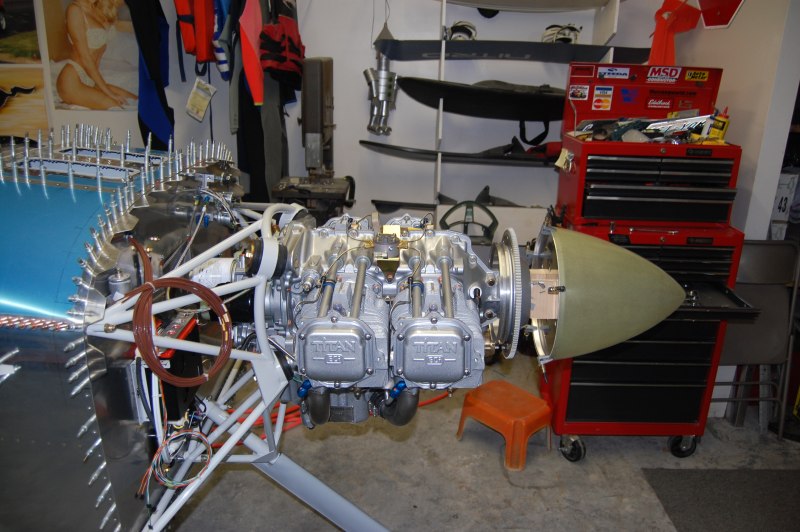
Since the engine hoist wouldn't fit around the engine pallet, we slid it up on.

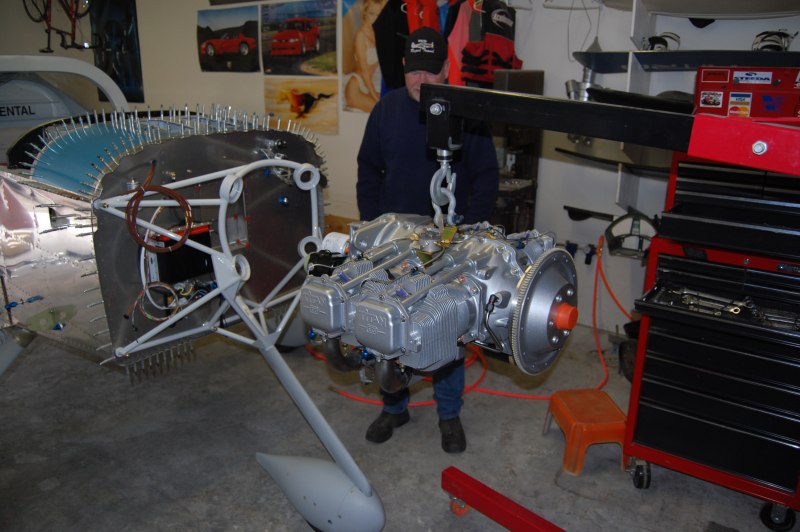
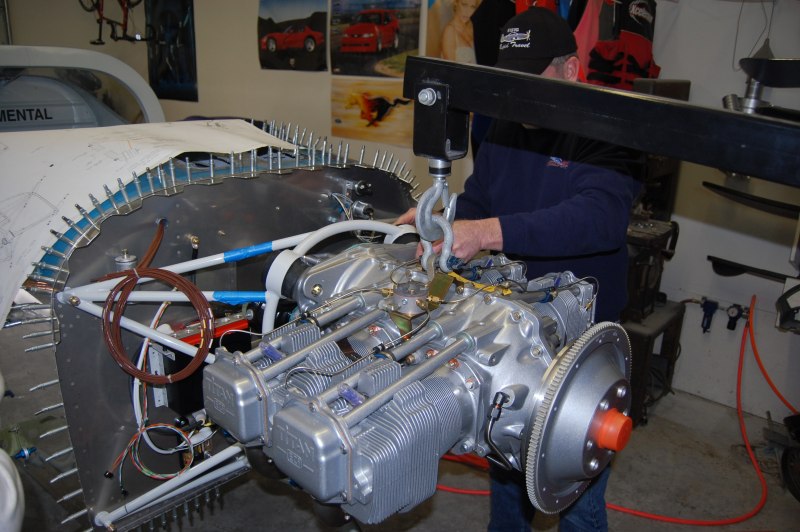
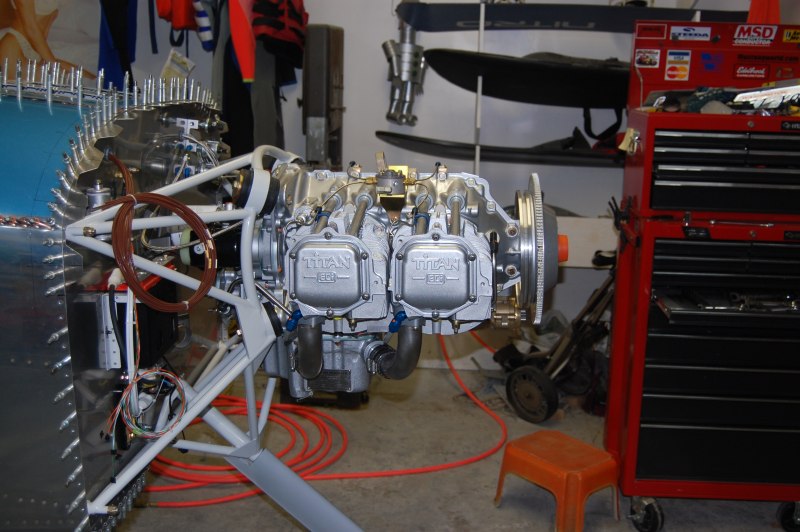
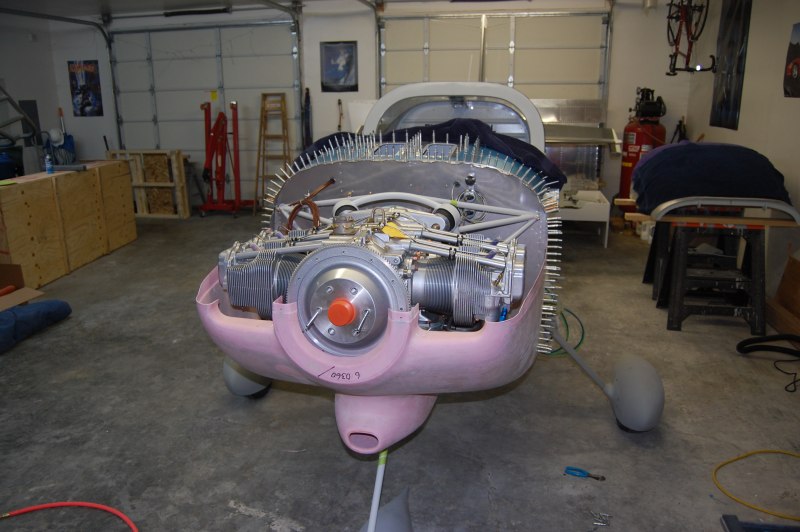
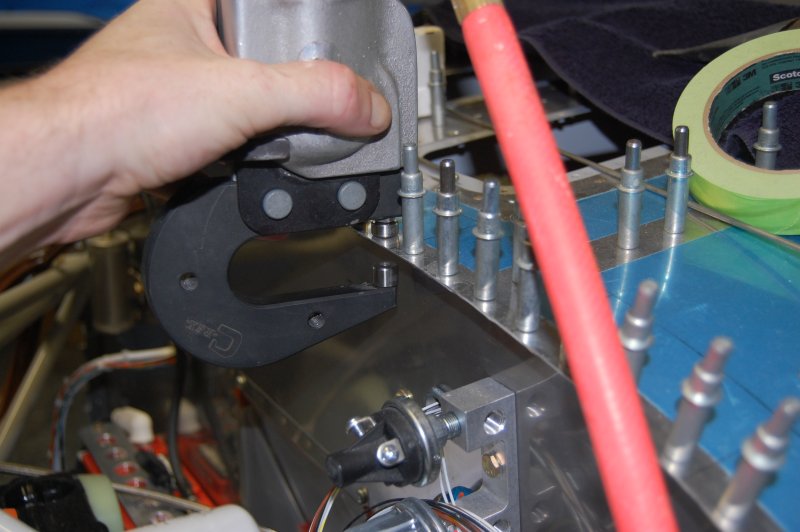
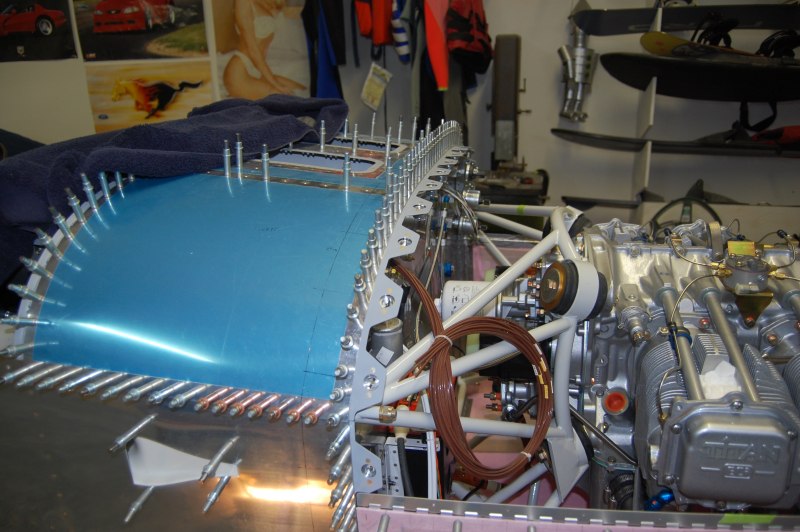
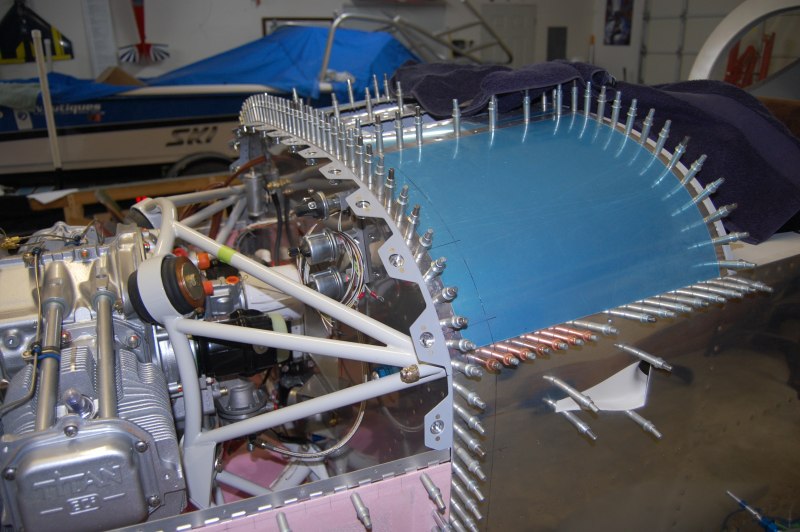
Got both the top mounts in
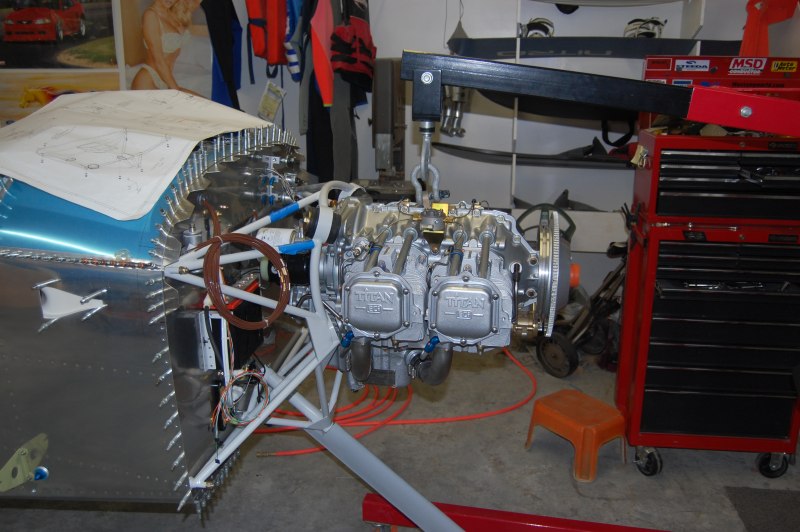
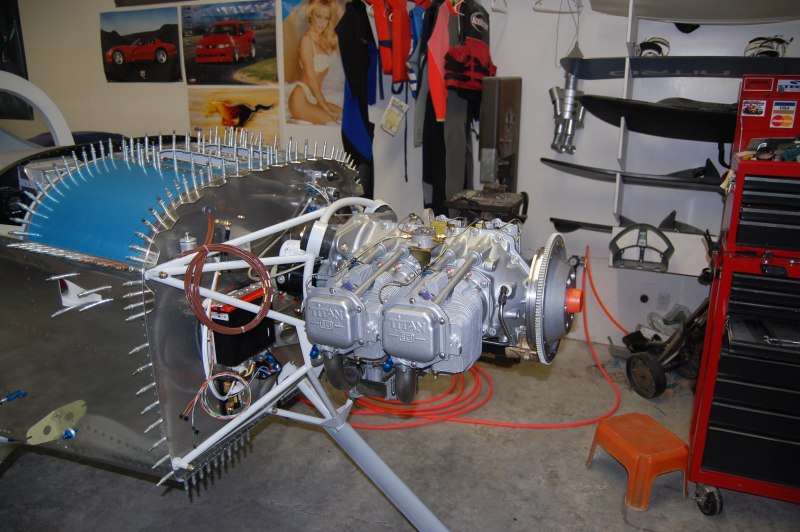
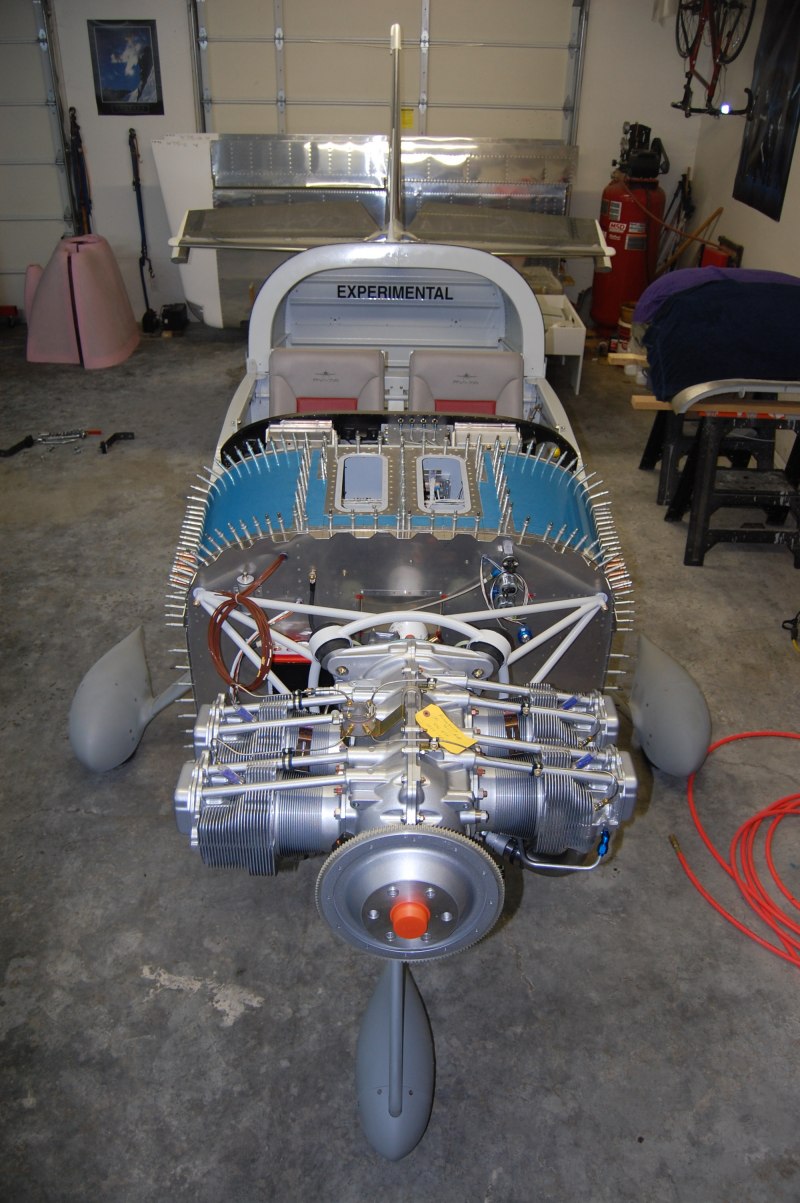
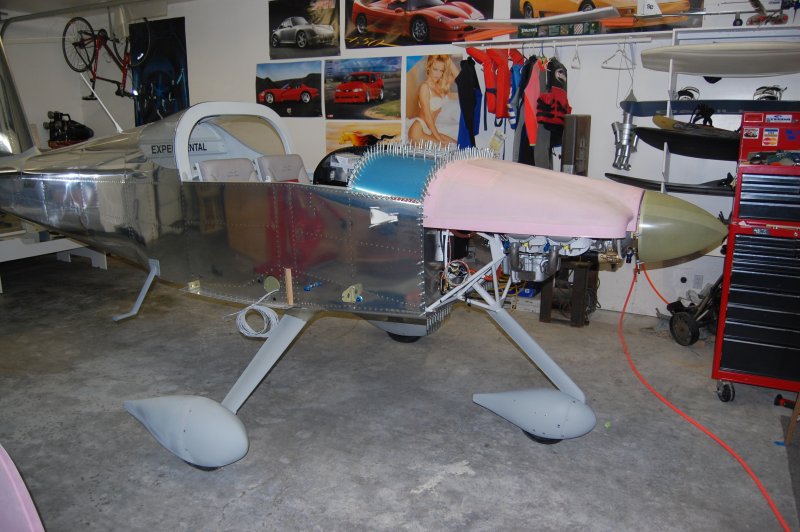
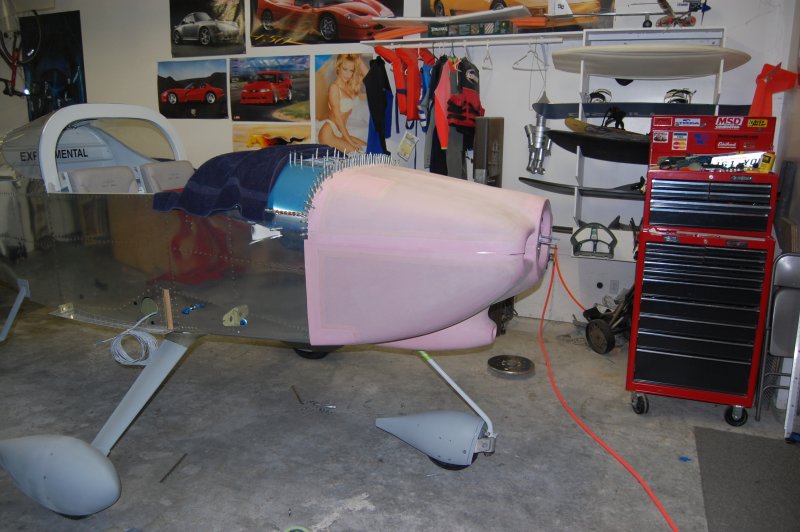
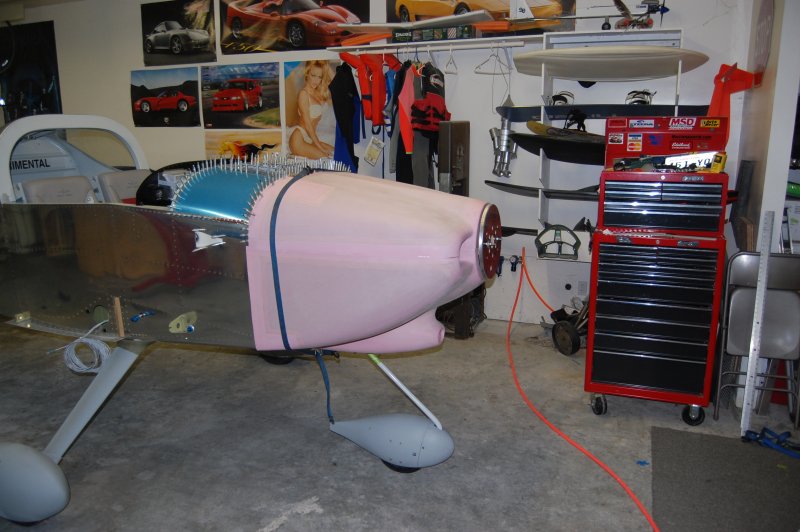
And there it is. It ended up being very easy with 3 people. It was nice having someone on each side to help guide it into the mount. (There are quite a few things on the rear accessory case that could easily collide with the mount and battery box if you aren't careful.) That and the bolts don't just slide in, there is a fair amount of wiggling, lifting, and pushing.
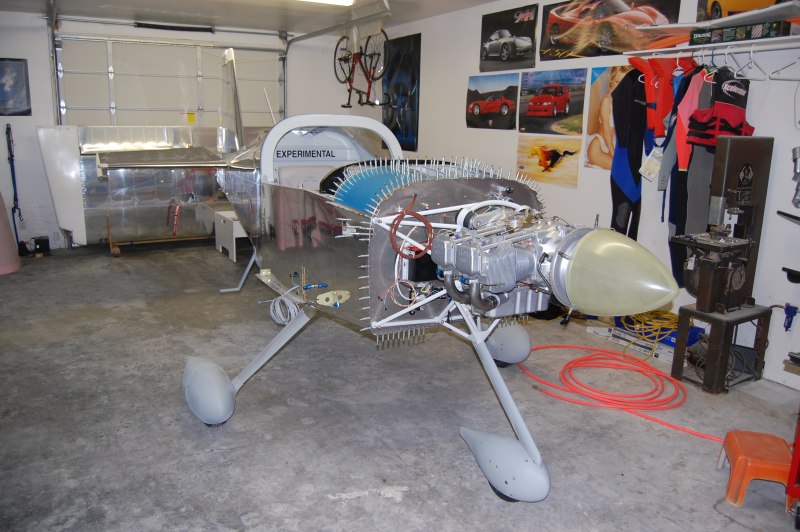
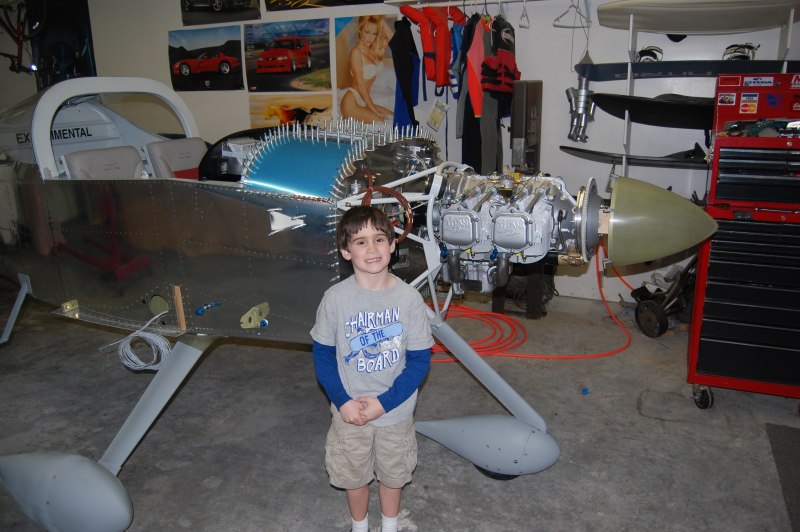
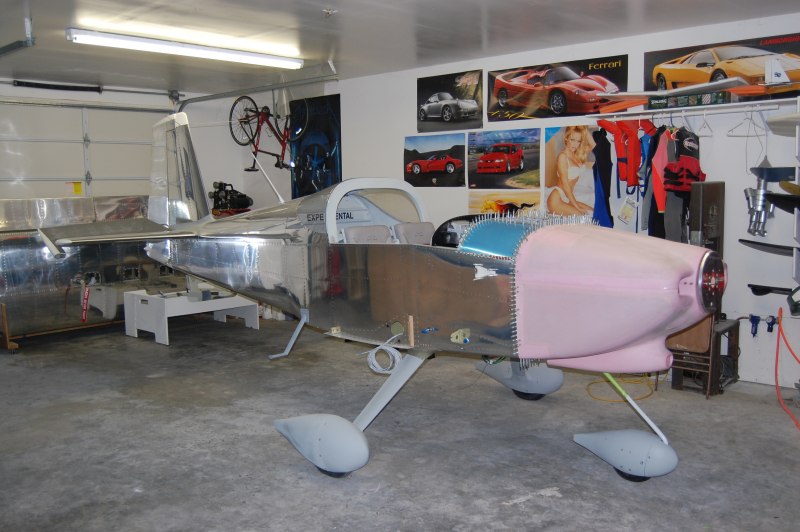
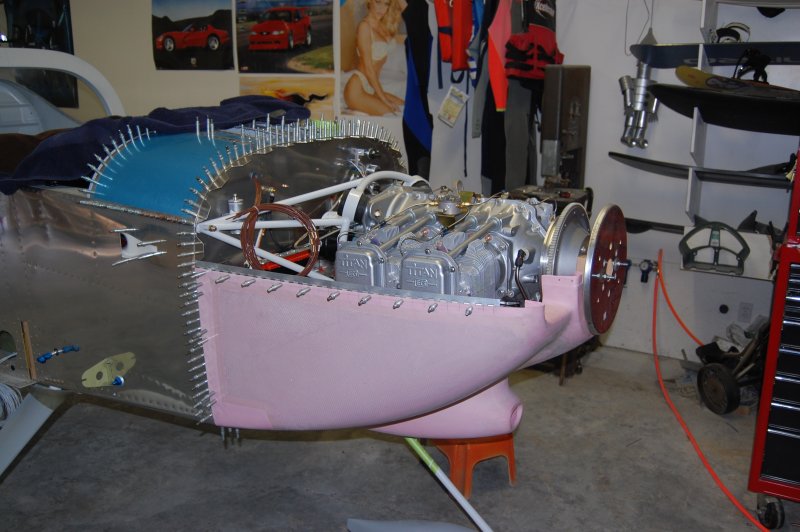
I couldn't resist temping the spinner on to see where everything will end up.
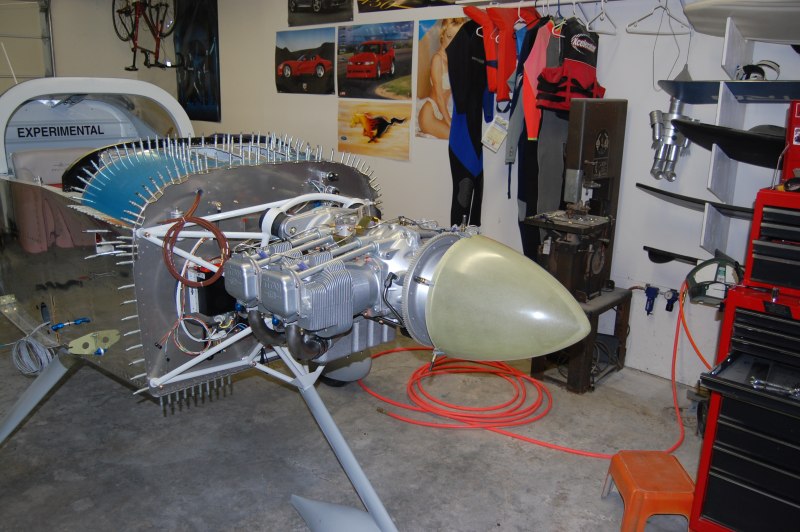
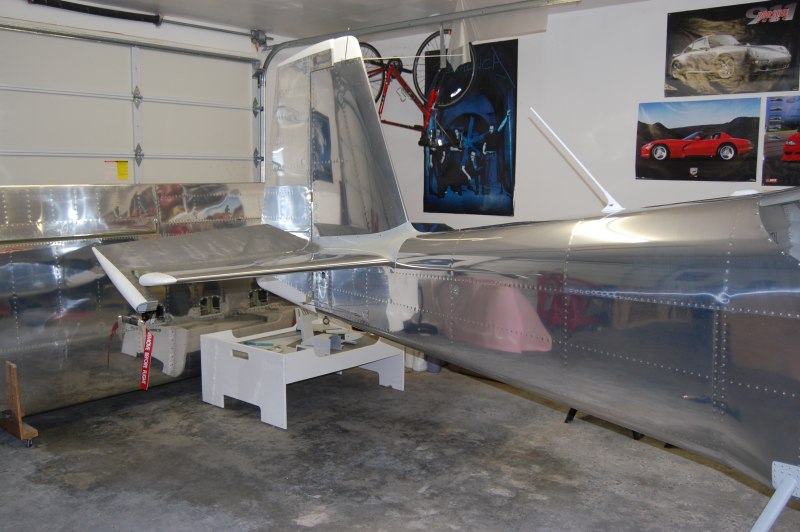
No more sawhorse under the tail!
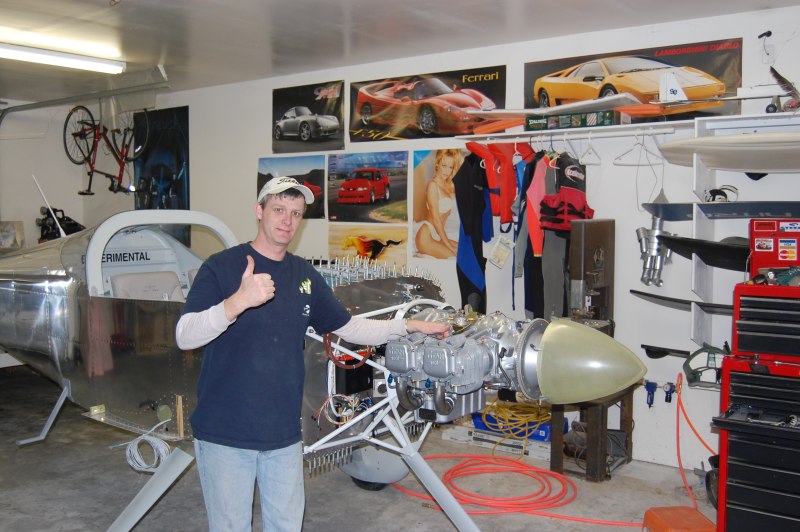
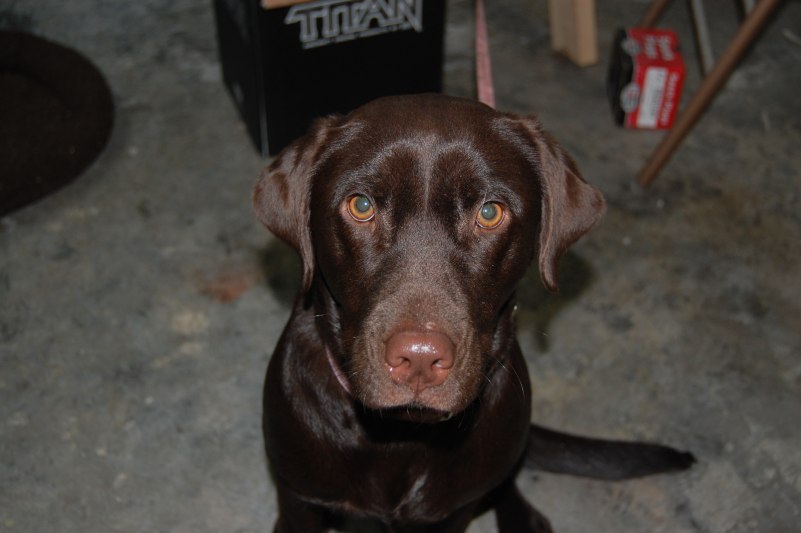
Even got the approval from the "Chairman of the Board".
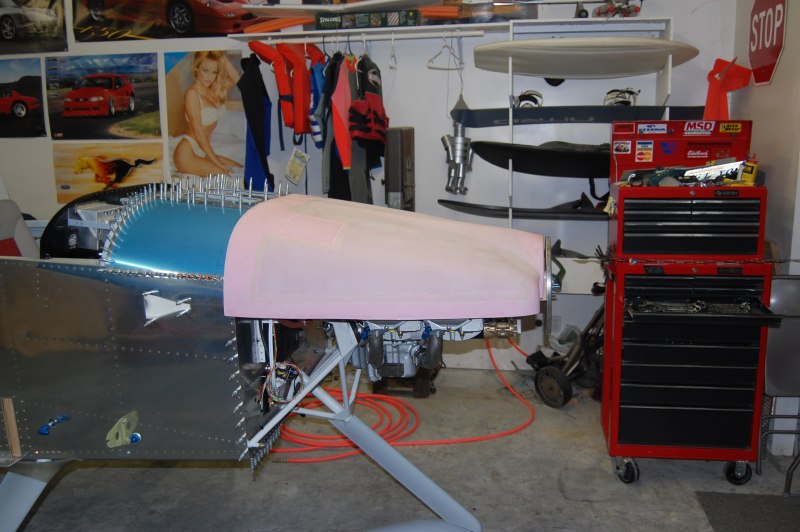
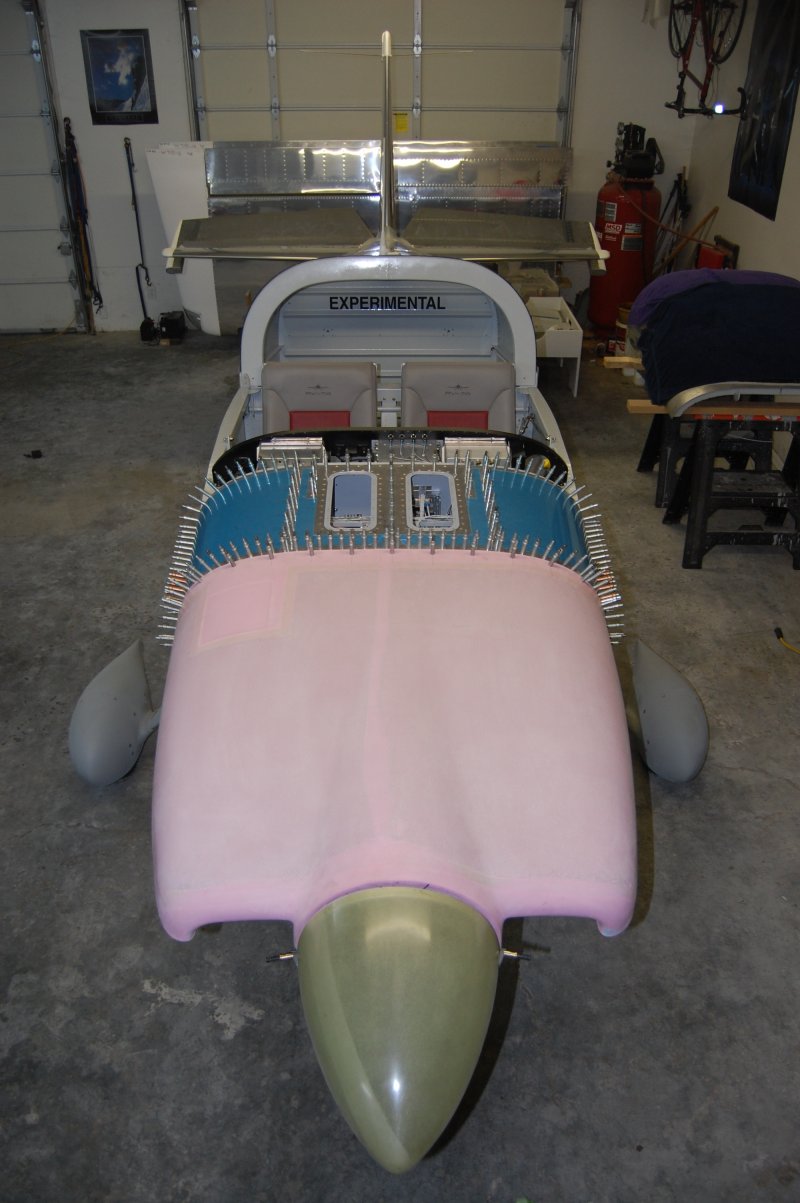
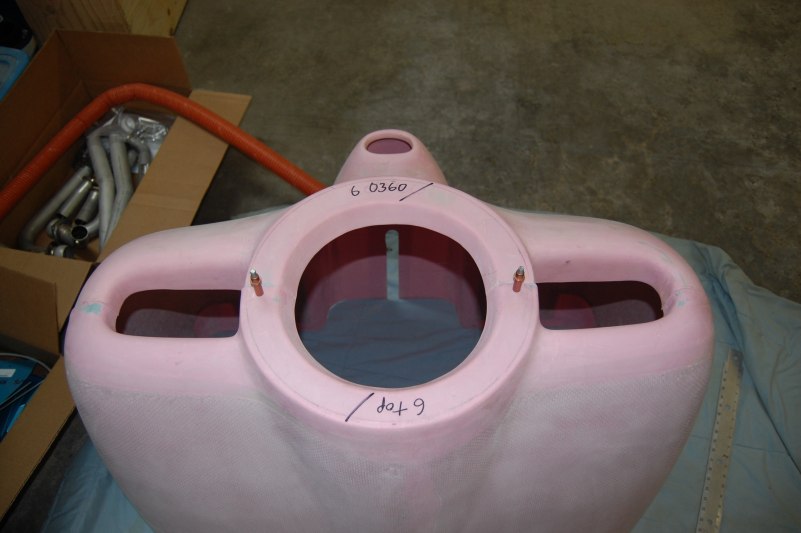
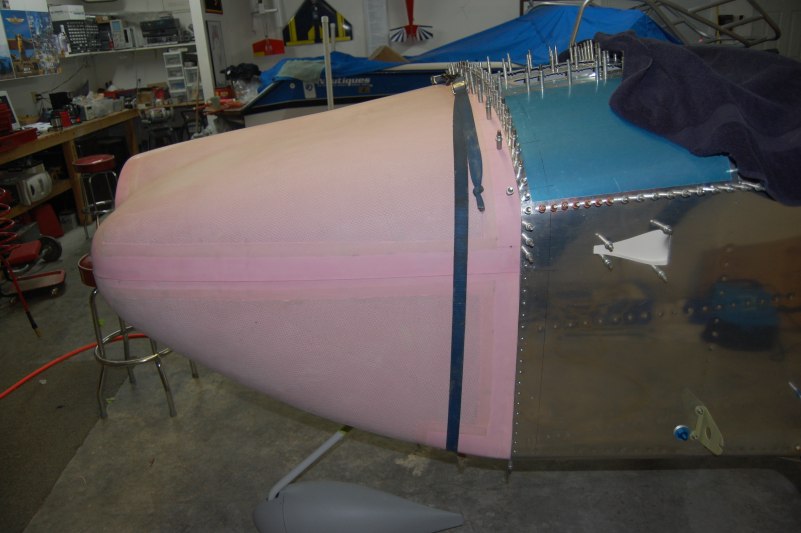
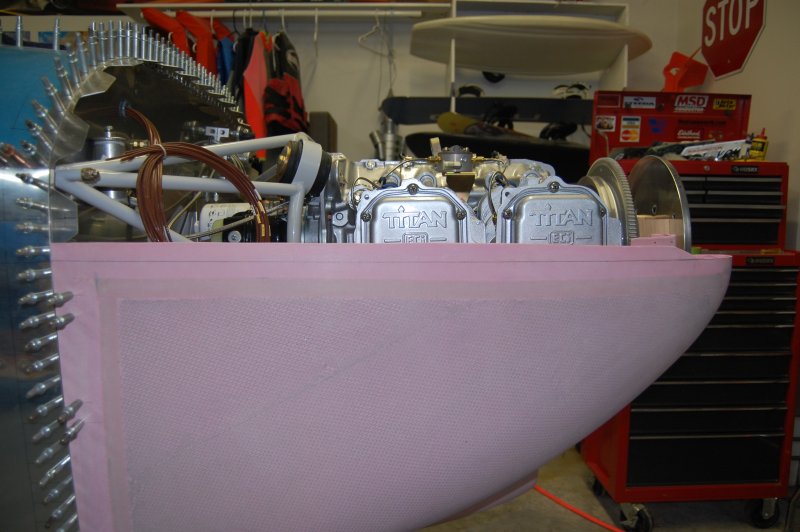
Set the top cowl on to see what it looked like
First thing on the cowl is the fit the front halfs together. Then you can center the spinner.
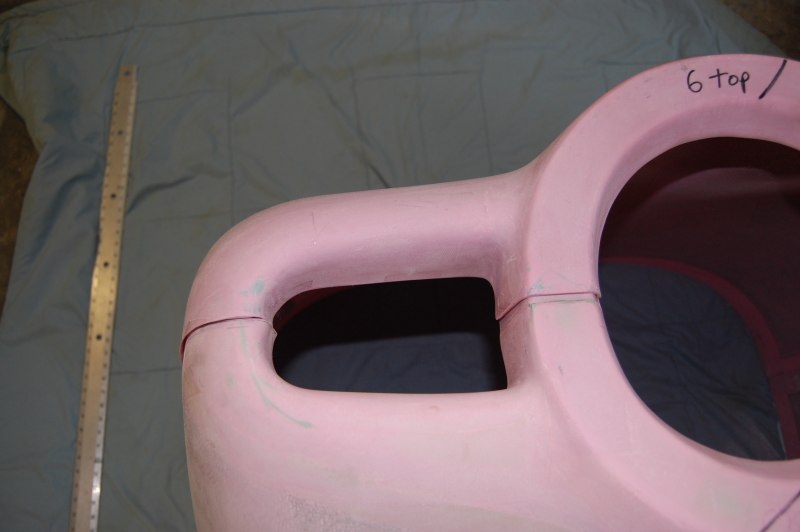
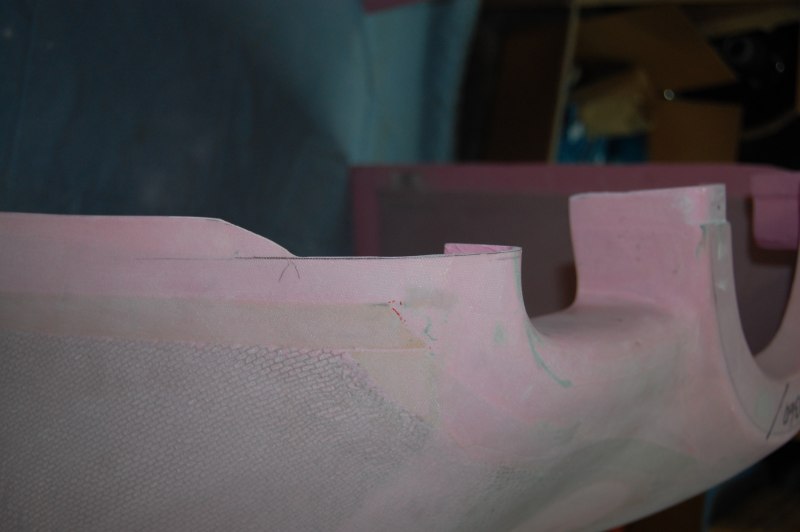
The overlap areas in the center need to be cleaned up quite a bit
The outsides don't overlap and need to be trimmed. The two halfs on this side are pretty simular and are overlapped now. Nice for establishing a trim line.
This side isn't even close. (Some of this is caused by the other side being overlapped.)
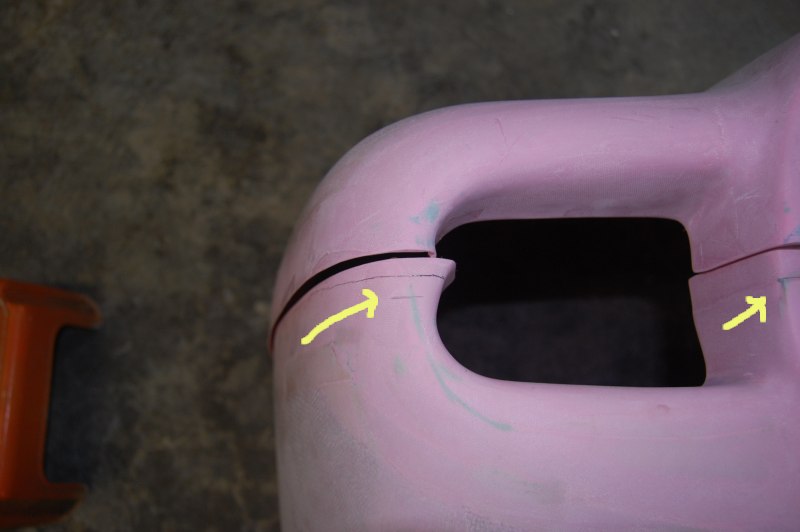
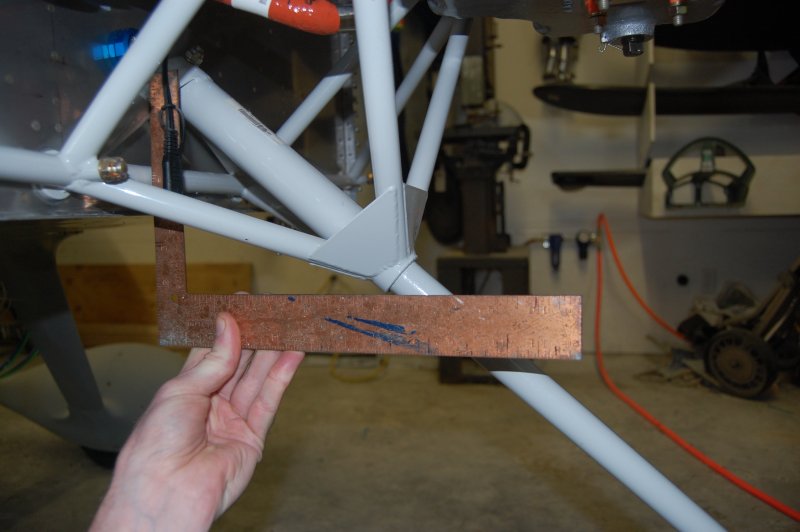
I laid a straight edge along the center area overlapped areas and marked a line on the outside. (Hard to see but it's the lower line.) It will eventually be trimmed pretty close to this line but I taking baby steps at this point. (Don't want to piss of the painter.)
A little better

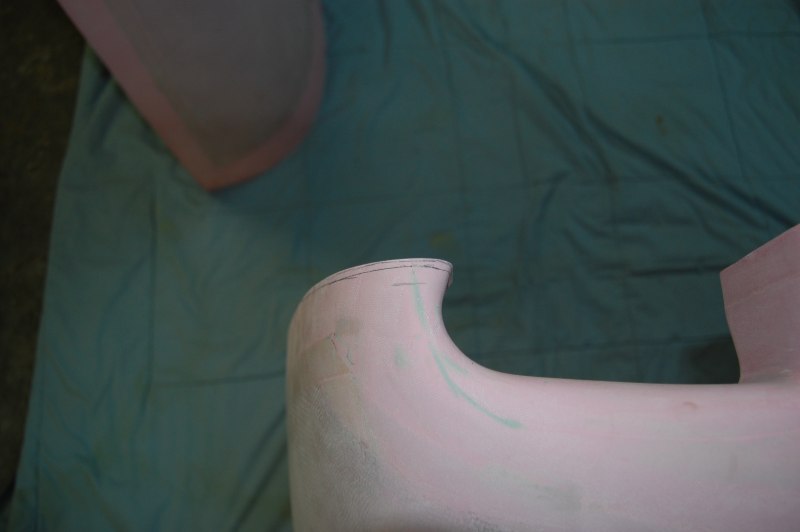
Marked another trim line
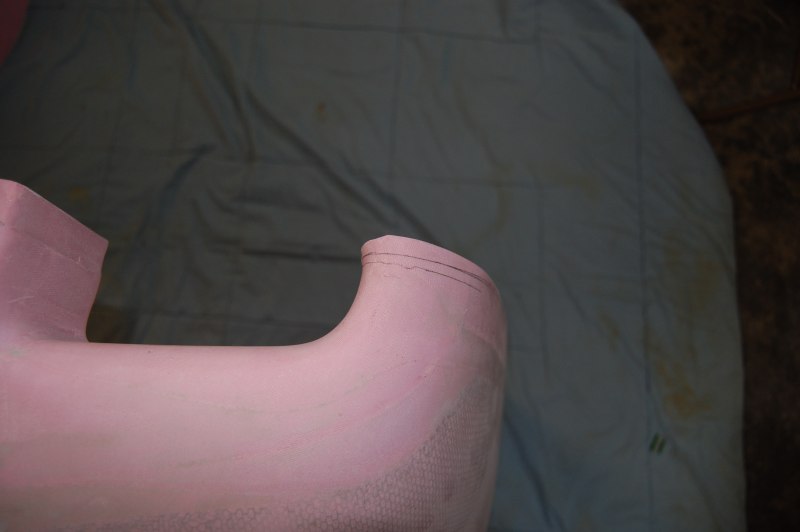
And the other side
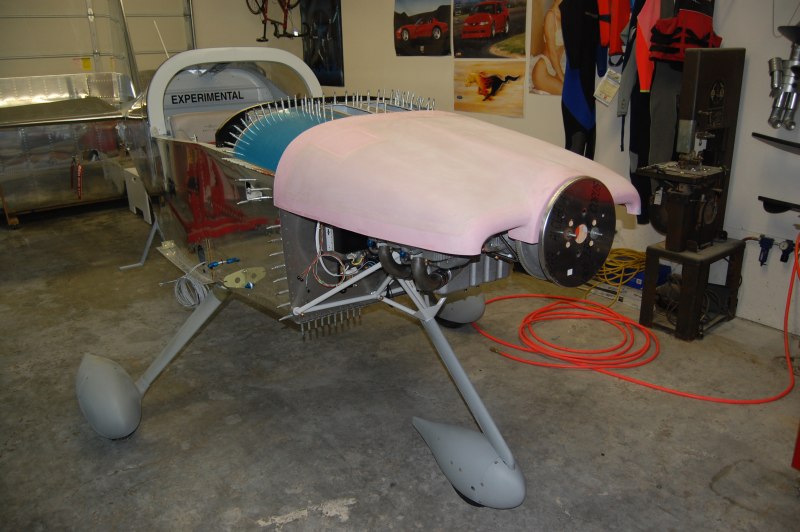
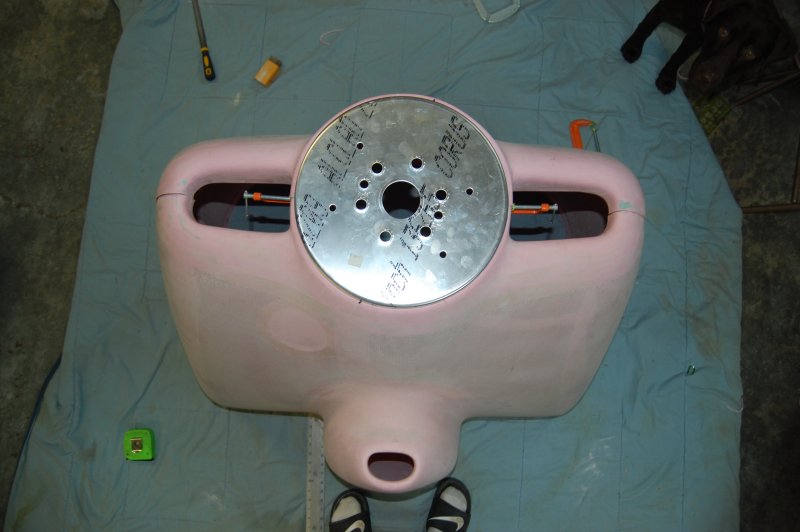
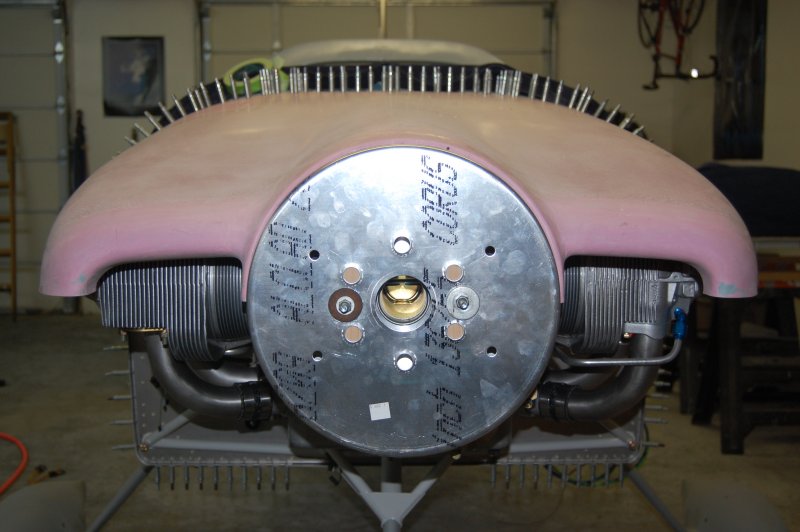
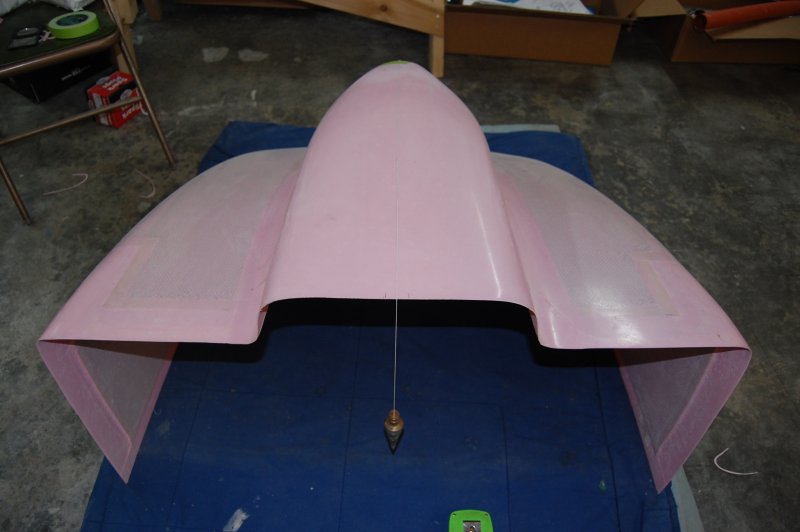
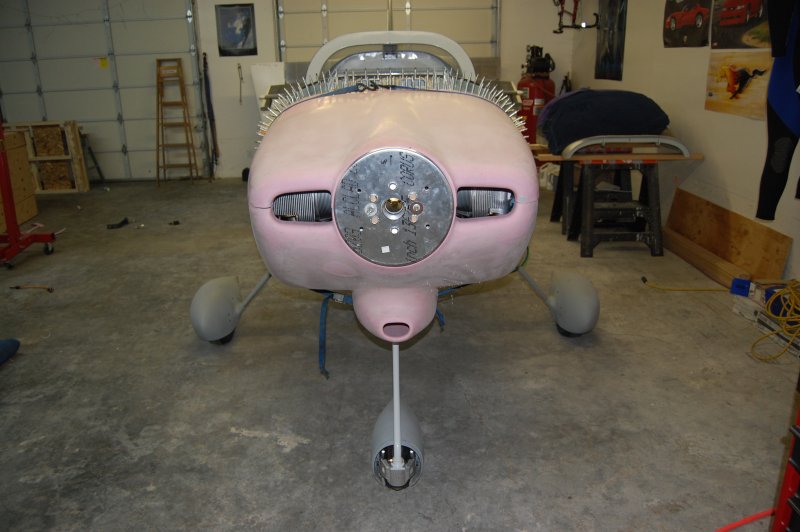
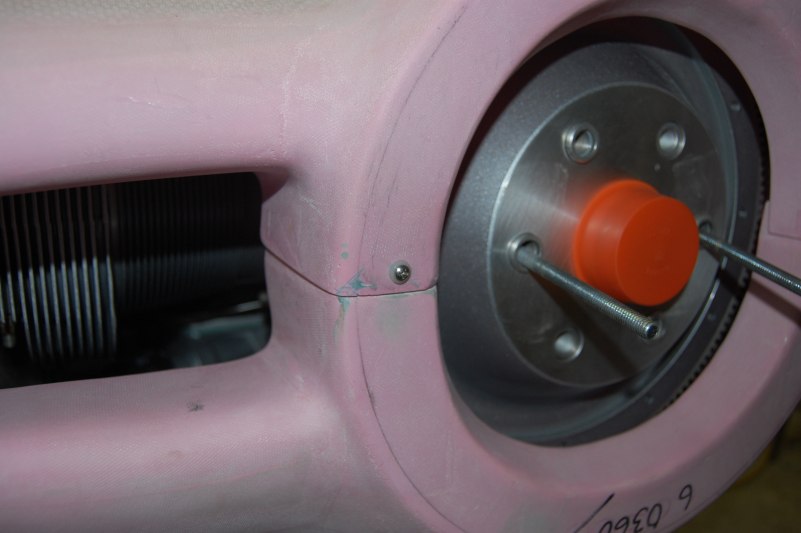
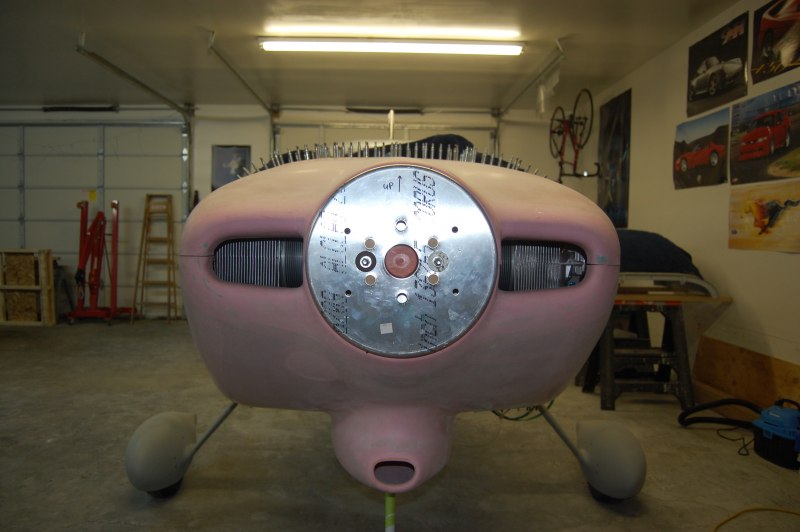
I set the spinner backplate on just to see how round things were getting.
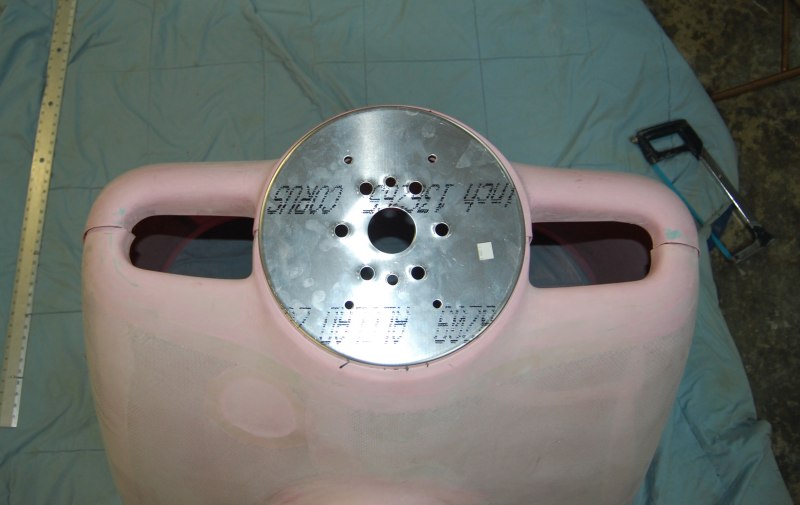
Looking at the center area, I still have about a 1/4 inch to go. Things are looking a lot better though.
The sides are wavey and need to be straightened
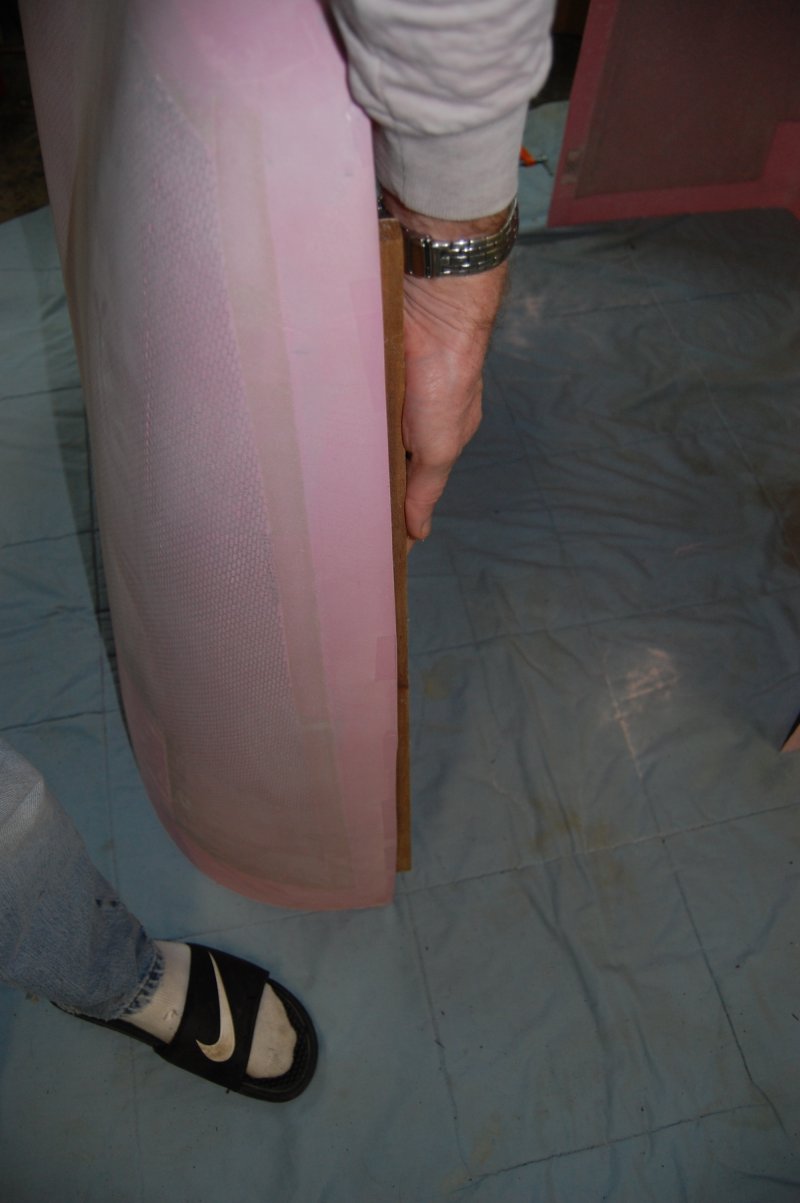
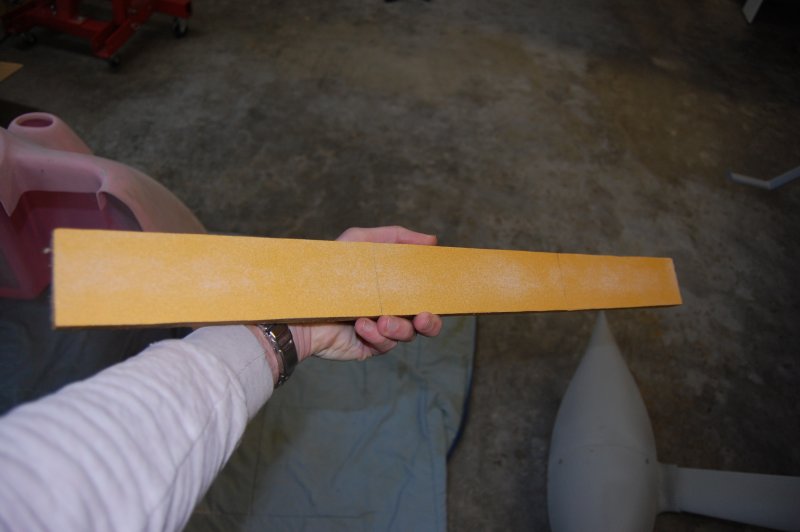
I glued sandpaper to this long board
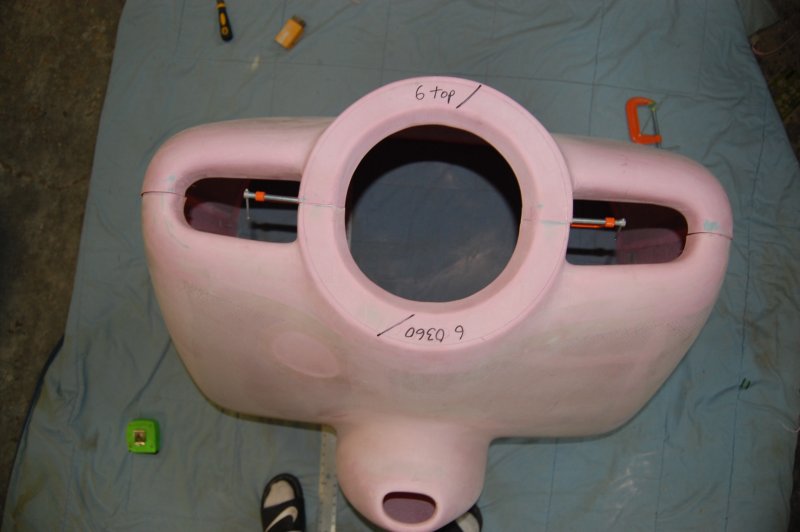
After a lot of trimming, the center area is finally pretty round
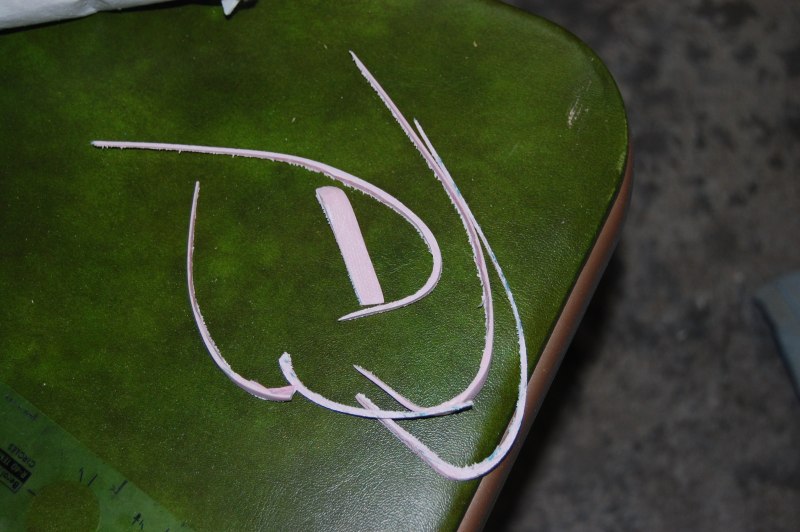
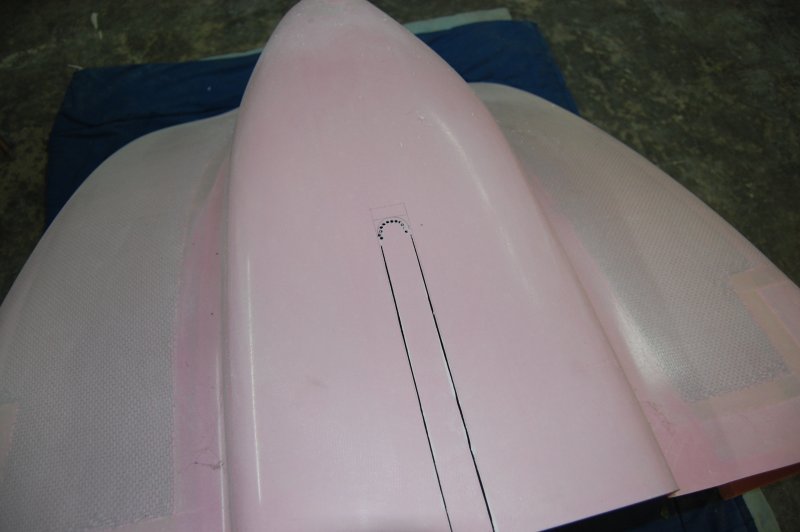
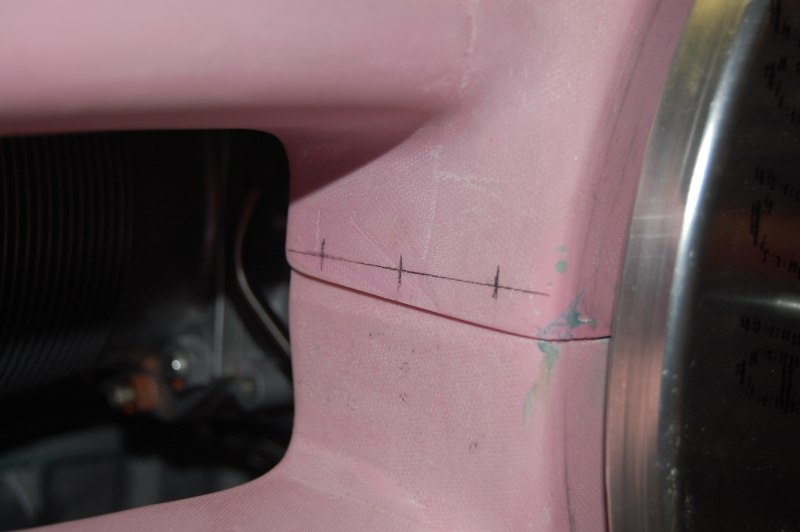
Marked a circle on the cowl
Hard to see in this picture but I am figuring in 1/8 of sag into the cowl. This will make the cowl a little low for now, but with the additional weight of the prop and some engine mount sagging over time hopefully it will be perfect.
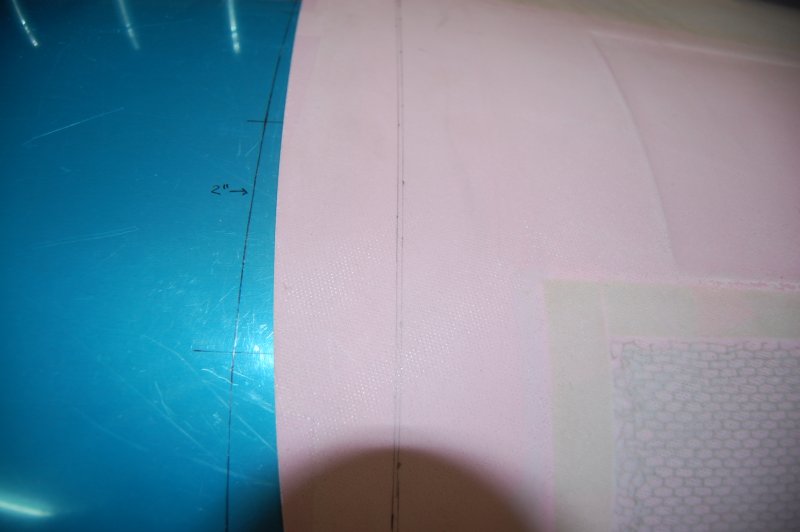
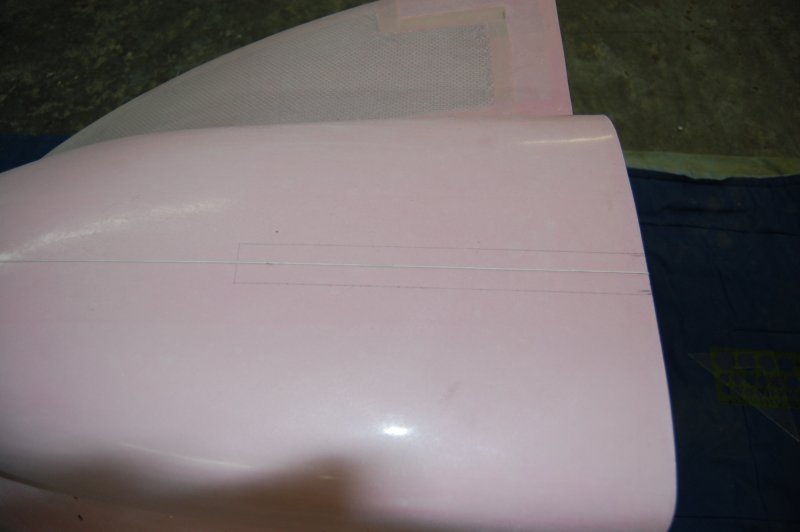
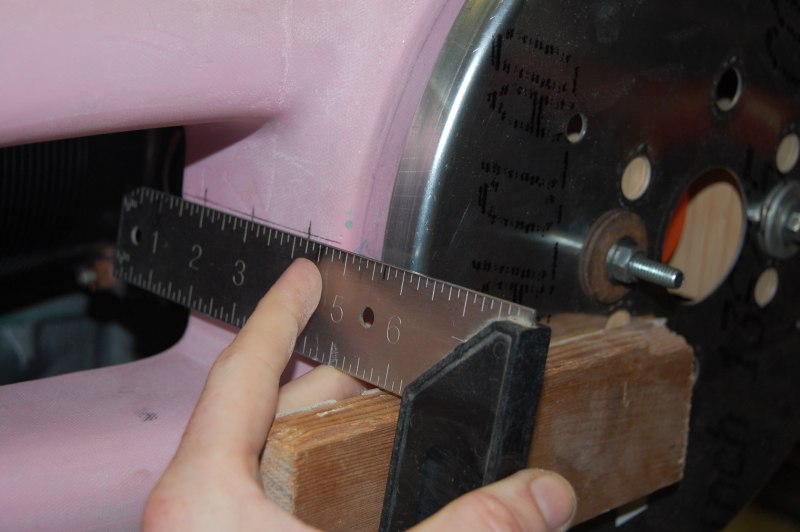
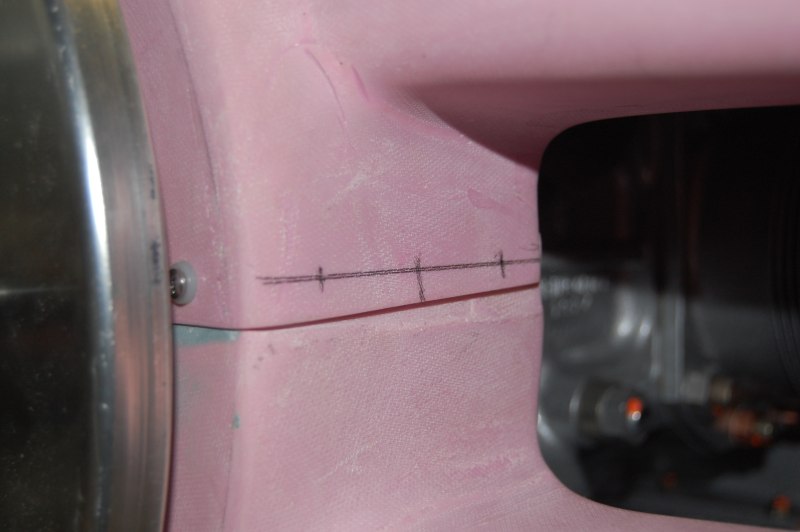
Measured 2" from my fuselage mark for the trim line
I chickened out a little and added another trim line 1/16 back just in case the shape changes a little when it moves down flush onto the scalloped piece.
Time to stop looking and start cutting
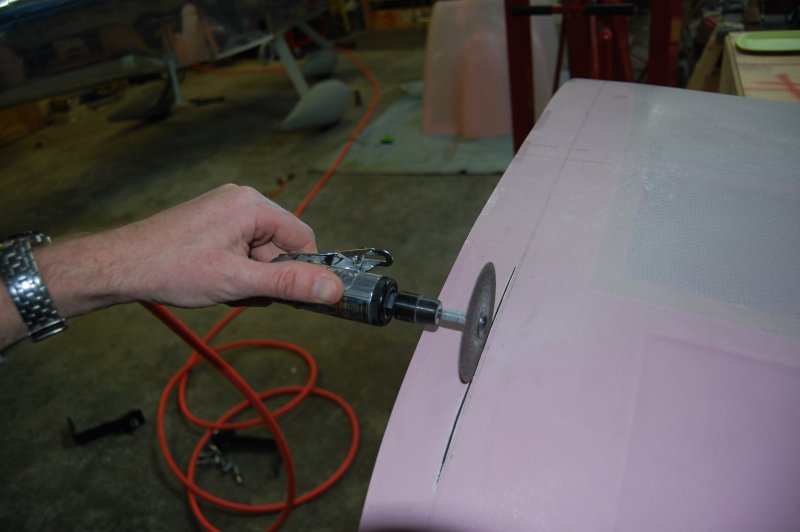
Looks pretty good. Glad I went 1/16 back though so I can slowly sand to the line correcting as necessary.
Getting real close now
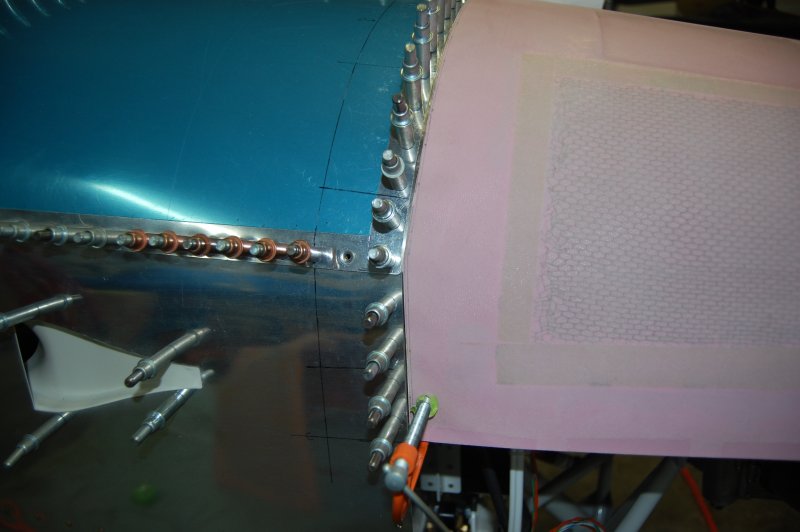
Ok it's time. After putting the cowl on and off at least 10 times and sanding accordingly, I'm there and drilled the first cleco.
Drilled and clecoed the rest of the camlock locations
I thought I was done for the day but Trinna called and said they would be home in a couple hours. Bonus!
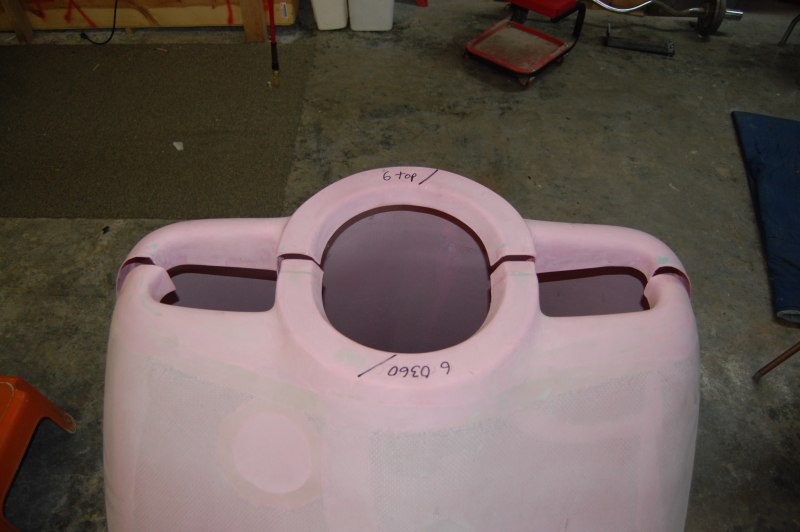
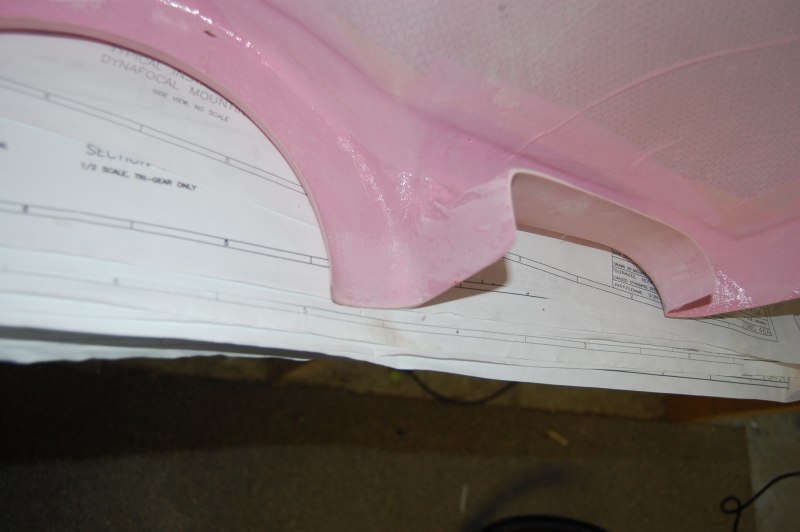
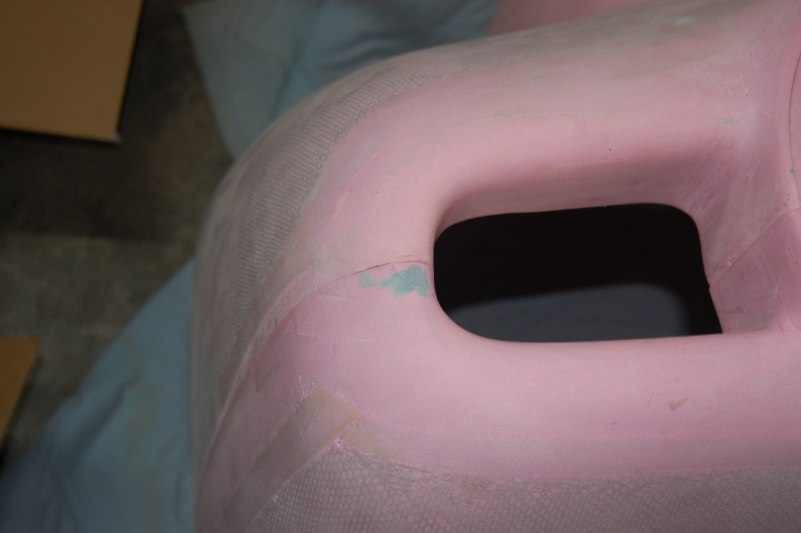
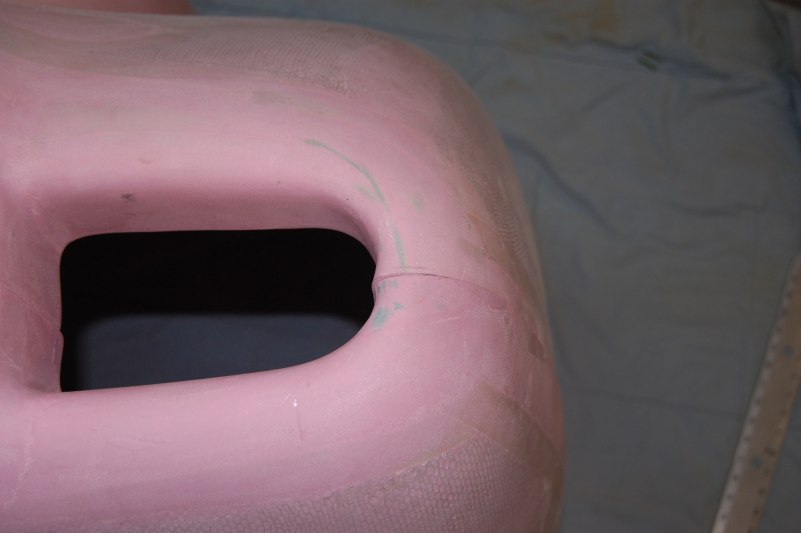
Figuring how much to cut out for gear leg
Kind of tough to find center since everything is rounded so I used a string
After extending the gear leg slot a little, I threw it up in there. Amazingly it stayed!
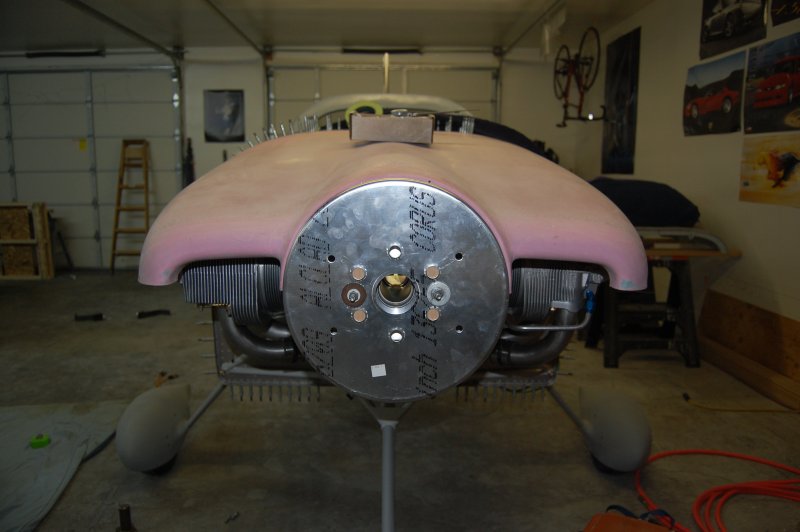
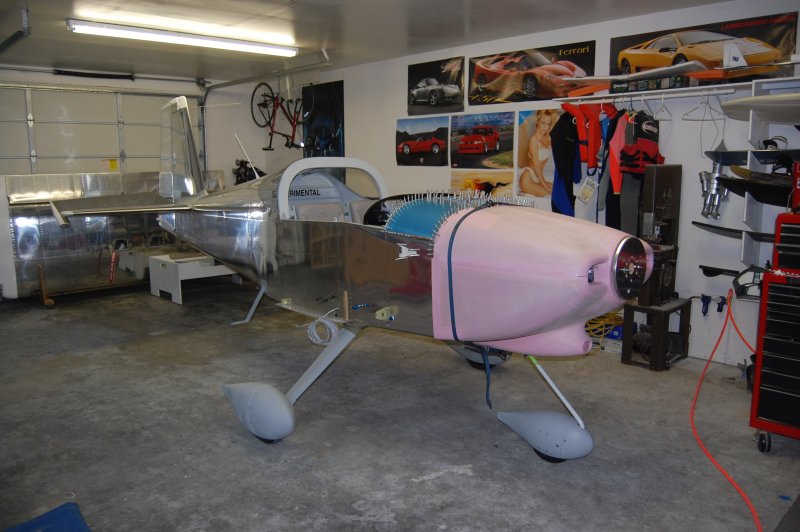
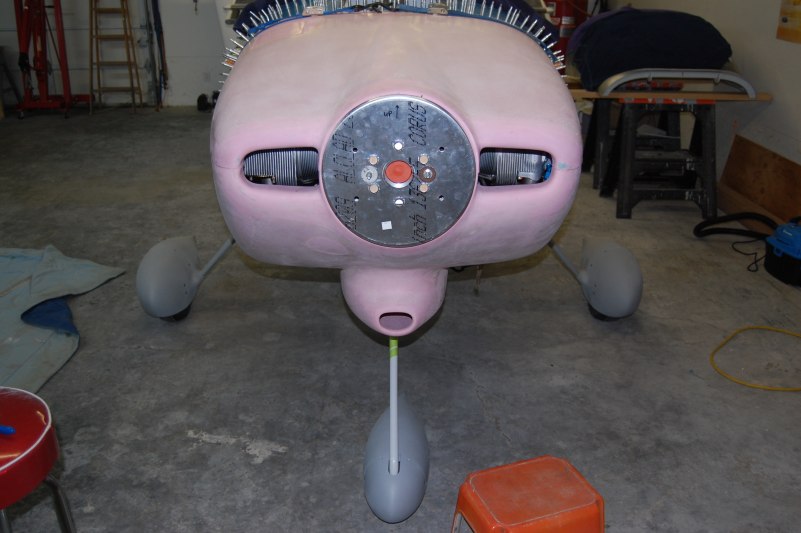
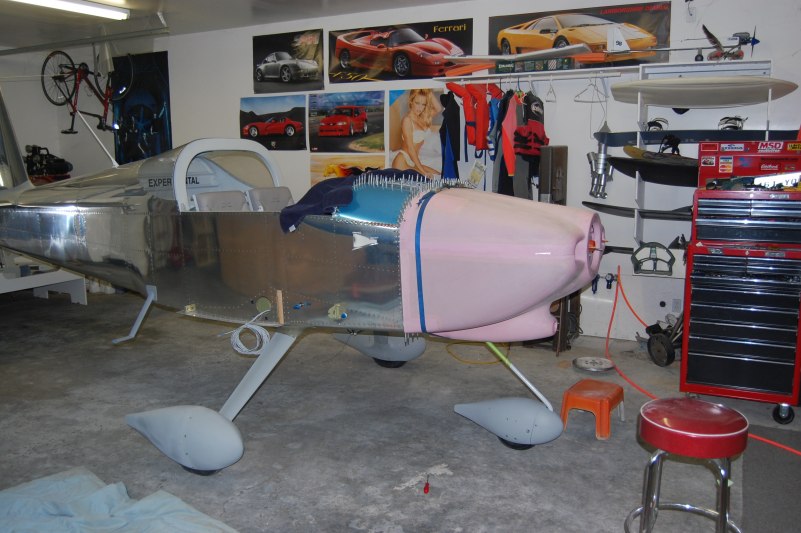
I added a strap so it wouldn't fall and re-installed the spinner to check the alignment. Not too bad!
Tons of work left to do, but it looks pretty cool!
On and off a buch more times. I decided to extend the front cut along the horizontal trim line back a little more to ease the tension on the overlap.
Nice!
This side has never looked as good as the other but it's how it was molded. I can't do much about it now but will revisit it after the cowl is 100% fastened.
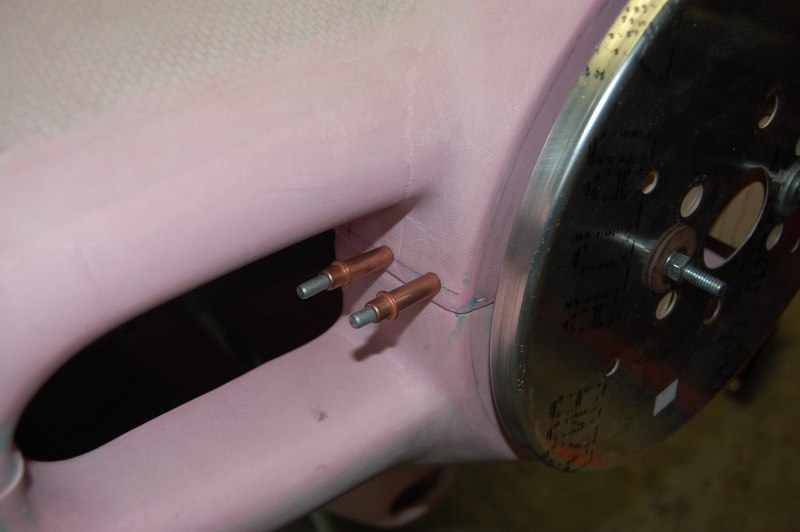
I drilled these temporary holes to help align and hold the cowl when putting it on. The permanent attach points are on the outsides of the ring, but I don't want to drill them until later.
A 6/32 machine screw screws into these holes nicely. A cleco from the front would hit the spinner, and in the back would hit the starter ring.
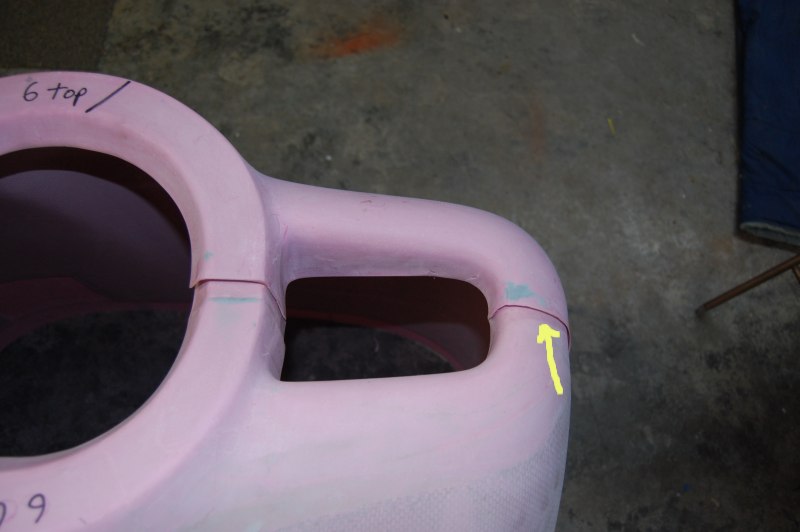
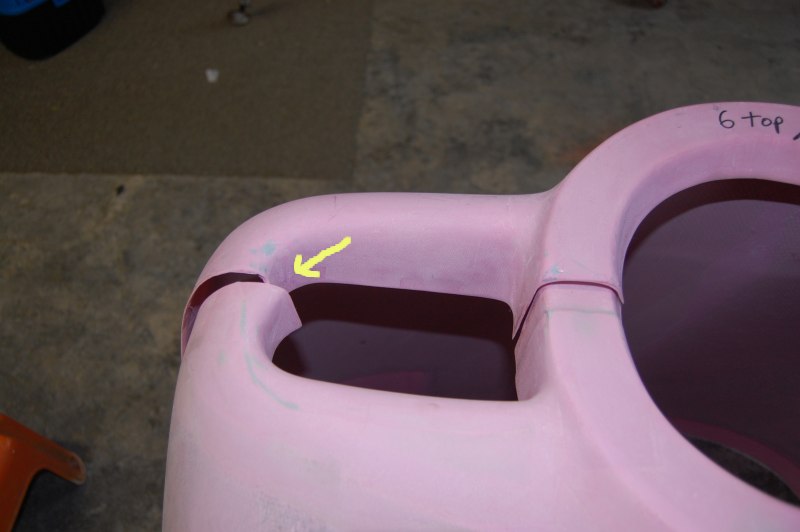
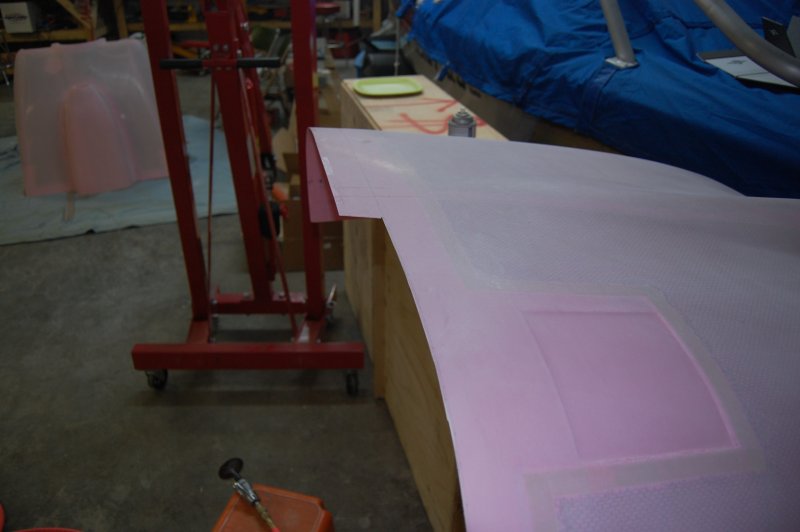
After a few adjustment here and there, I marked the cut line.

Well it's cut and looks good so far. Once it is attached around the firewall, I'll mark and trim the horizontal cut. (It is still currently overlapped.)
Ya ya it looks fine! Can we go in the house yet? Says Bea.
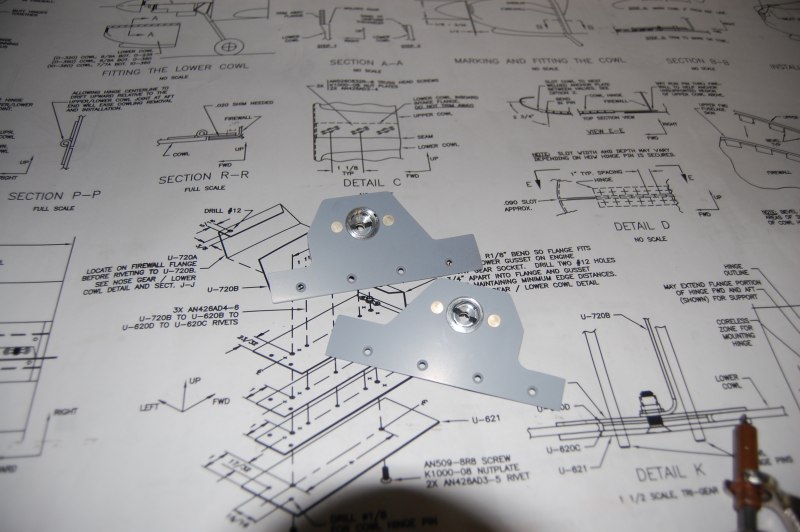
Installed the lower firewall hinges
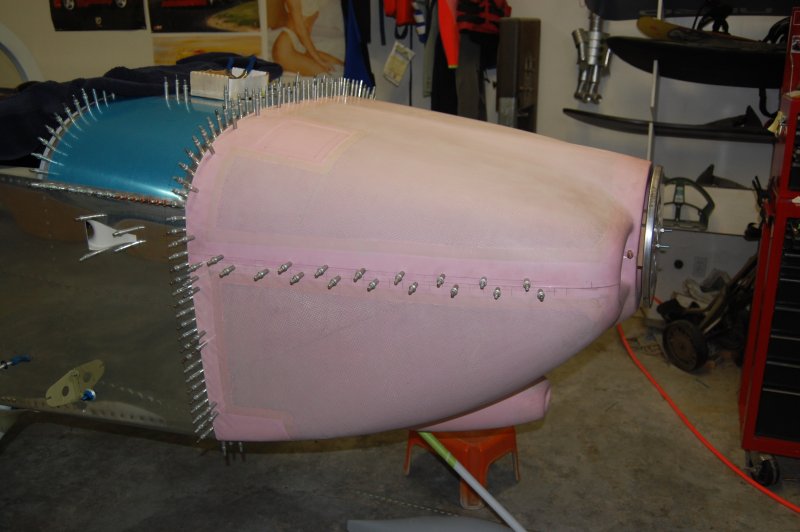
With everything fitting good, I drilled the cowl in 3 places on each side of the bottom and sides
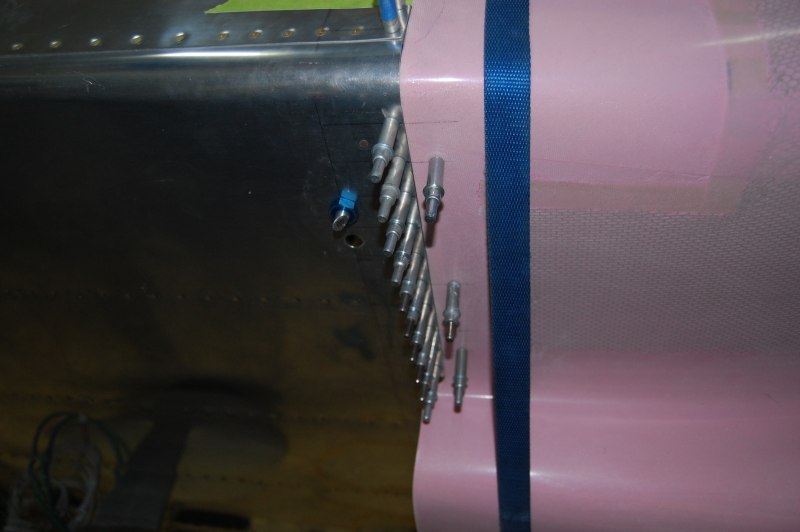
Phew, it still looks great.
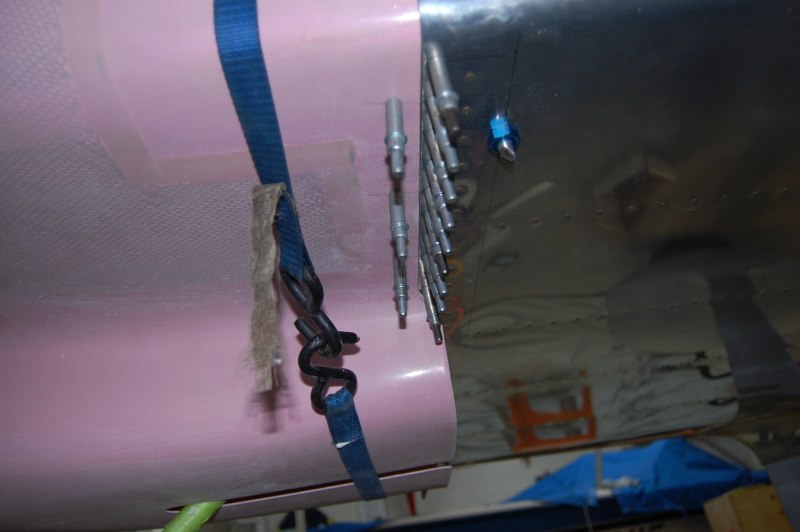
Marked for the 3 screws on each side perpendicular to the spinner
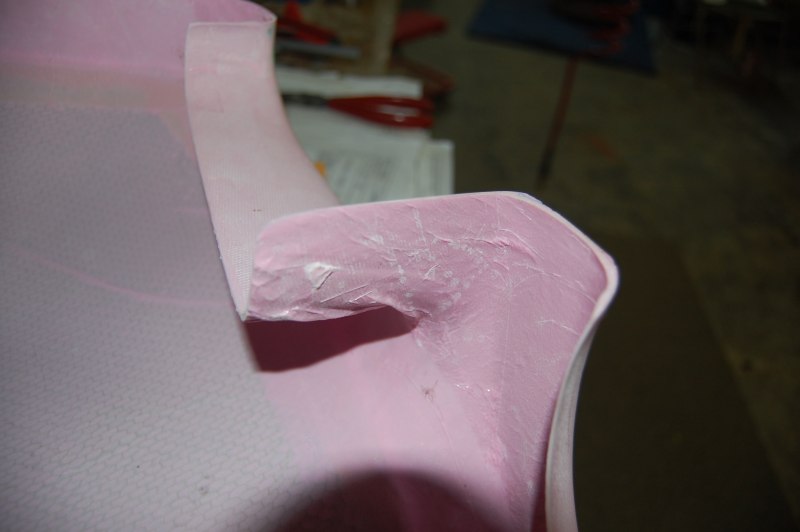
These kind of suck but there's nothing you can do. If you actually lined up the bottom of the top cowl with the bottom of the recessed area, the cowl would probably be about 10" higher than the bottom of the firewall in the back. When the cowl mounting is complete, this area will also need some fiberglass love.
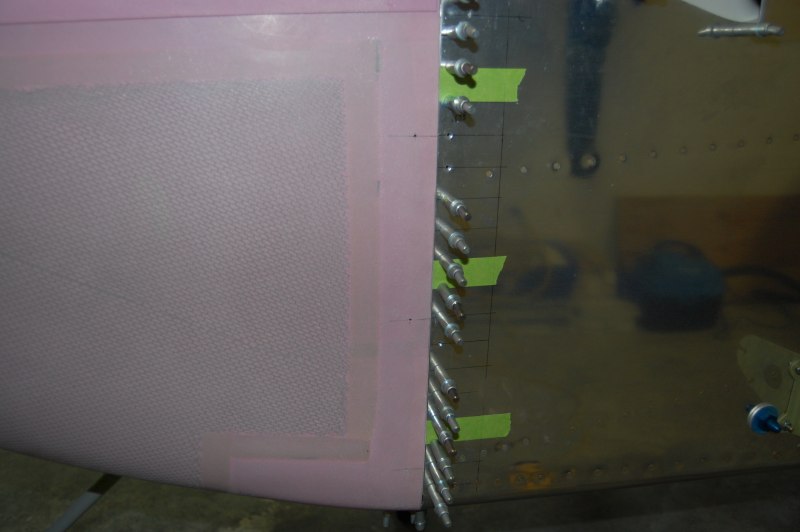
Drilled the front two holes.
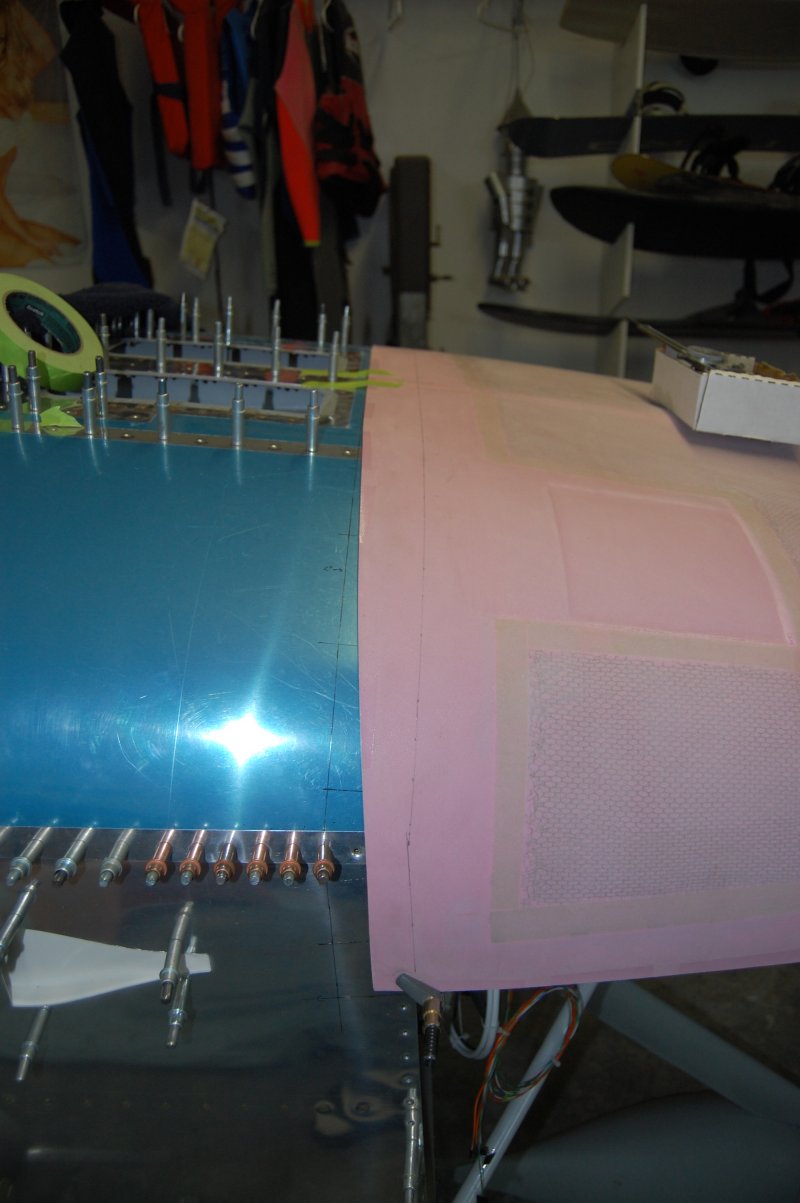
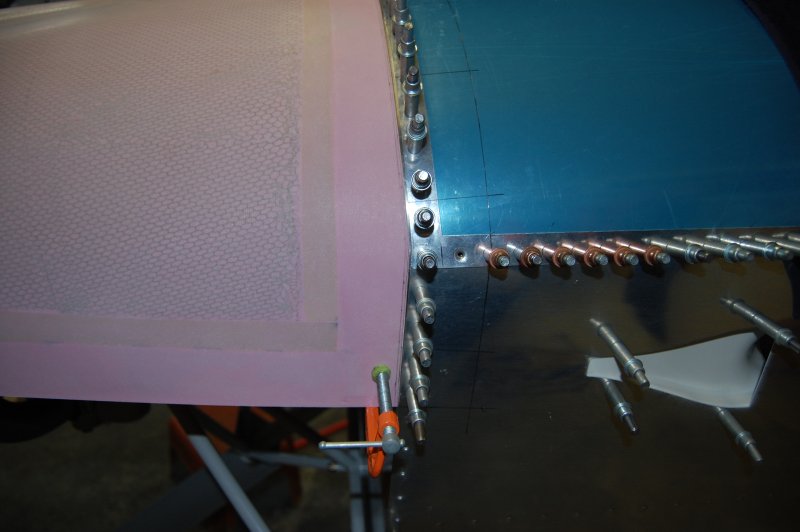
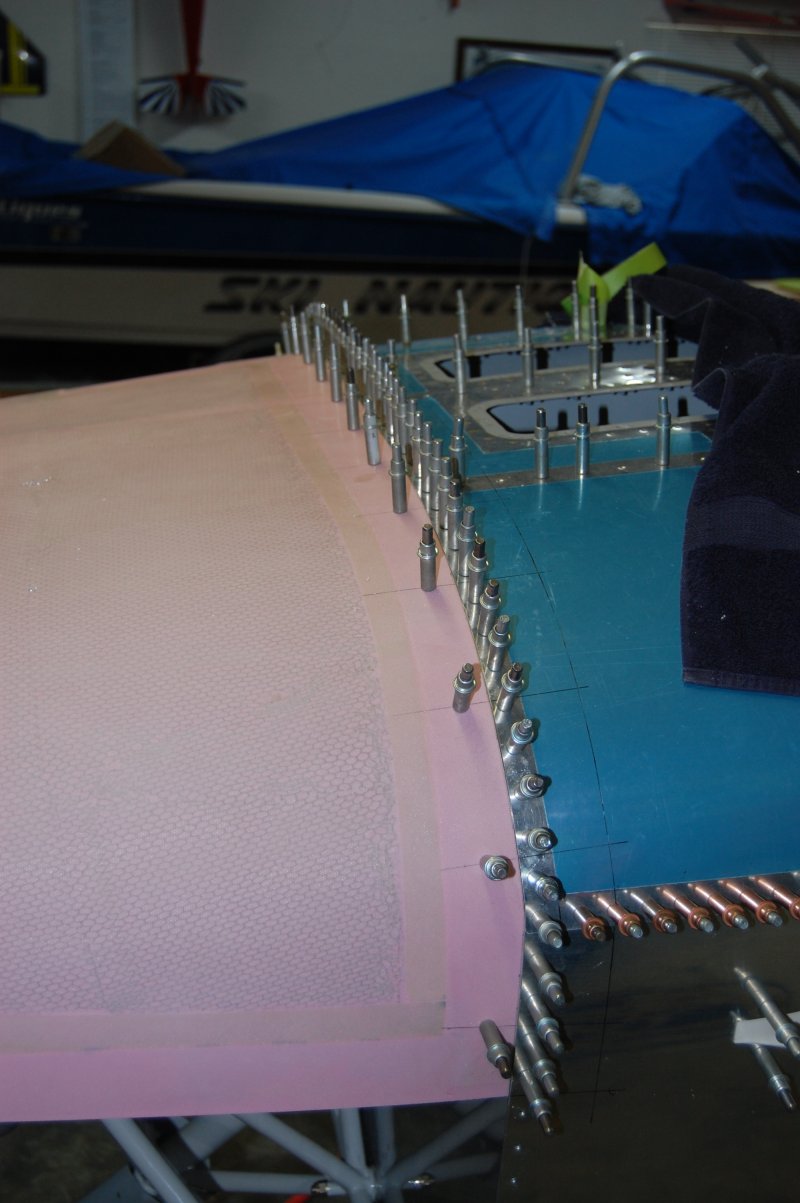
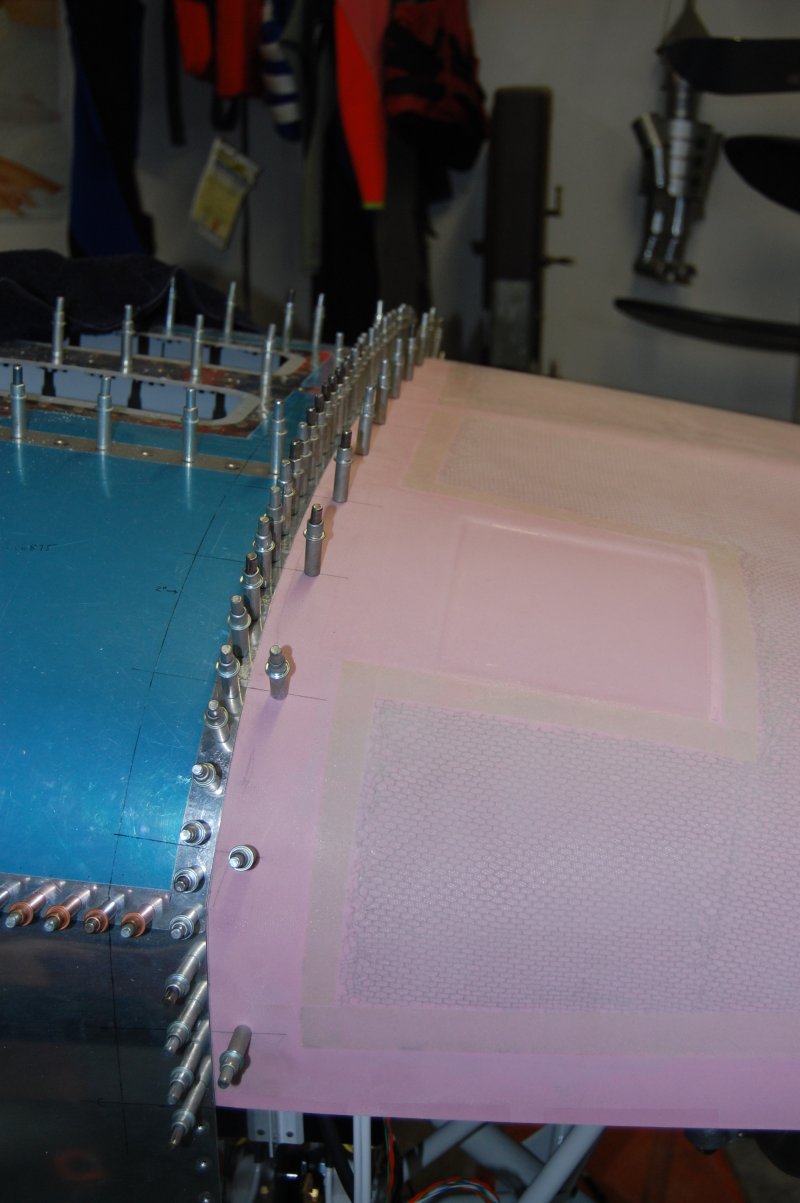
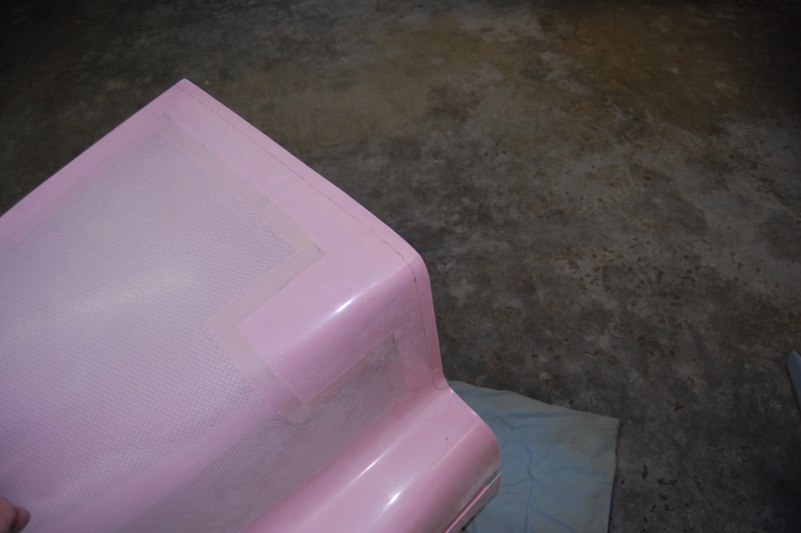
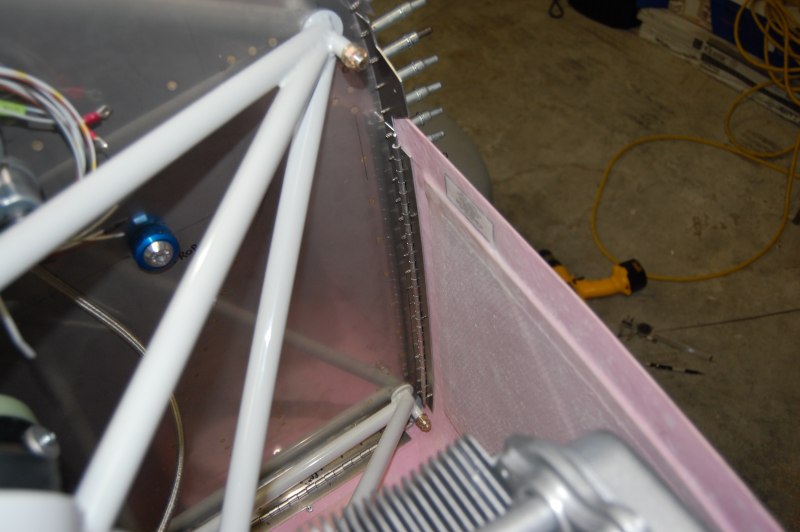
Decided now would be a good time to dimple the top skins
and machine countersink the scalloped strip

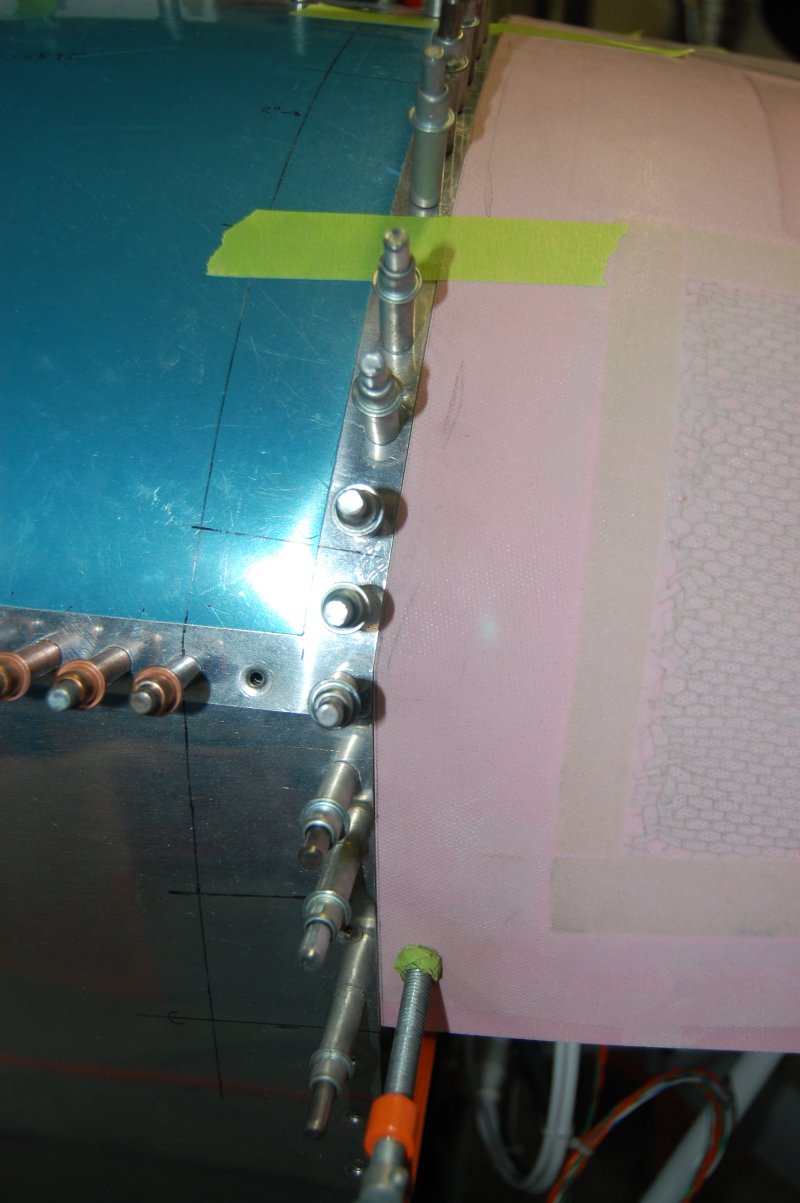
The final trim line
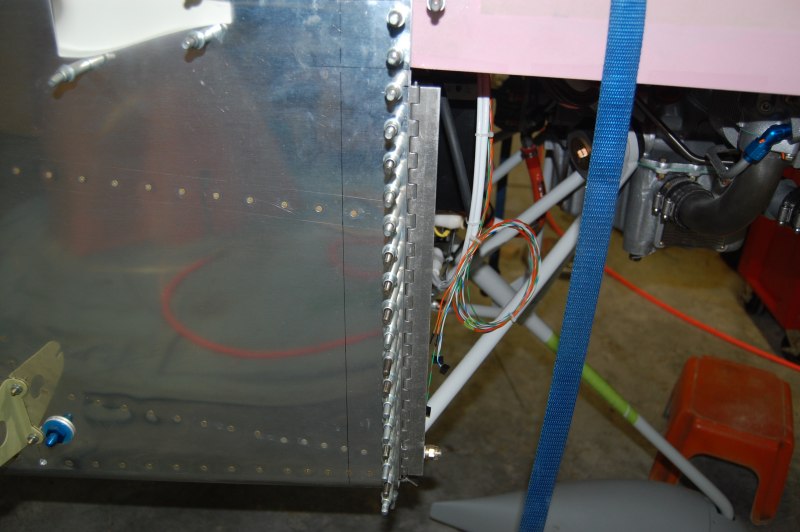
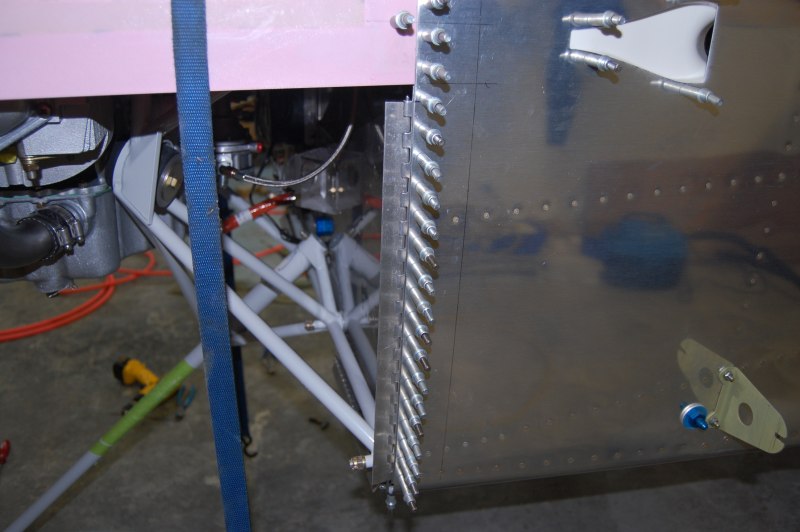
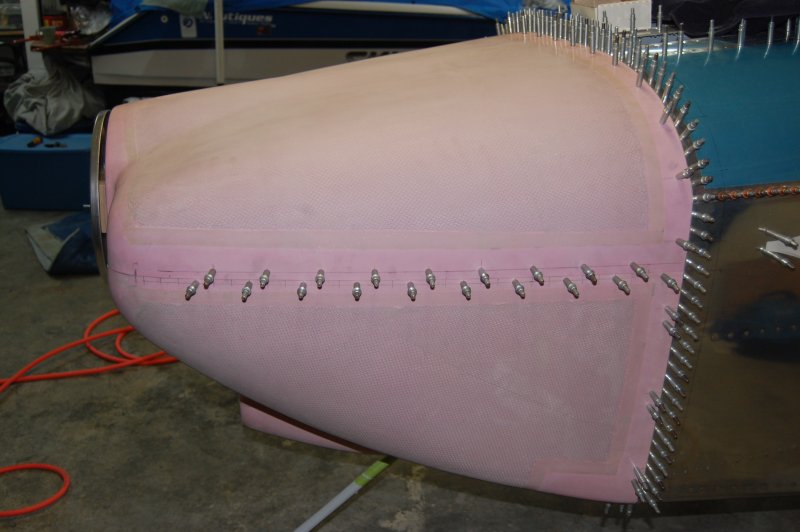
Horizontal hinge clecoed to bottom cowl
There will be a rivet every 1" on both the top and bottom cowl. For now I just have one every 3 inches in case I screw something up.
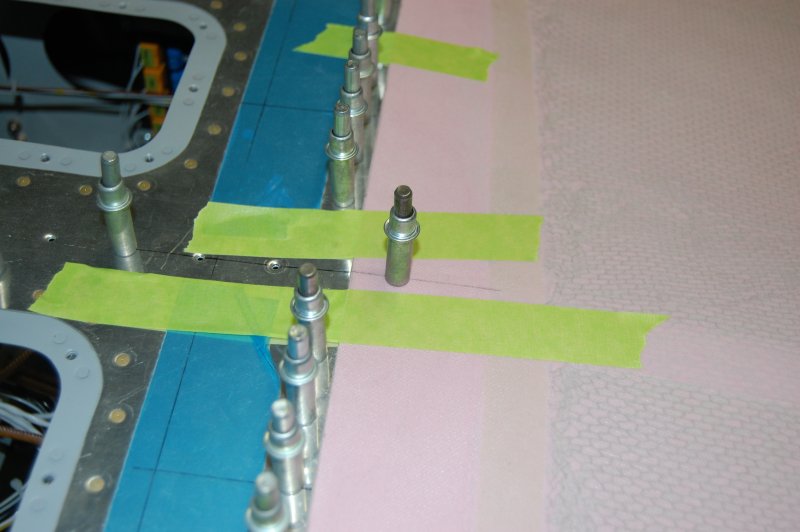
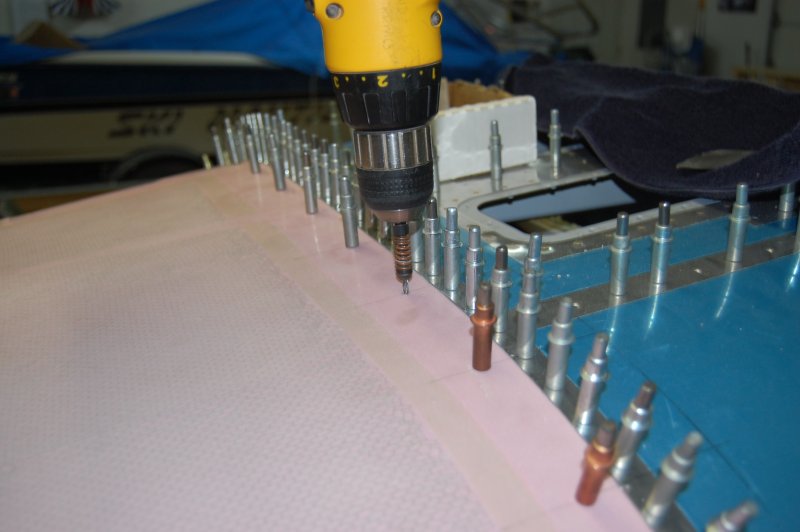
Drilling the pilot's side
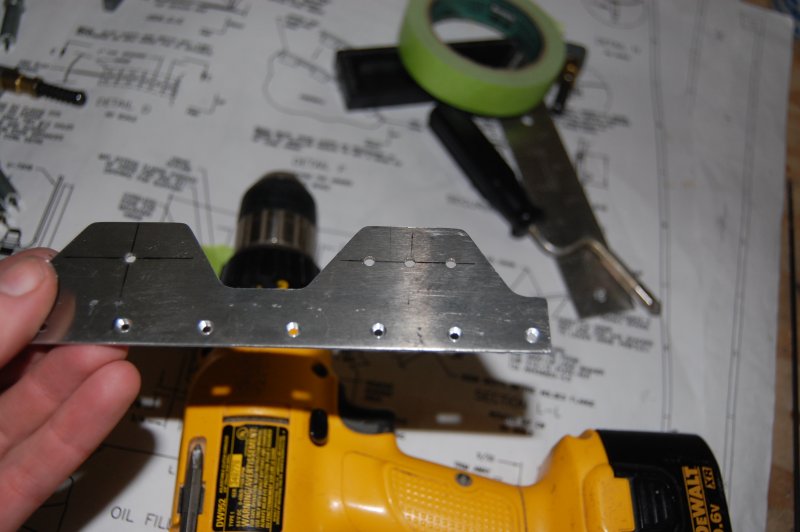
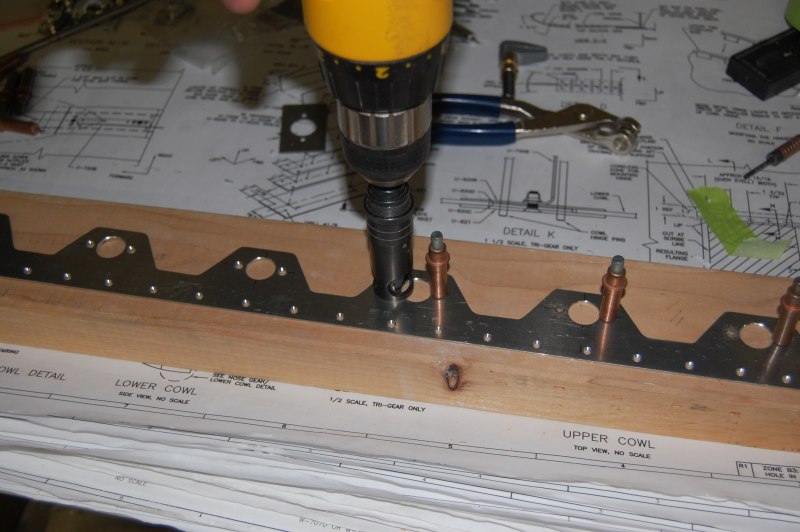
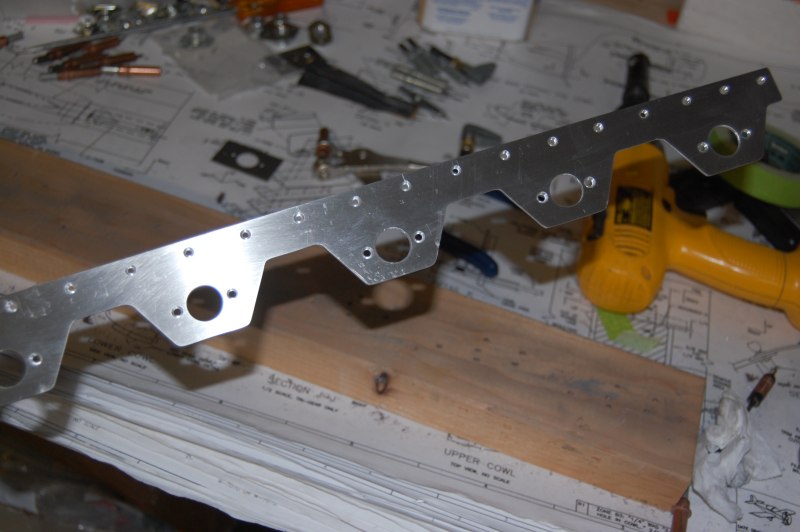
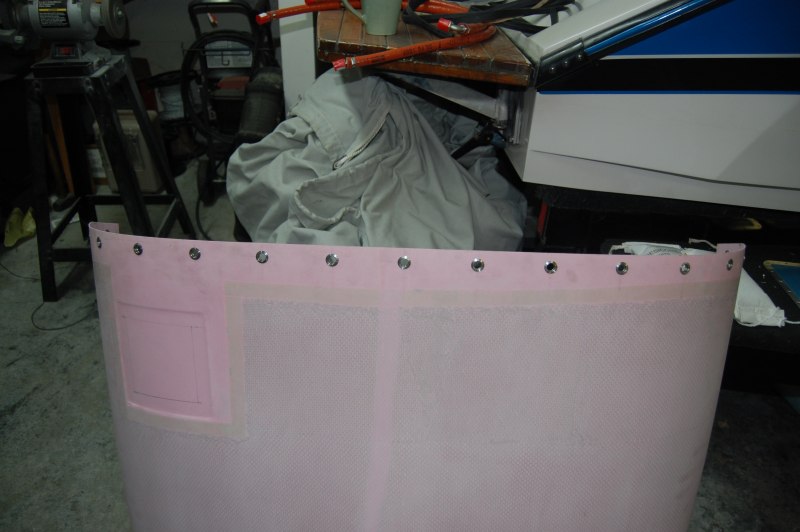
The template for the camlocks needs a 1/8" hole so I drilled them all to 1/8th.
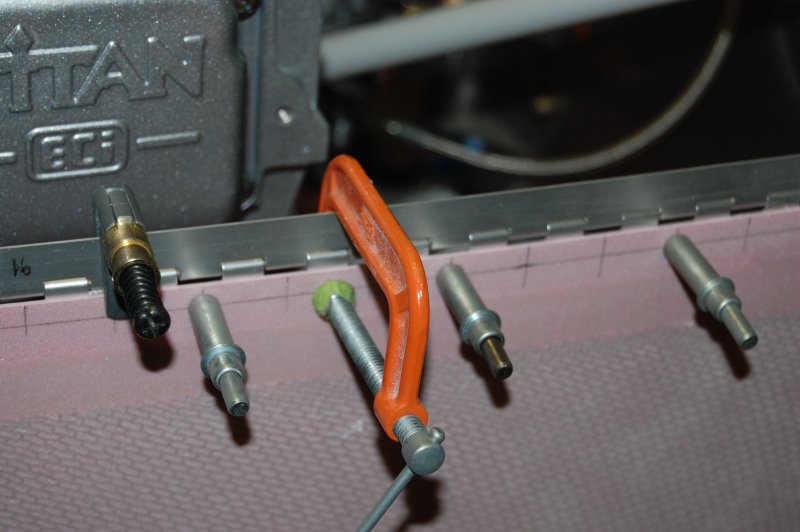
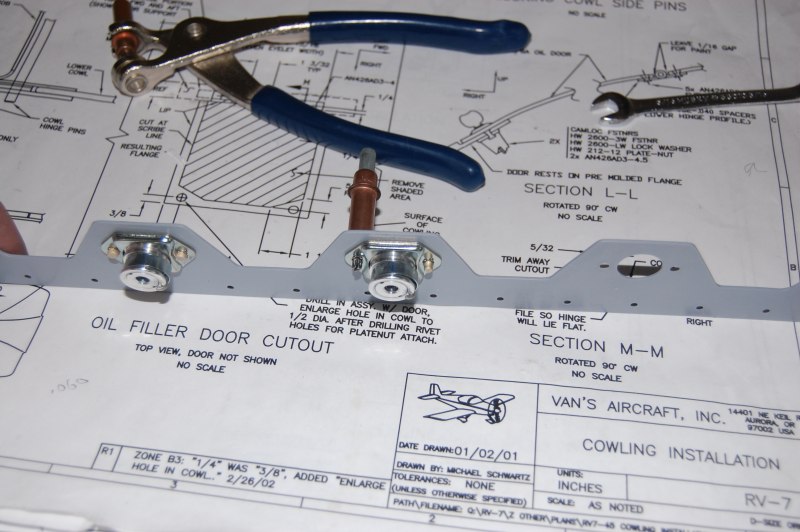
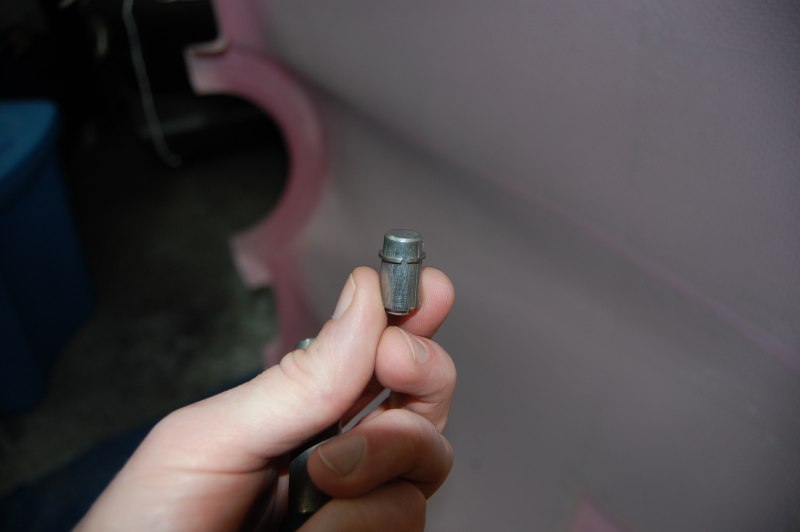
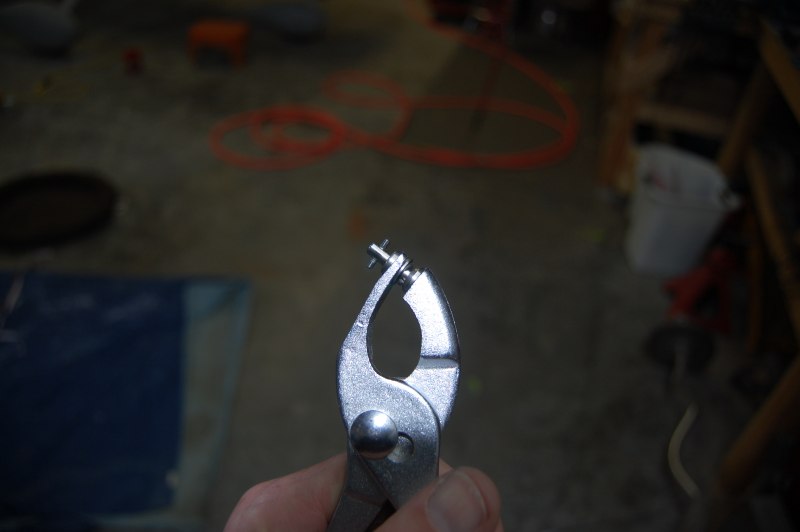
I decided to temporarily rivet a camlock to a scrap piece of angle to see how they work out.
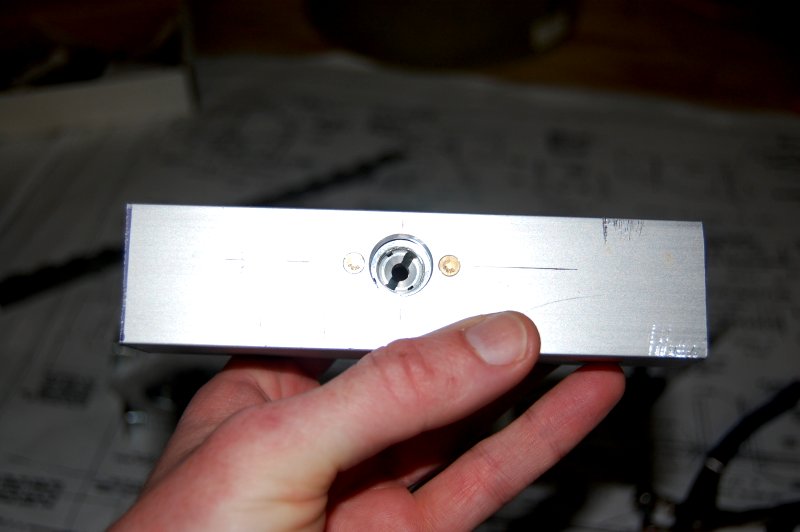
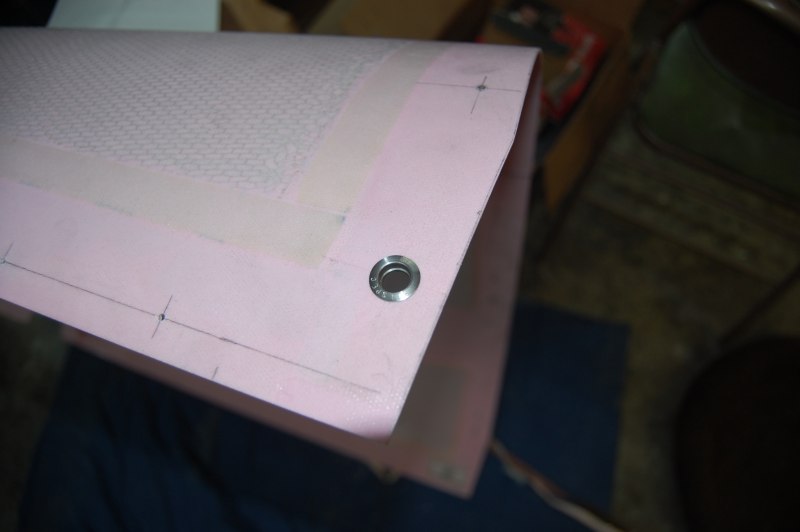
Here is the screw part installed on a scrap piece of the cowl
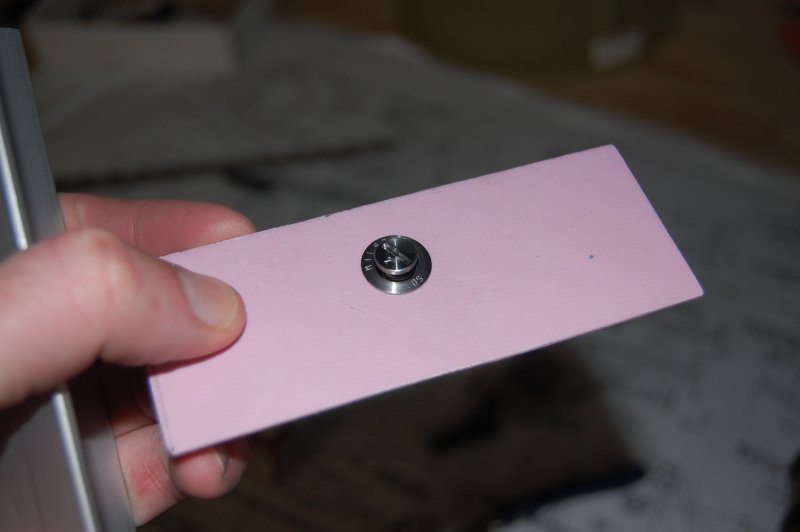
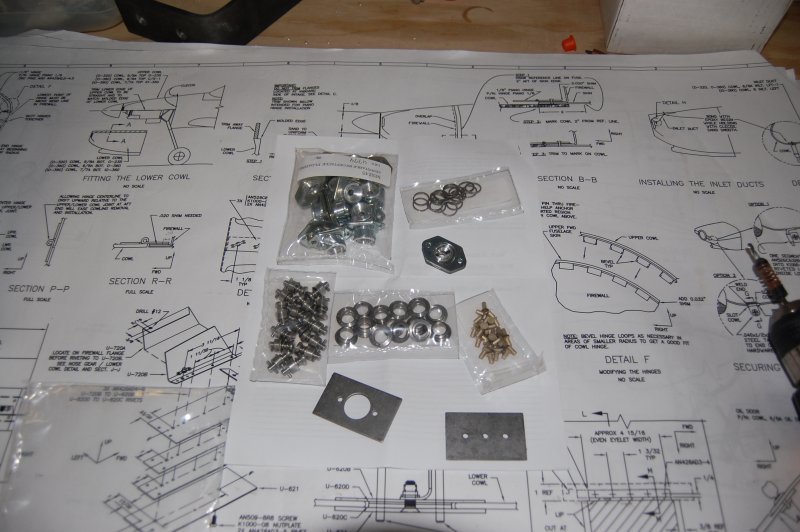
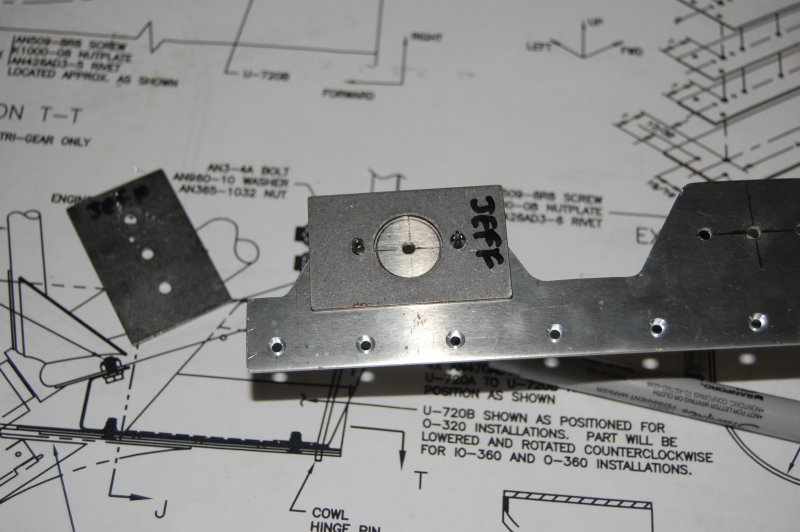
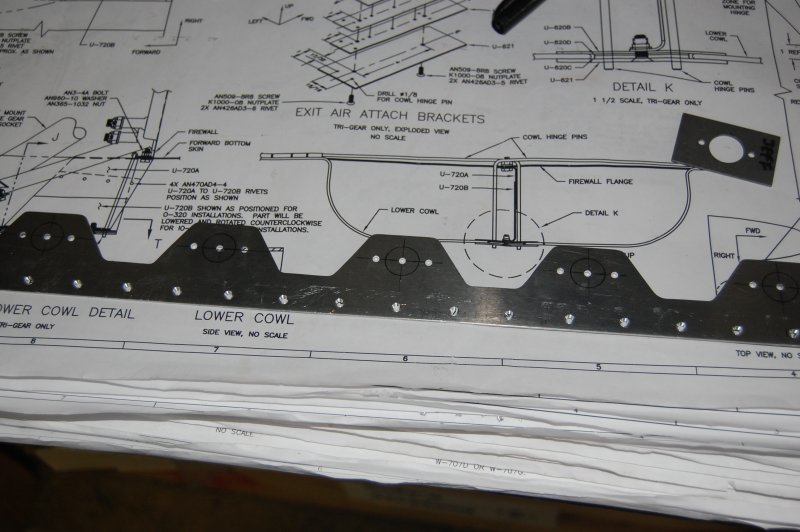
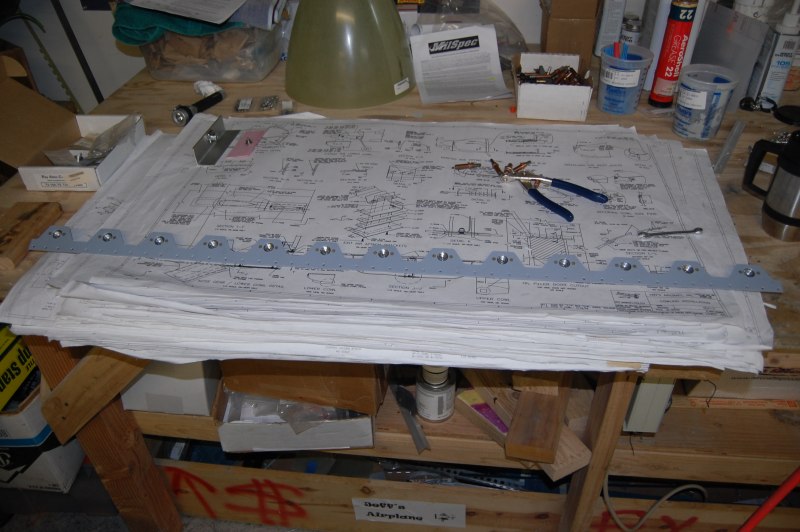
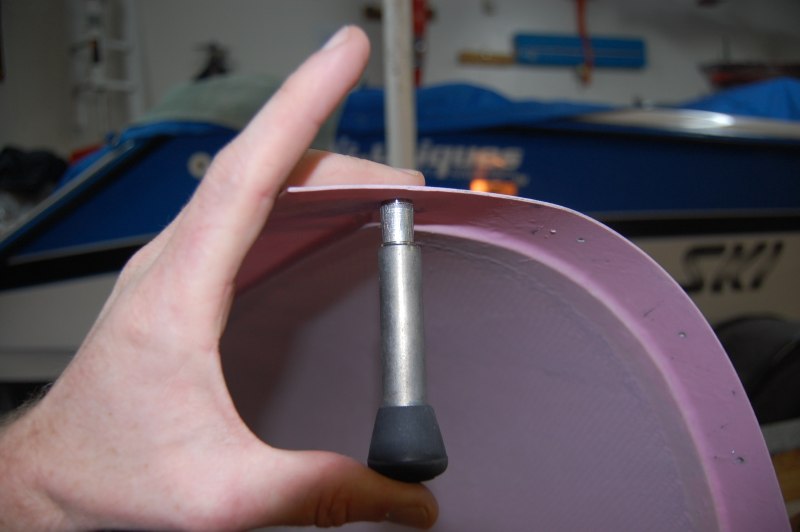
Here is the template for the camlock rivet holes
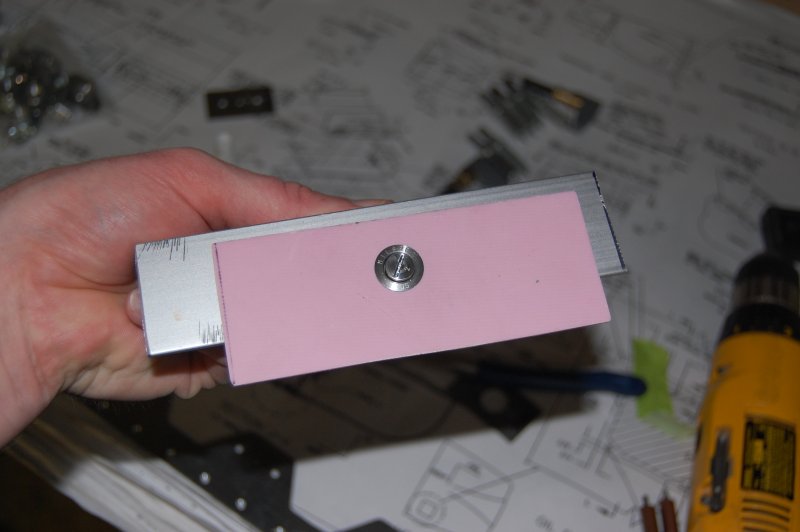
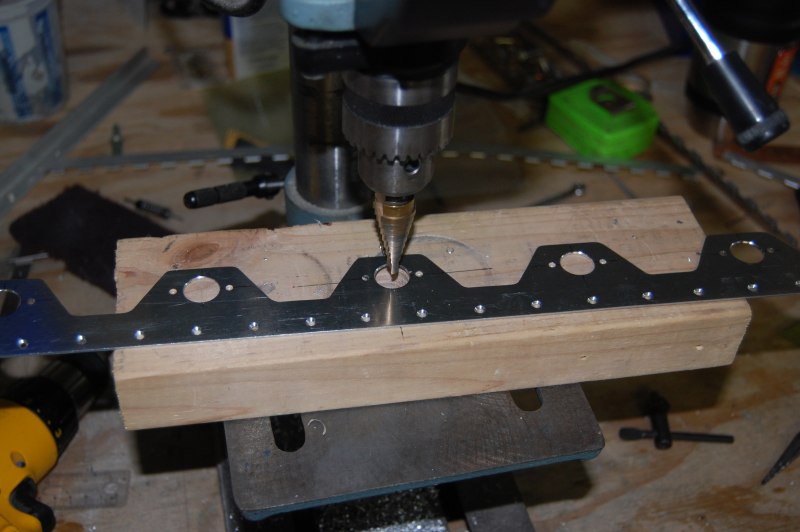
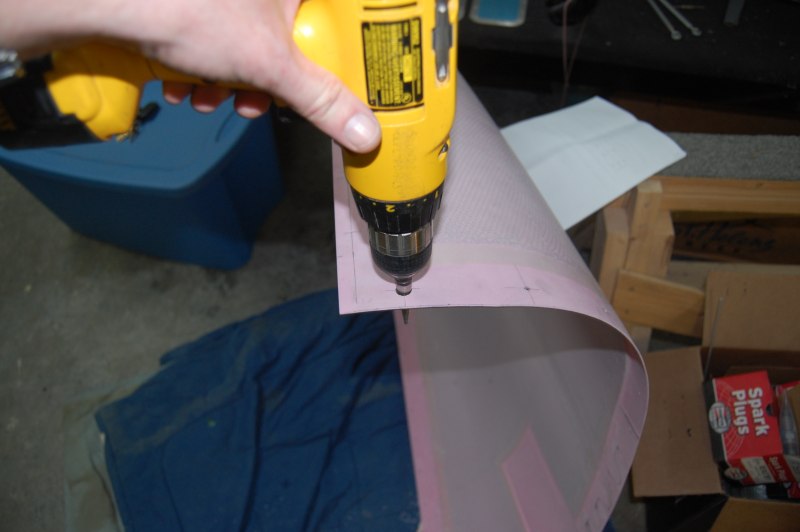
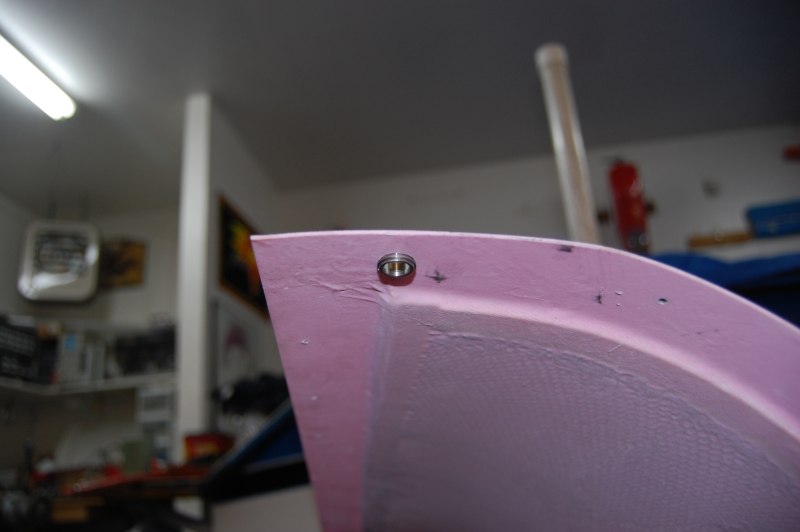
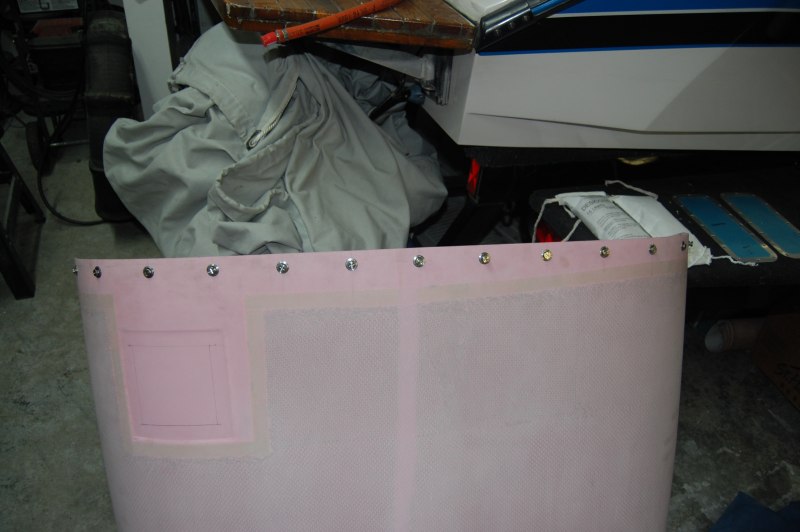
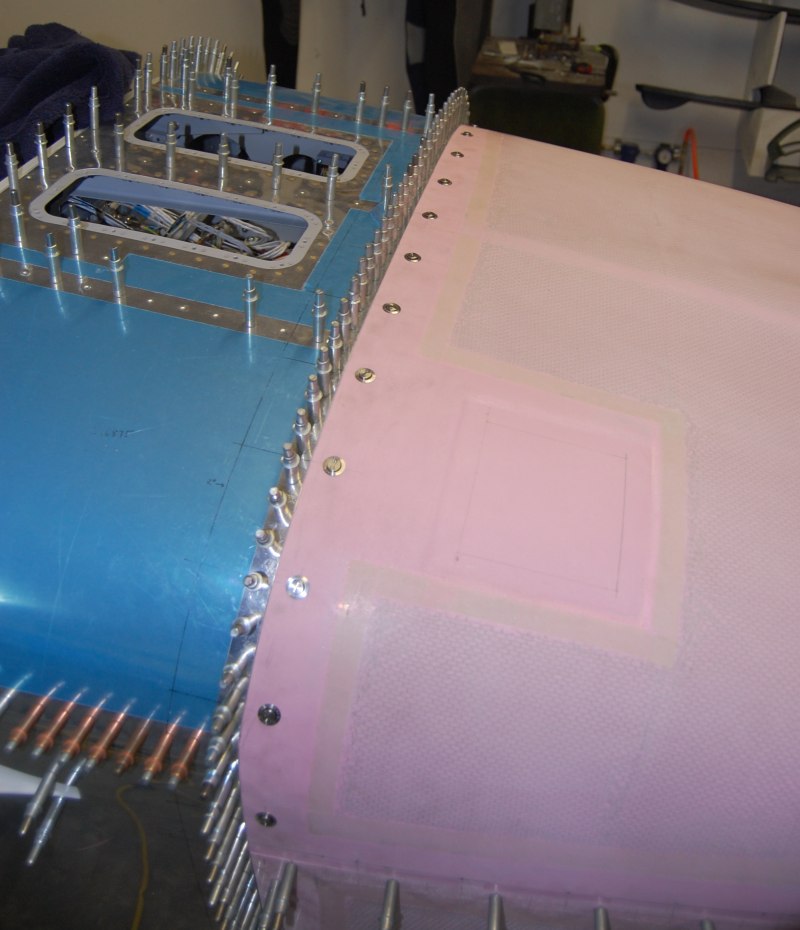
Now you use this template to mark the large holes
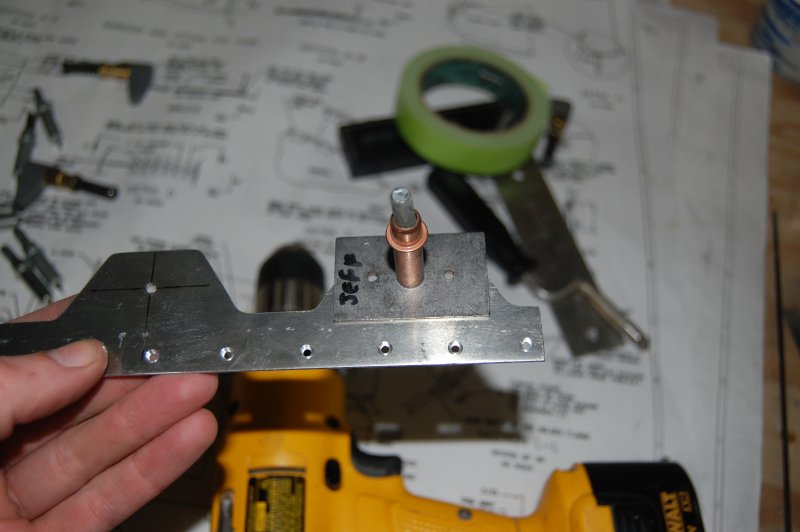
Ready to stepdrill to size
Back