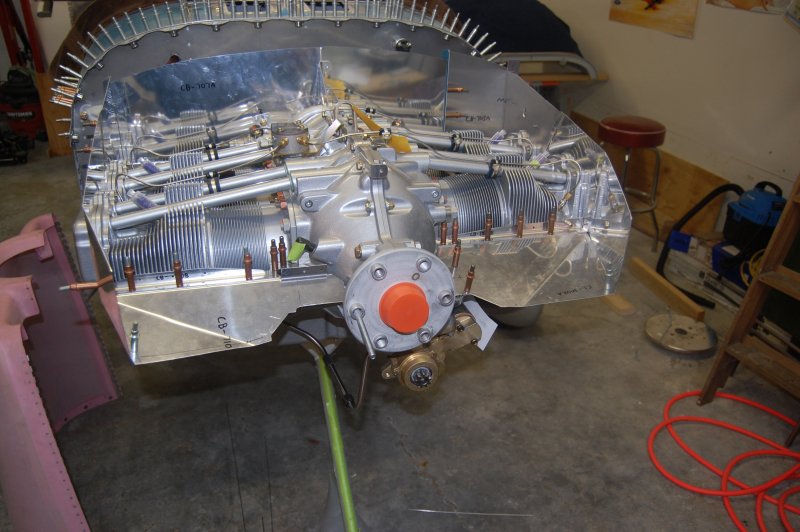
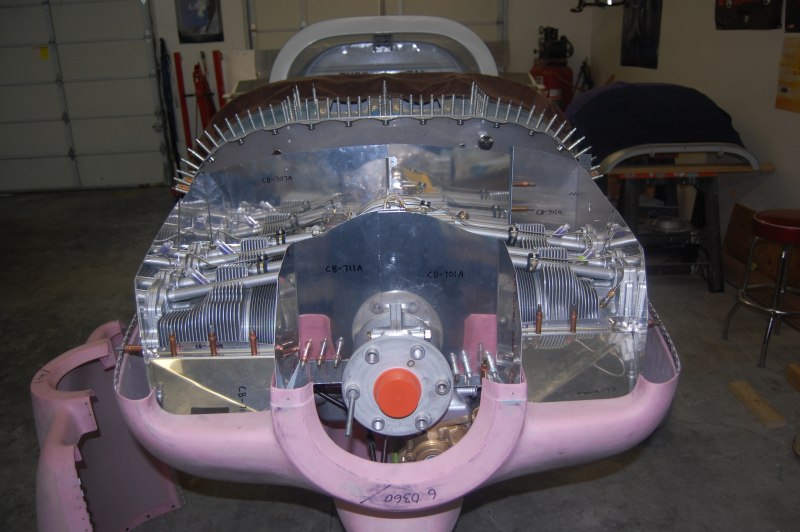
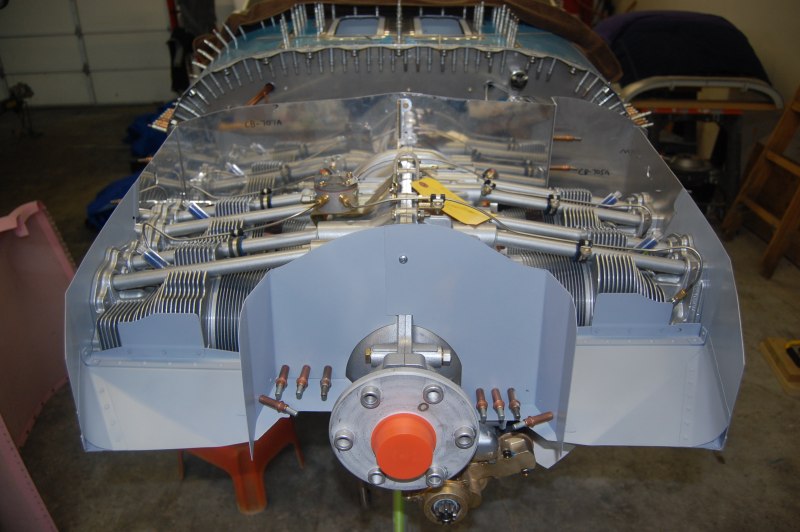
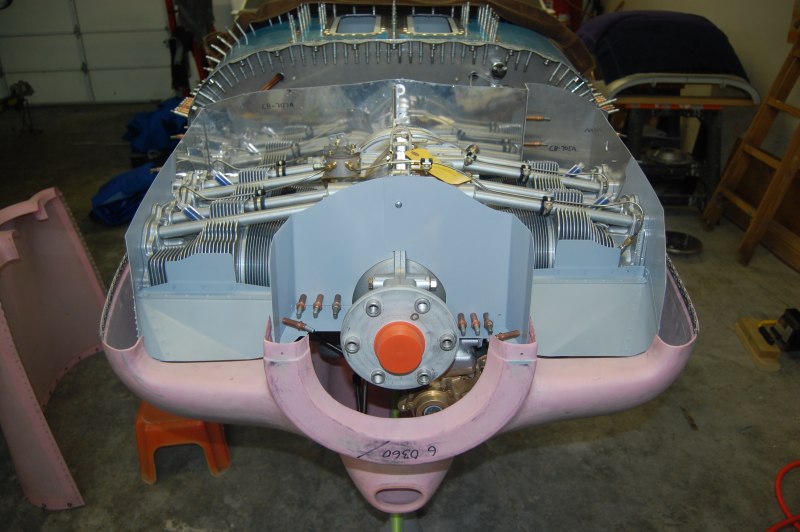
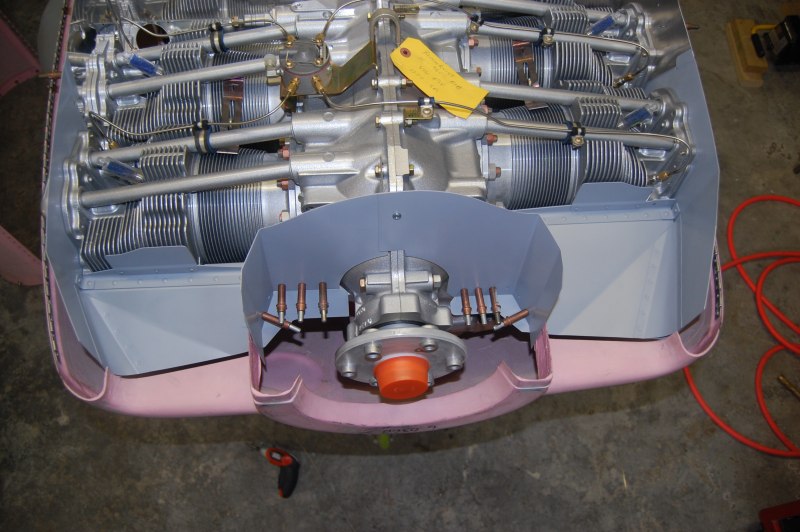
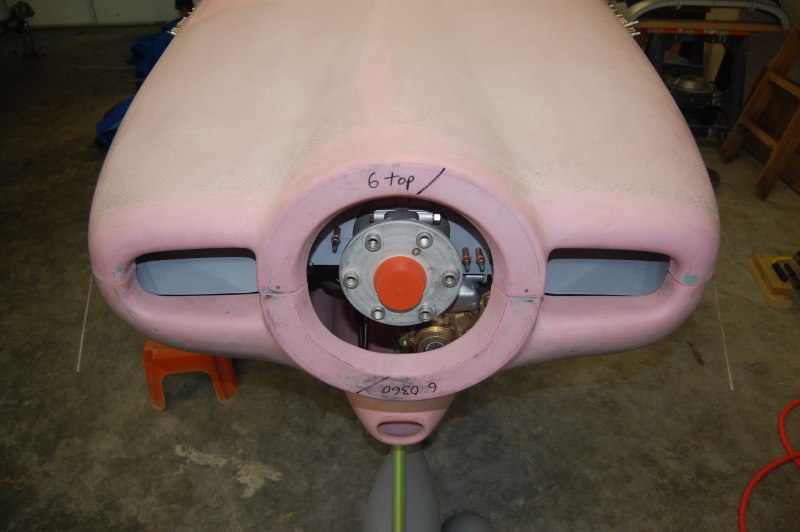
I took off the spinner backplate and starter ring for better access to the front baffles
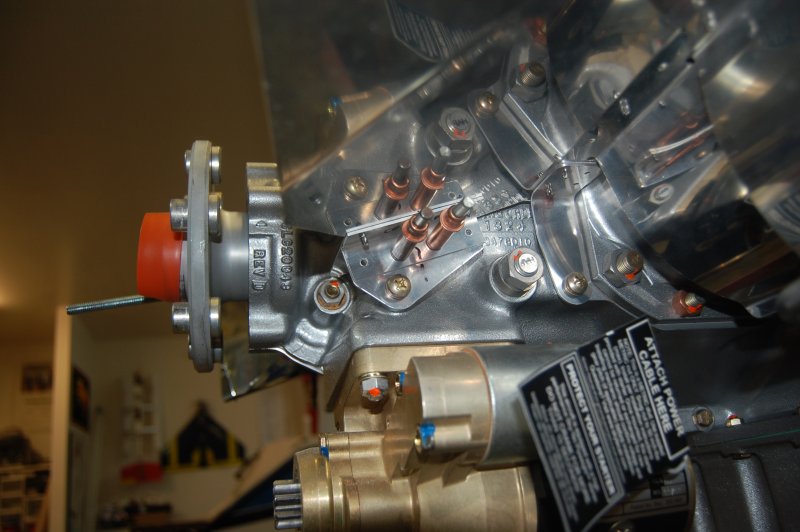
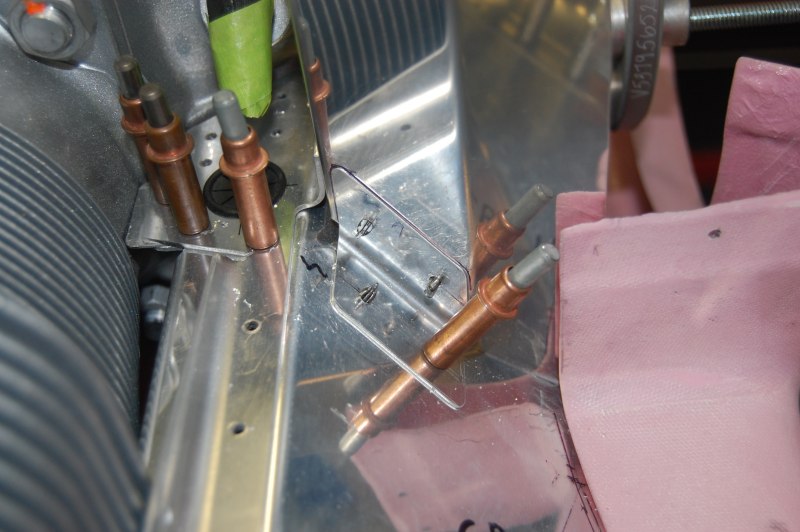
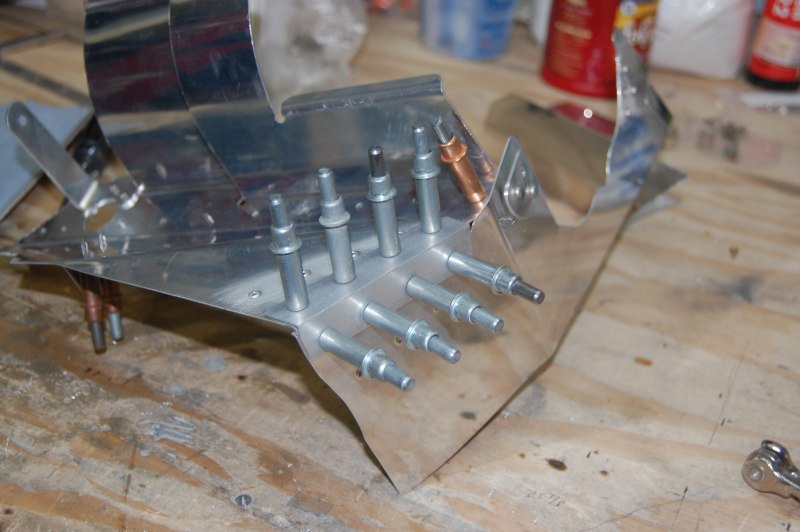
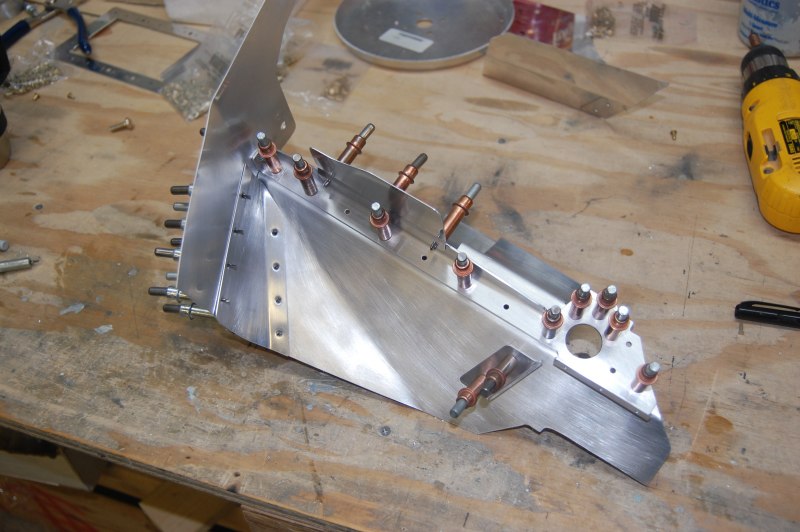
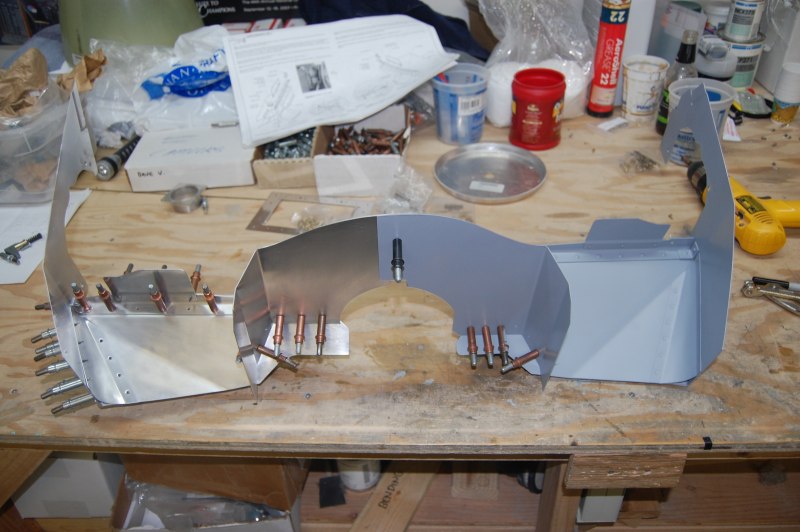
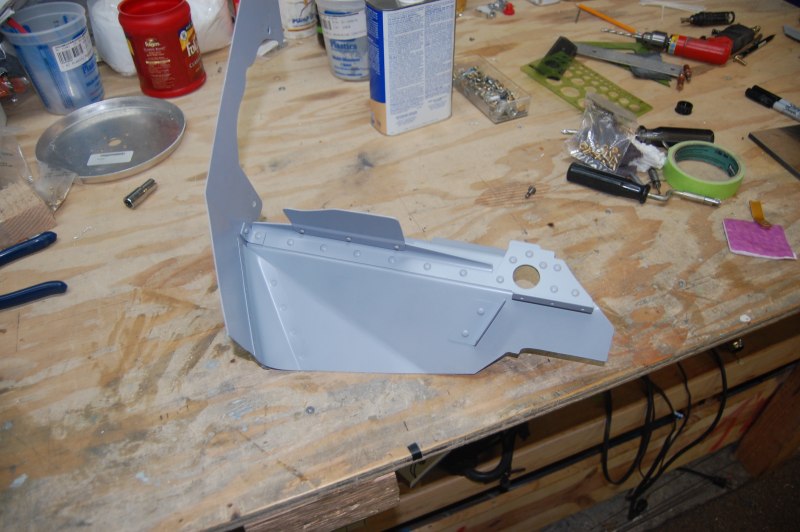
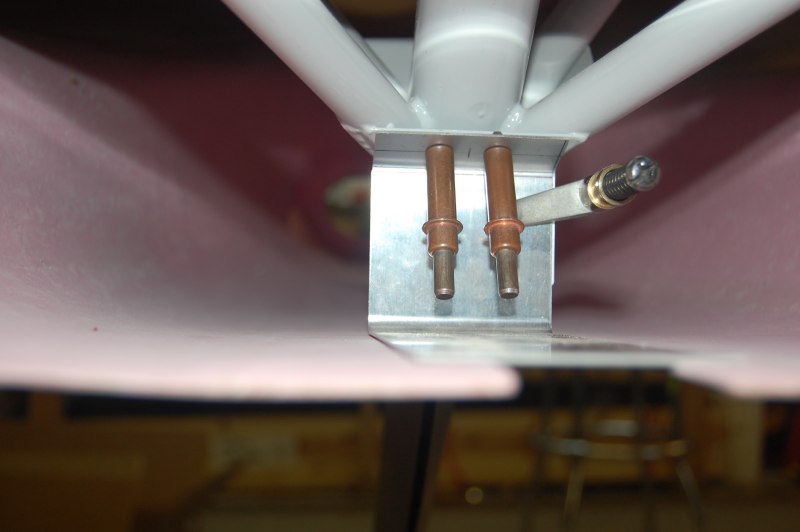
Another bracket
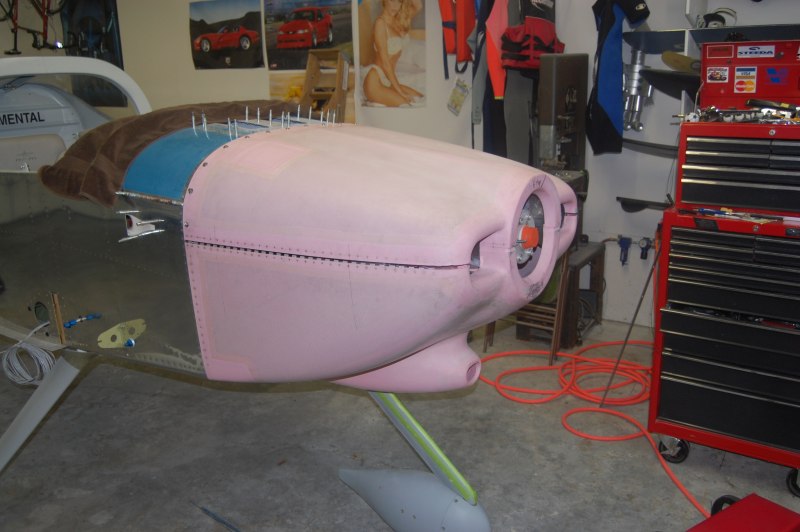
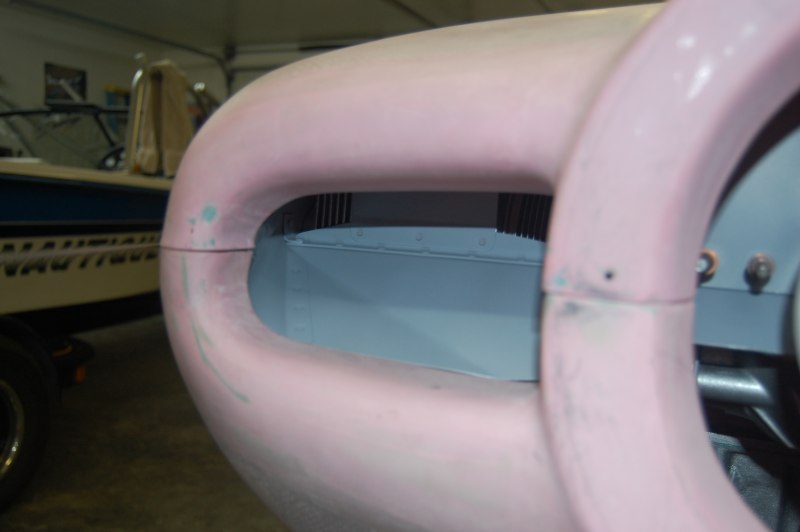
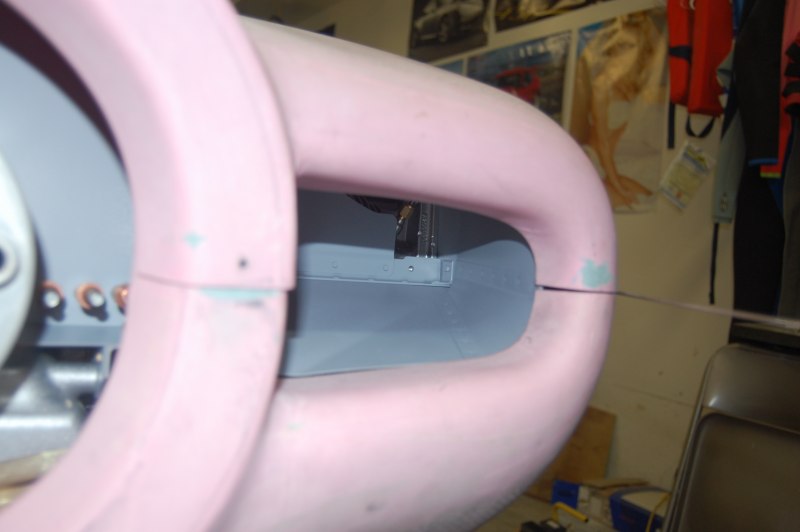
This cowl inlet ramps get fiberglassed to the inside of the top cowl
Pretty much here. The instructions suck in this department.
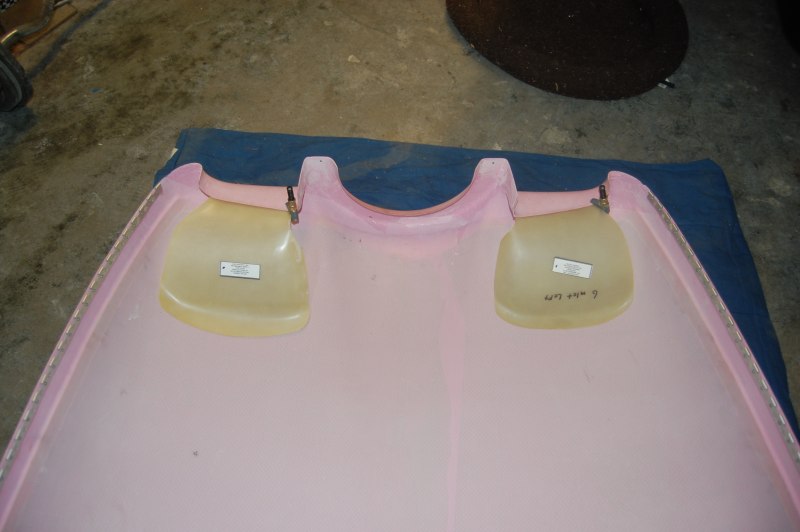
Decided to match up the cowl inlet areas before doing the ramps
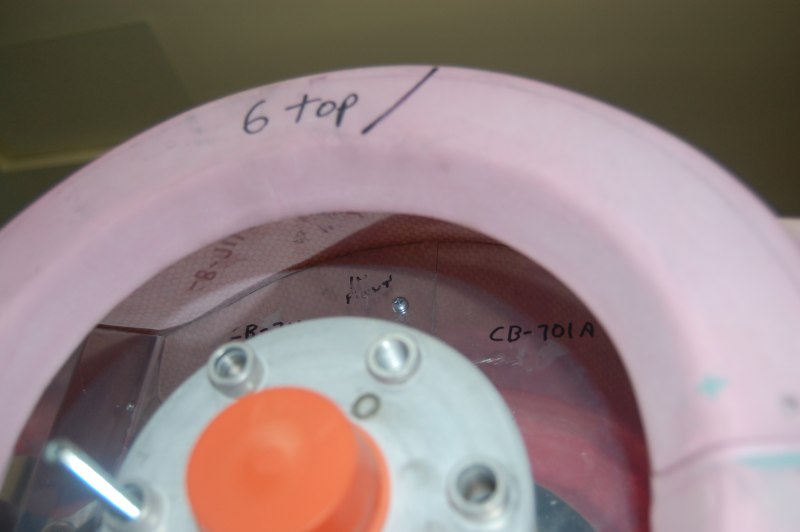
Double check
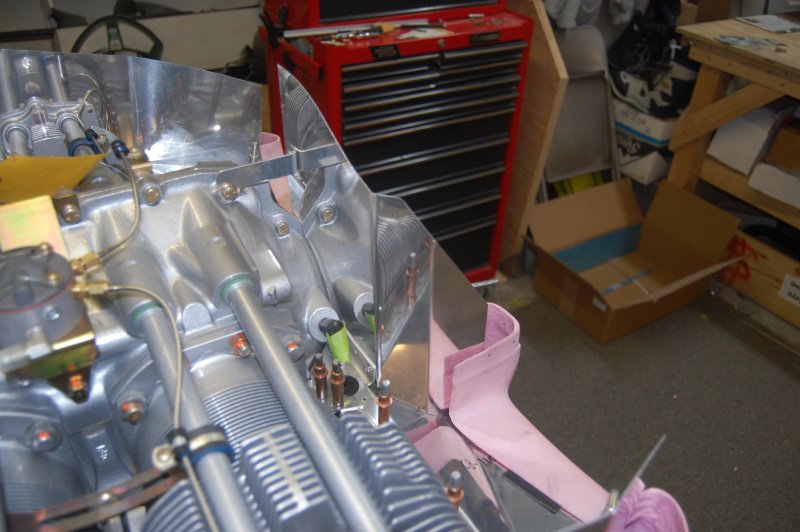
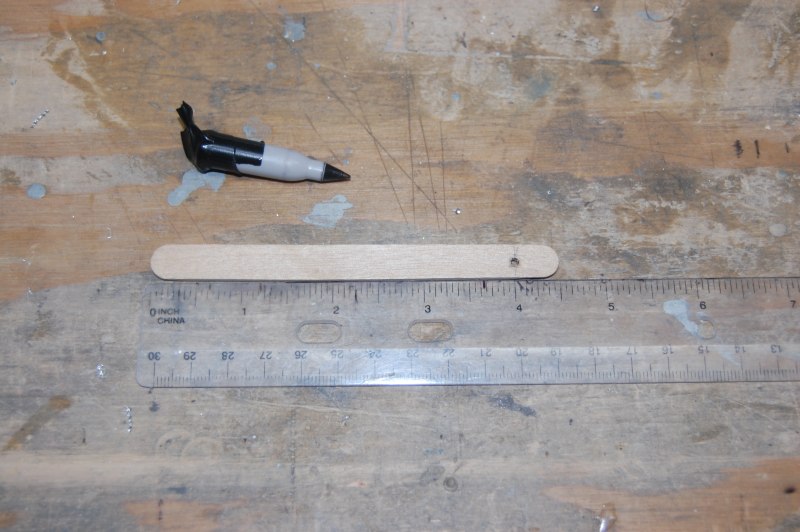
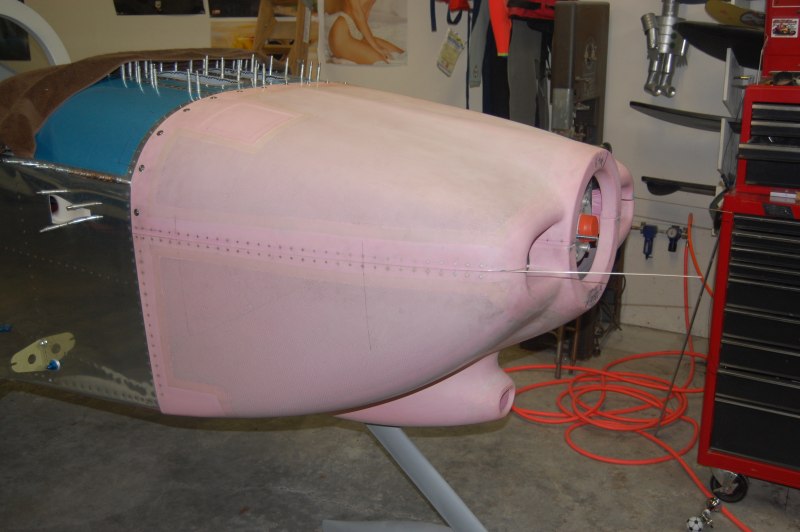
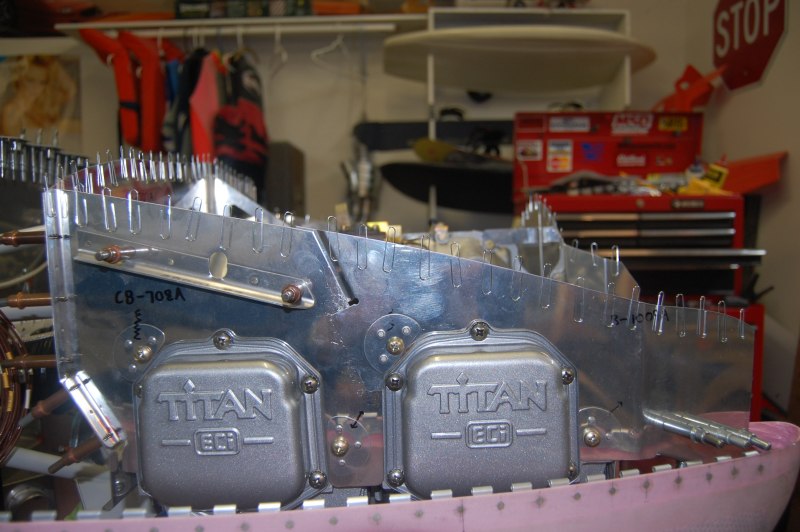
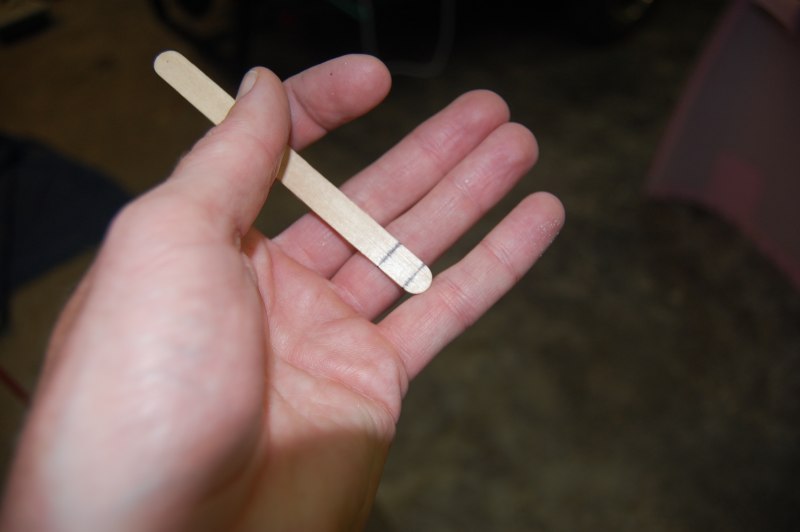
Since the baffles stick up way to far to put the top cowl on, you have to somehow mark them. I'd seen something simular to this on VAF so I thought I would give it a try.

The top cowl is exactly 4" above the lower so I made this marking stick and cut off a Sharpie pen
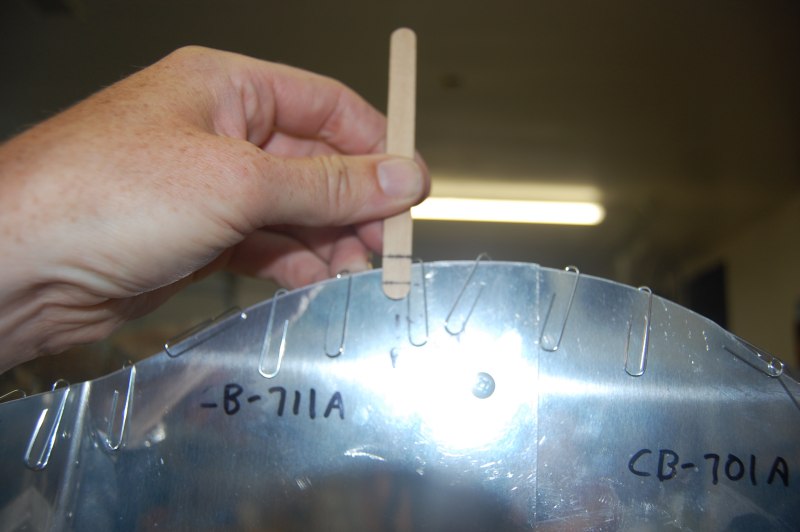
Still pretty crowded but I was able to mark the baffles most of the way around
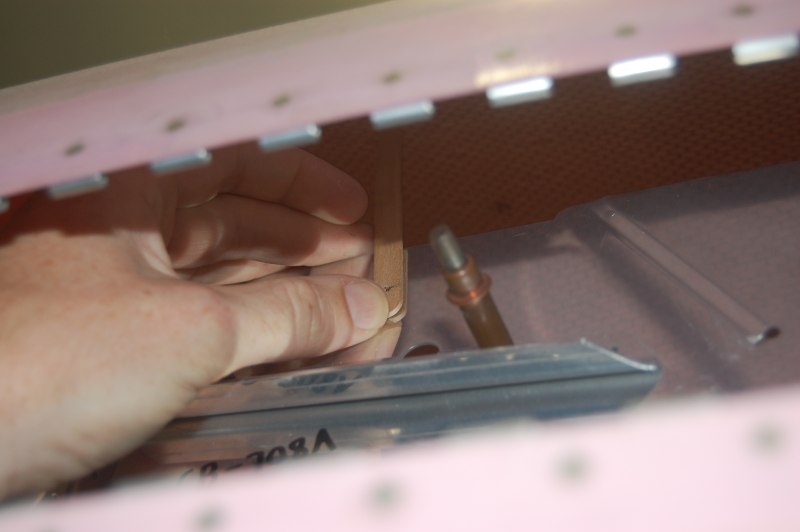
Here are my marks.
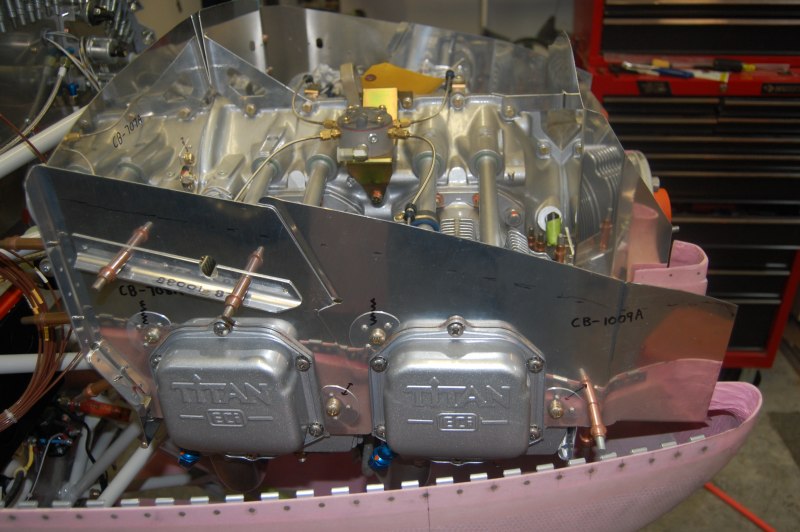
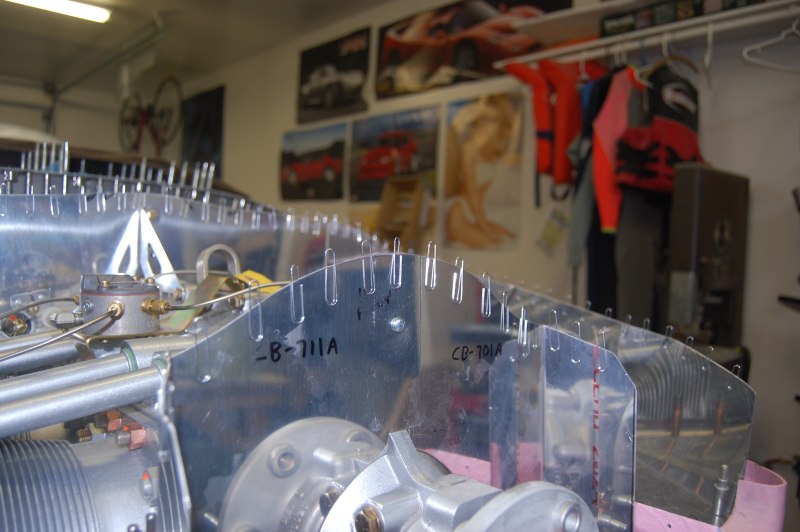
After the first trim it's pretty close but needs more
After more trimming it fits
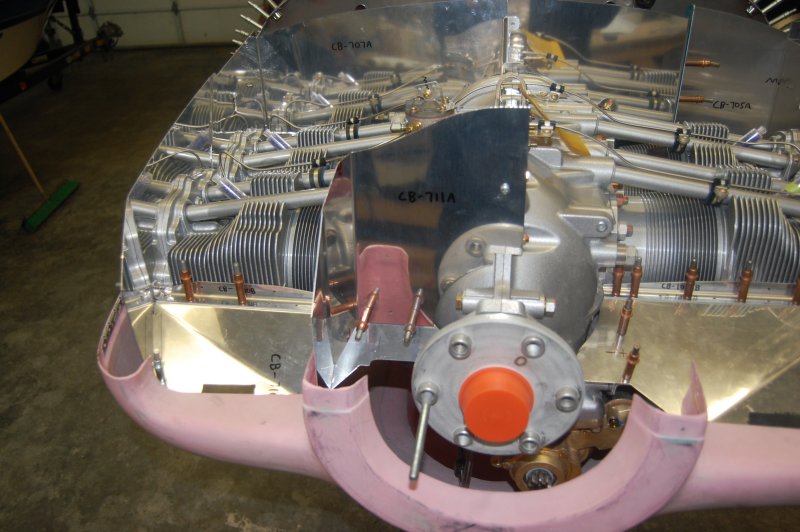
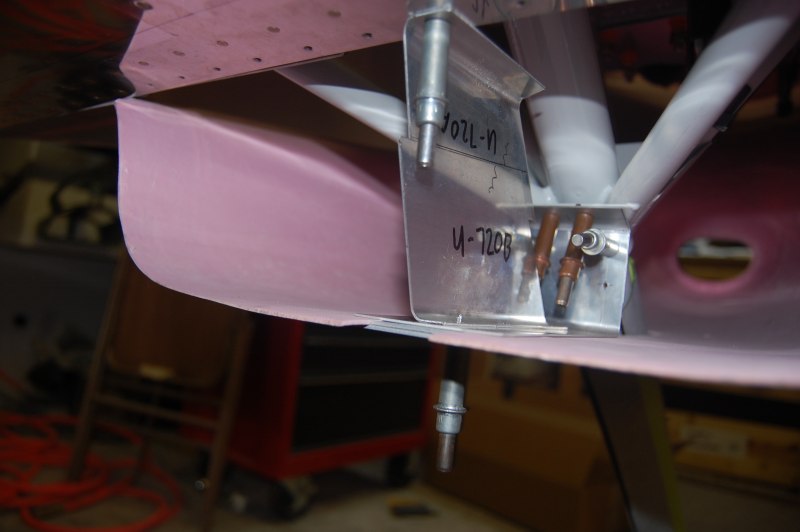
Another bracket on each side
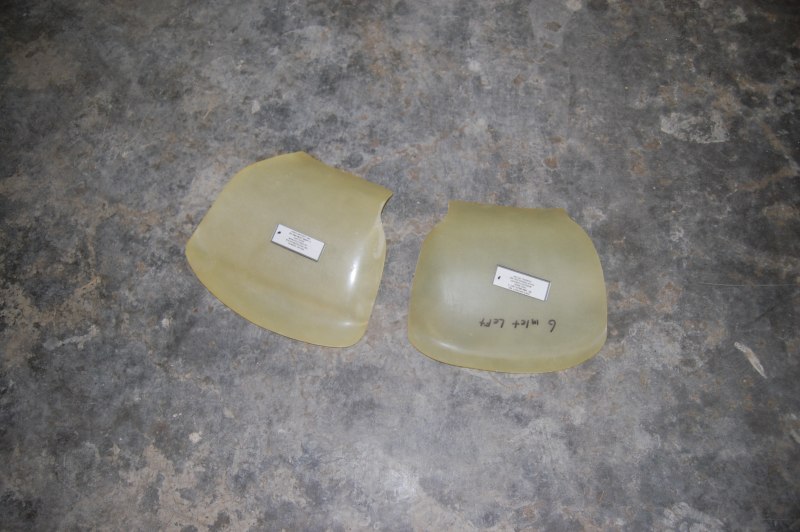
Here Vans wants you to bend your own radius to match the fiberglass inlet so I started with cardboard
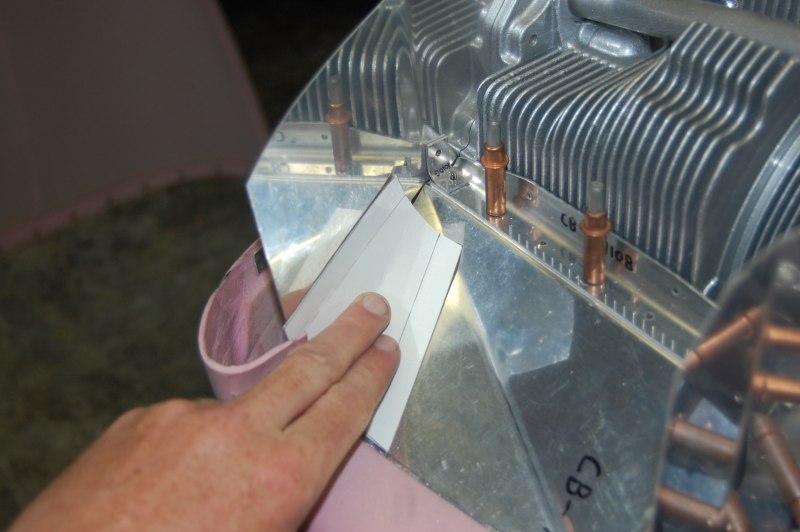
Well it looked good with cardboard, but this is too big
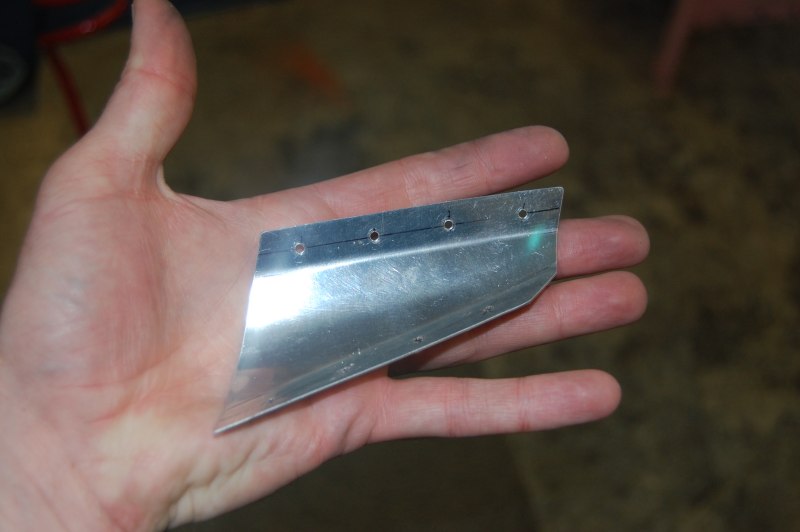
Here is my second attempt
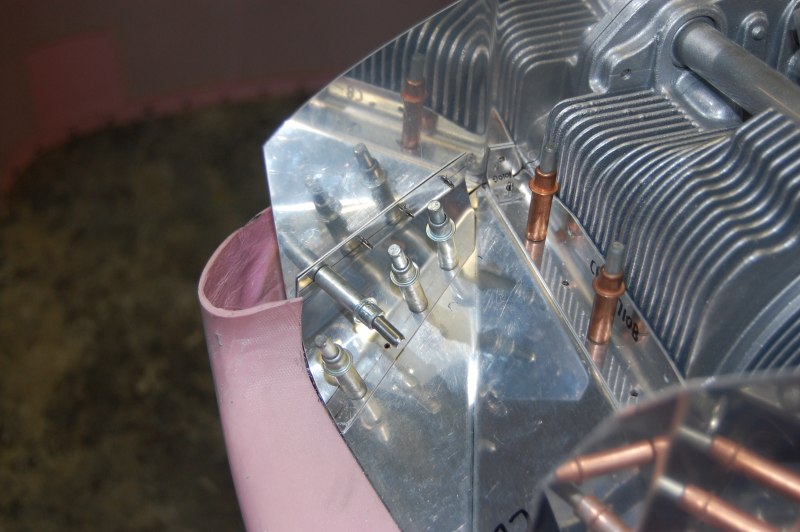
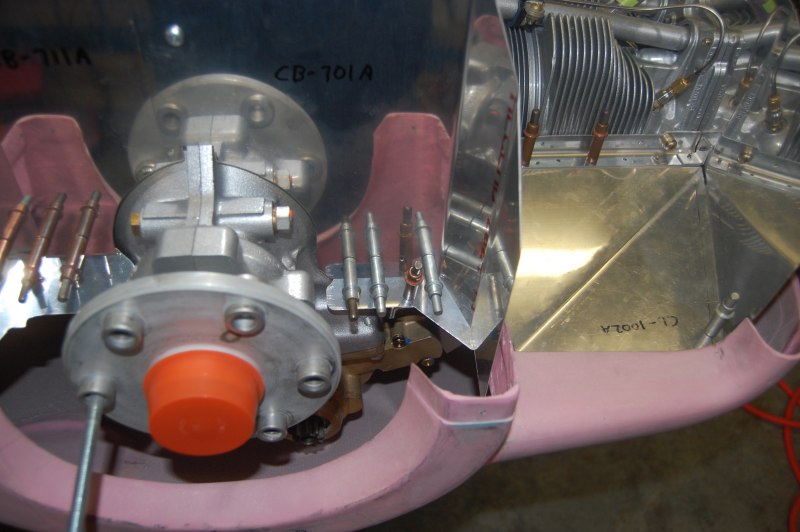
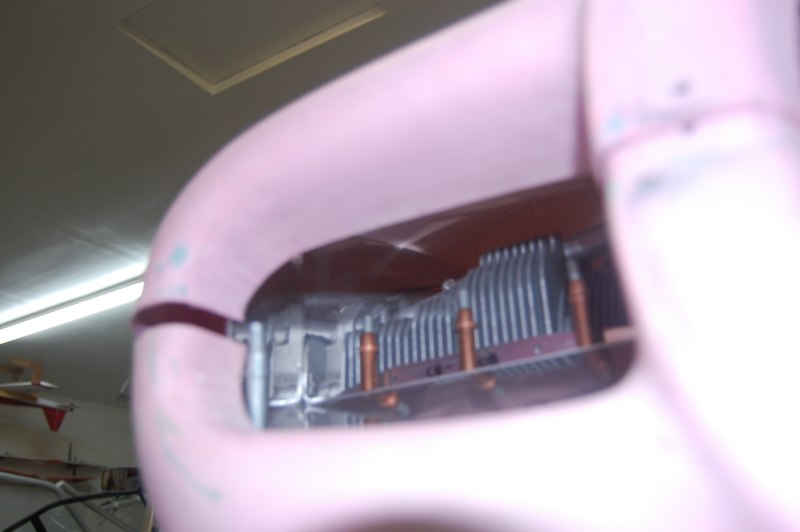
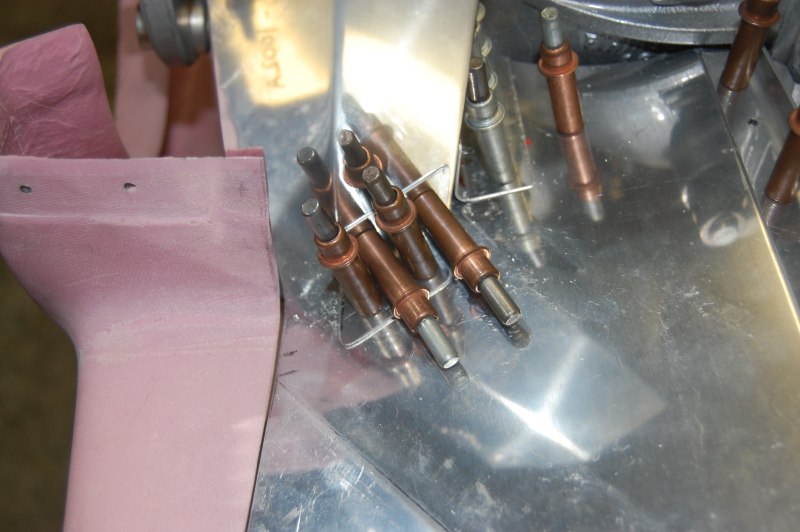
The baffles need to be trimmed between 3/8" and 1/2" from the cowl. I'd read about the paperclip method online and decided to give it a try. All you do is put a bunch of paperclips around and then re-install the cowl.
The cowl will push all the paperclips down and then you can measure your new cut line from the top of them.
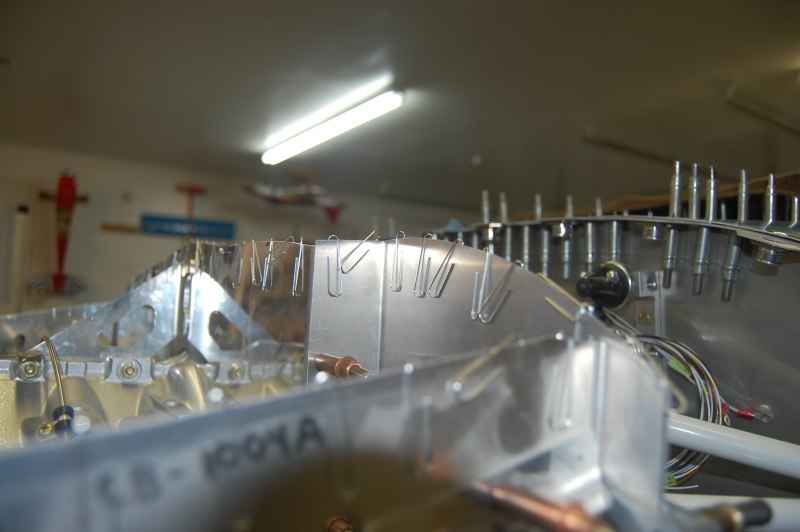
I decided to start with 3/8" for my new trim line.
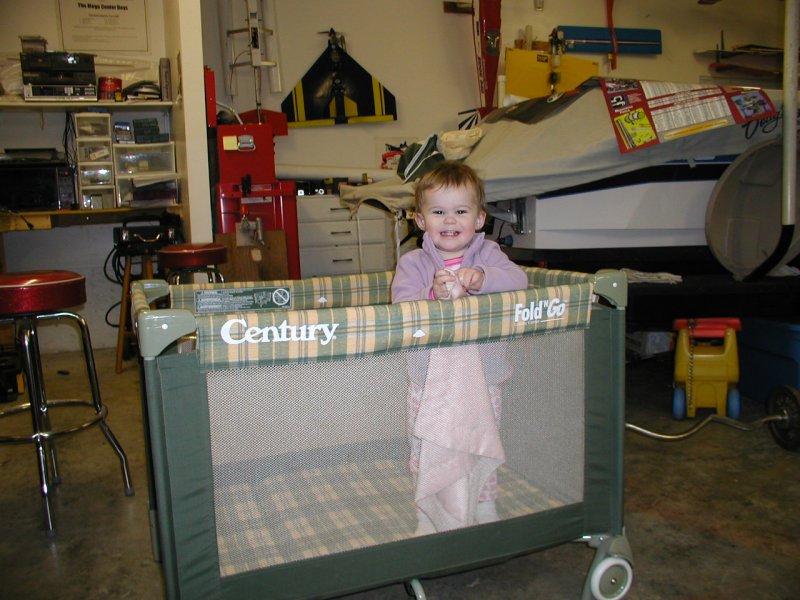
A Saturday morning visitor!
Much bigger than when she first started coming out.
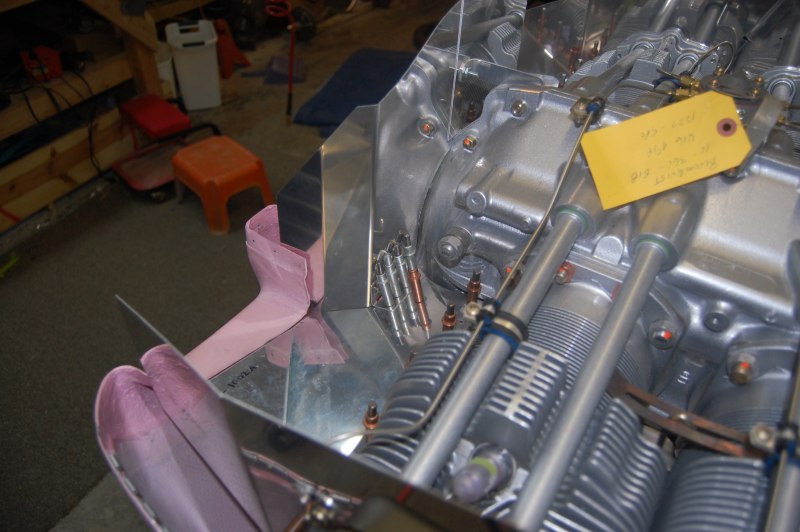
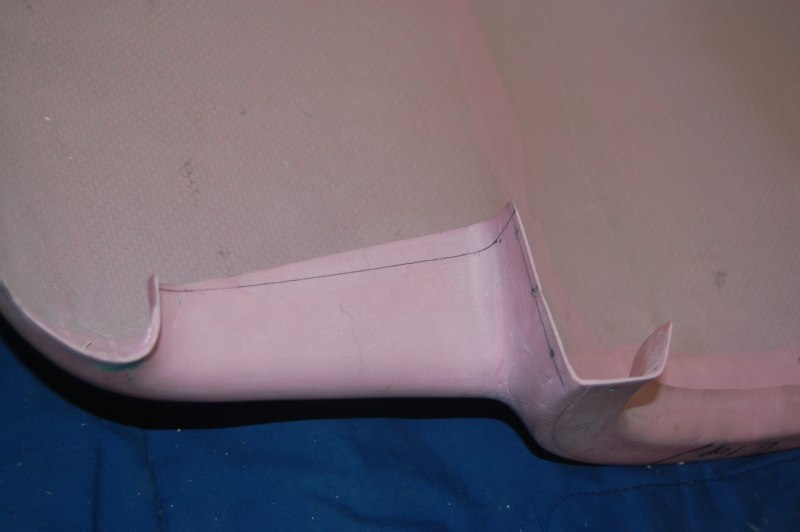
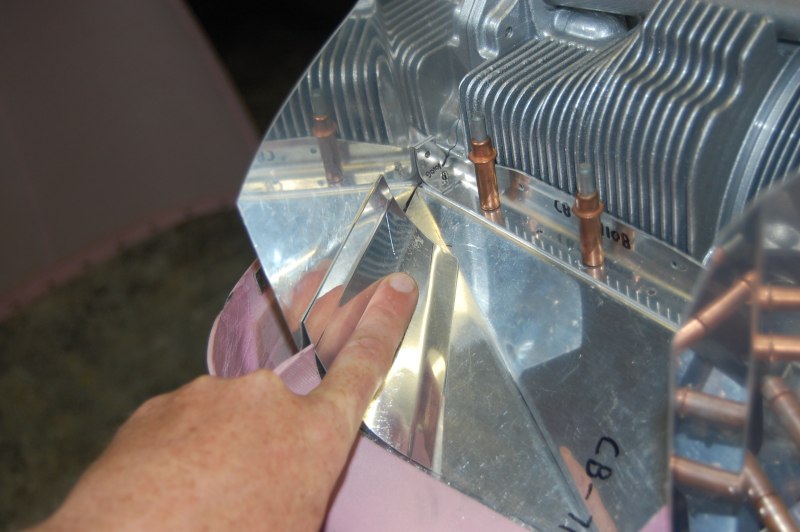
I wasn't happy with how things lined up on the inlet ramps so I decided to cut the tab off and added angle instead.
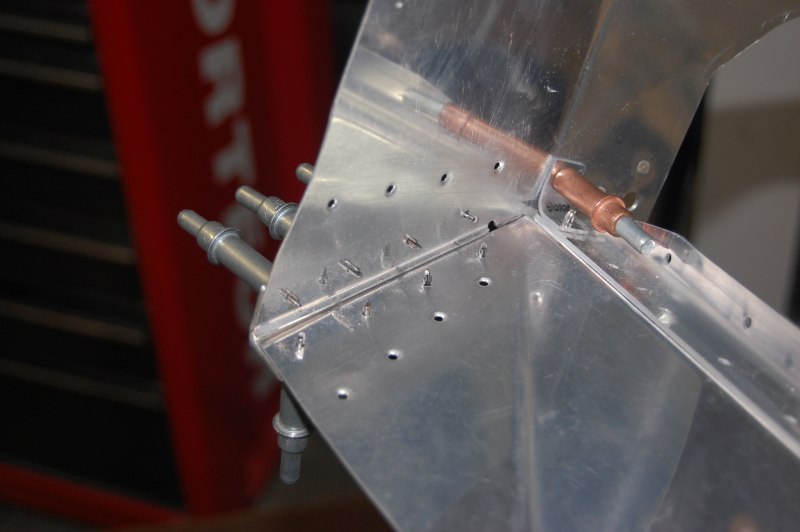
Re-made the radiused piece.... again.
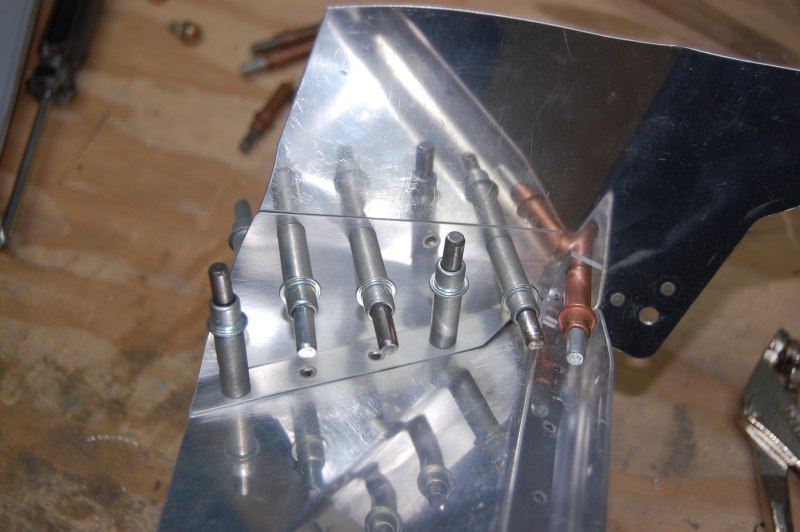
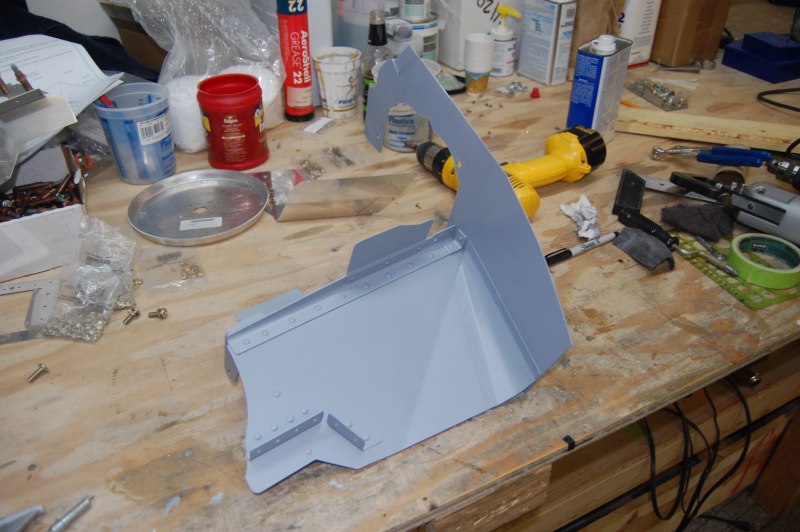
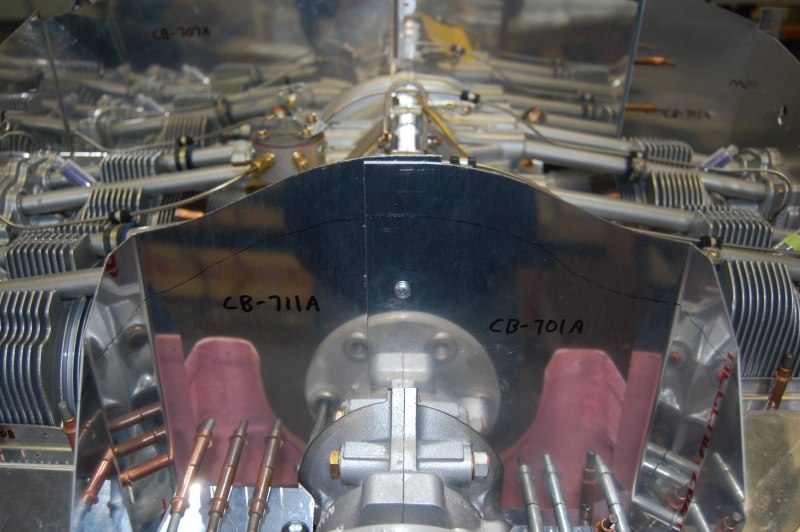
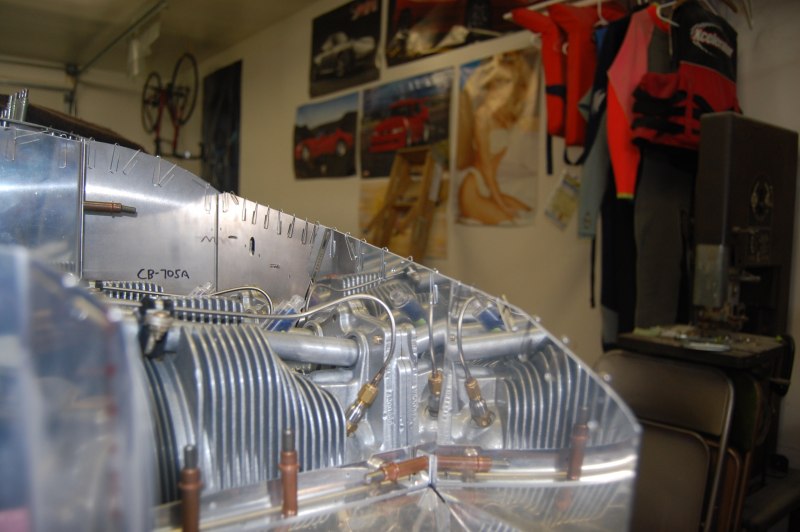
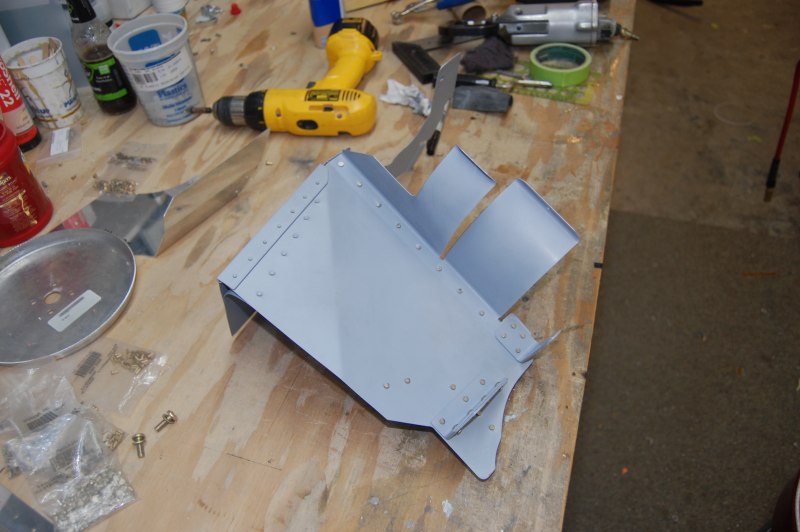
Lots of challenging rivet locations

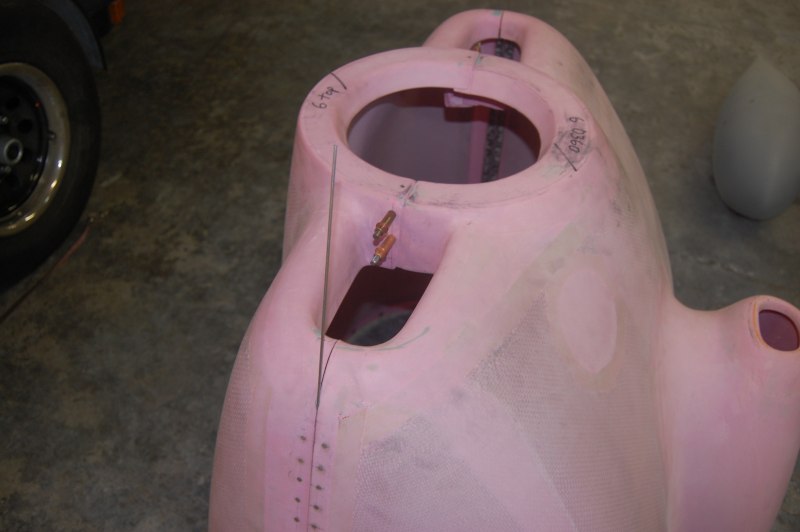
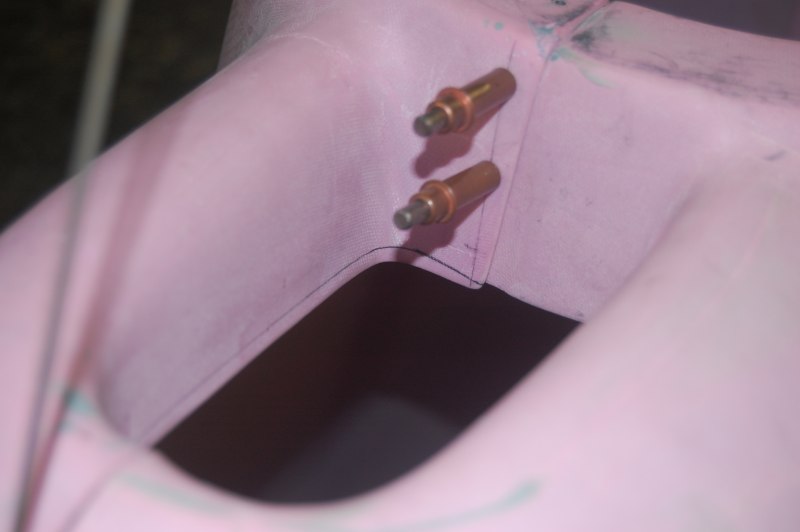
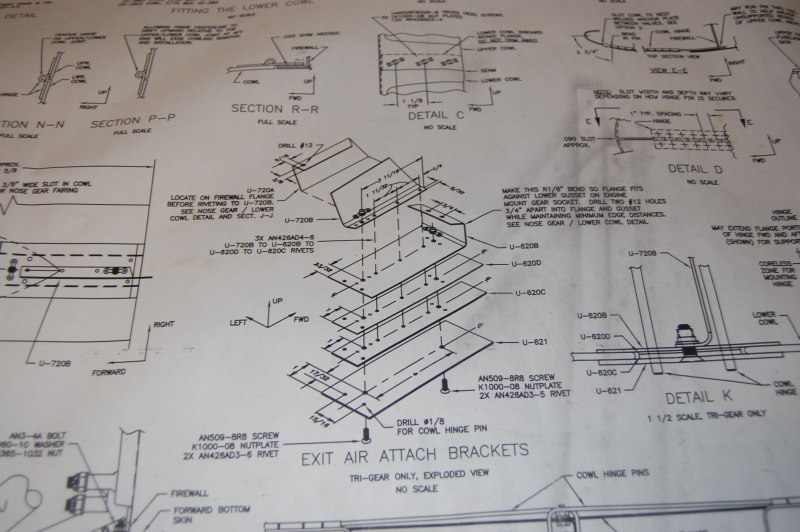
Started working exit air attach bracket

Back