Time for some more fiberglassing.
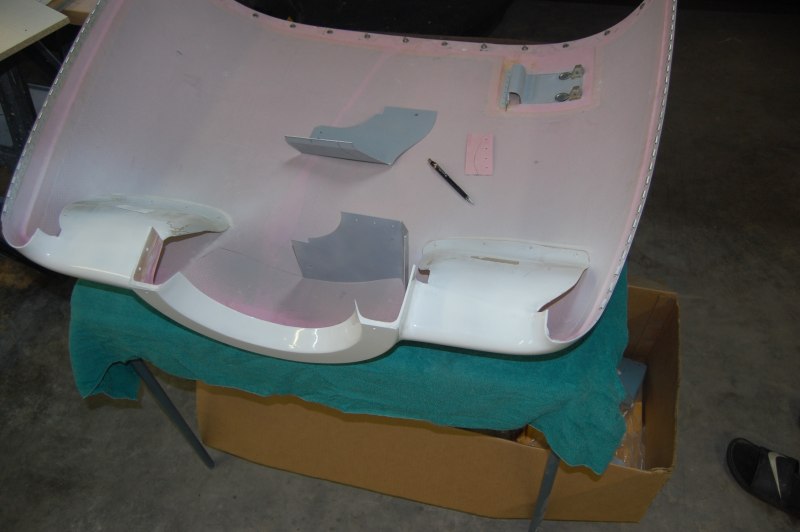
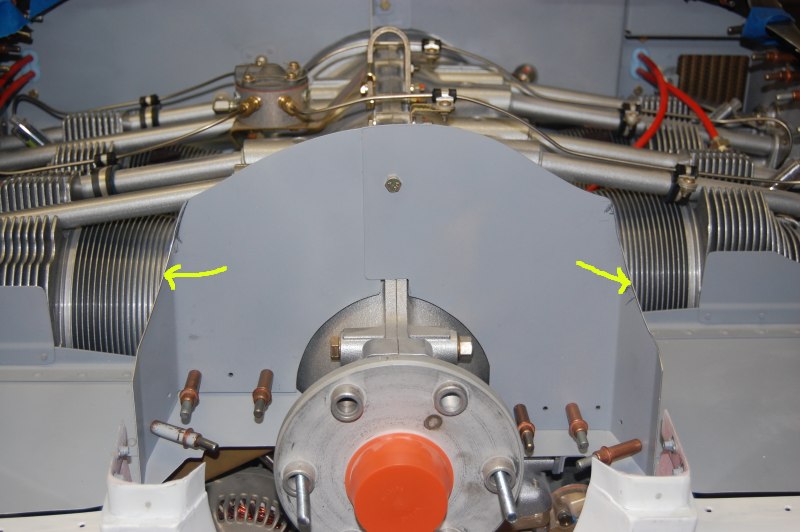
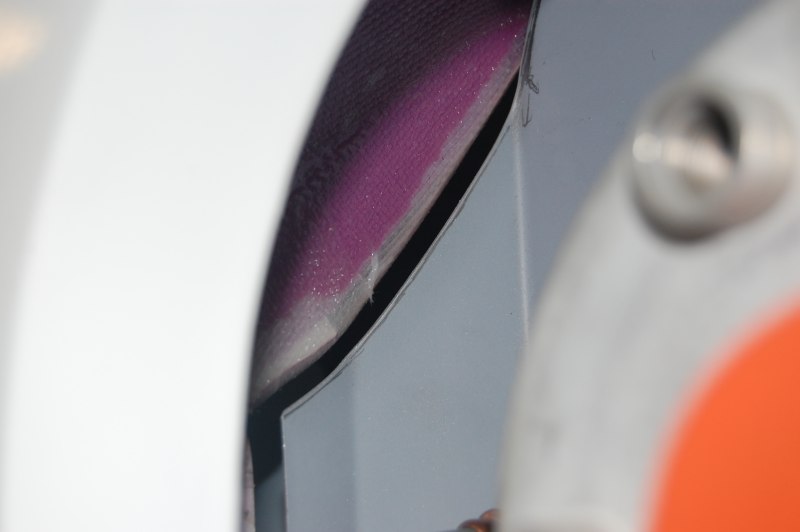
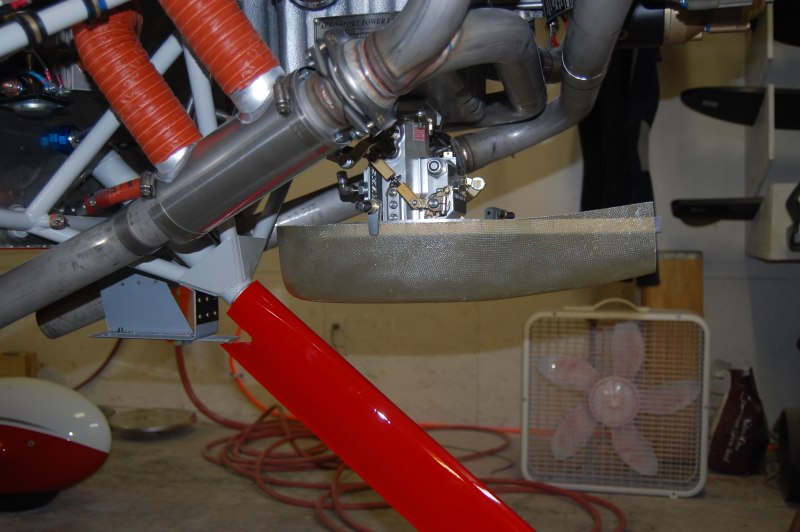
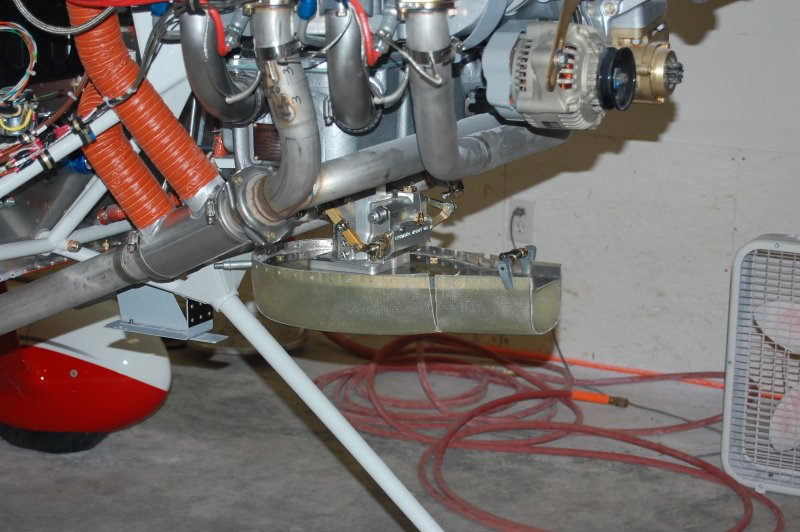
The fiberglass cowl inlet ramp has to be widened slightly to close up some of this gap. Also the insides of the ramps need to be sealed so the high pressure ram air doesn't go underneath the ramp to the low pressure side. This makes all the ram air go across the engine fins for cooling.
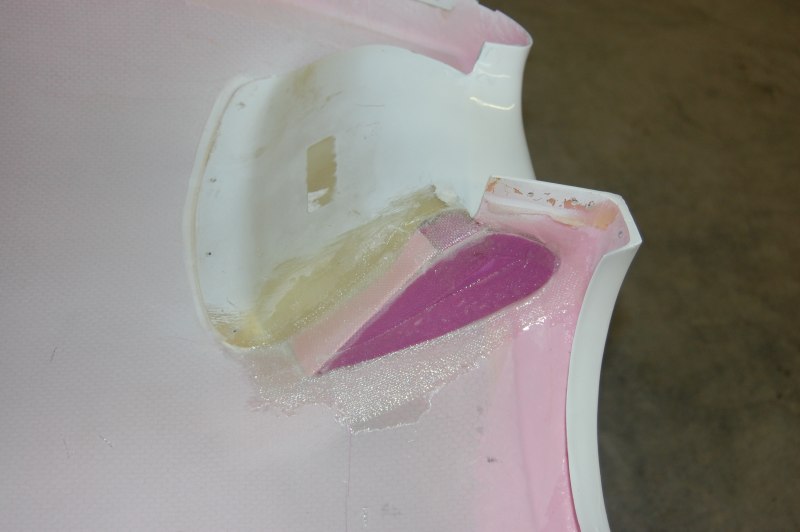

I'll do some more fiberglass, filling, and sanding to make this all pretty but for now I can check the fit.
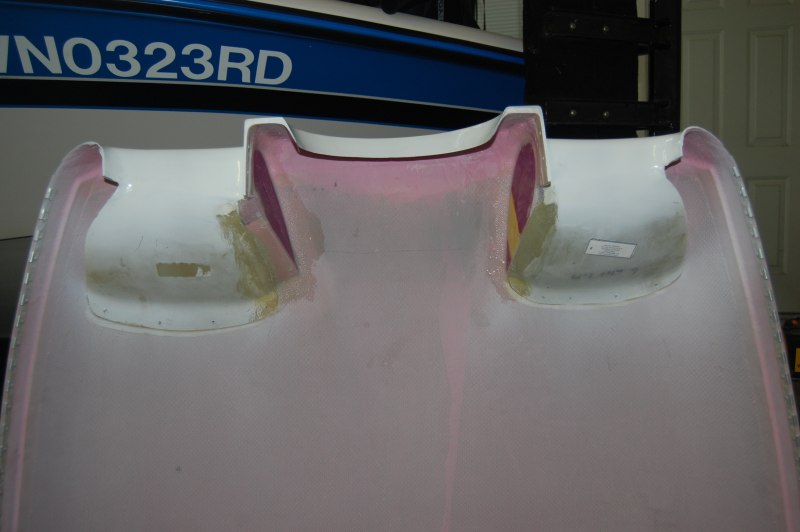
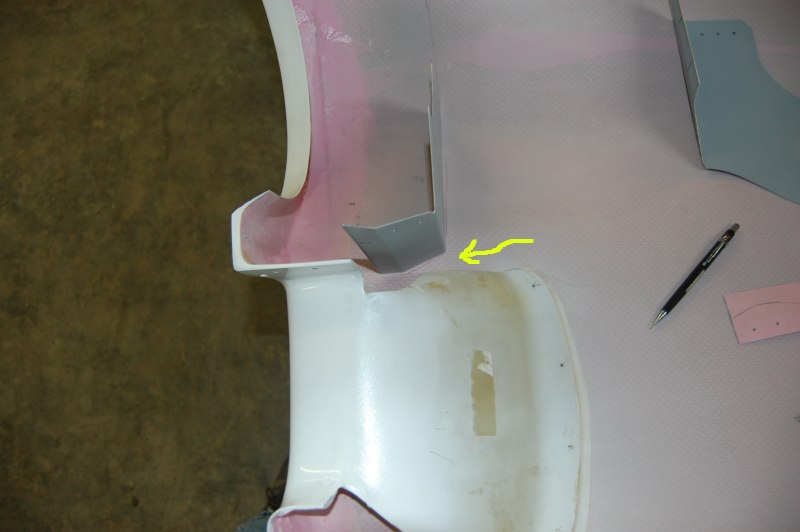
This is the baffling that meets the ramps. Actually it will not quite reach them, but the rubber baffling material will.
You can kind of see the inside here.
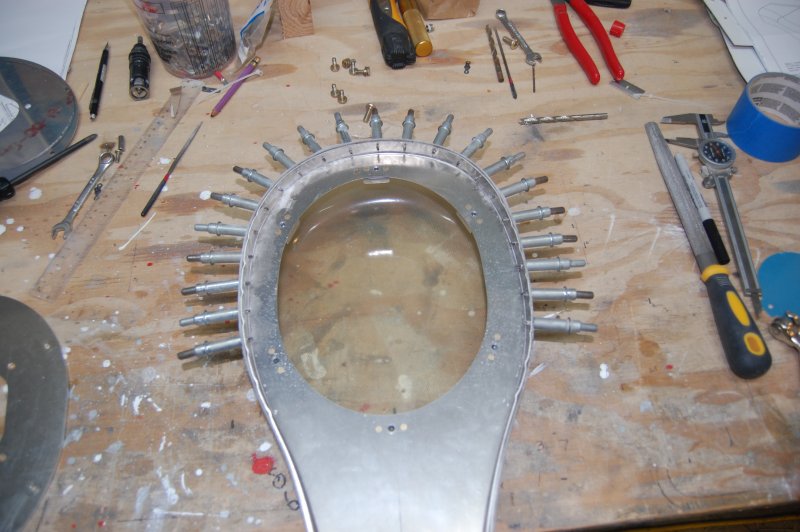
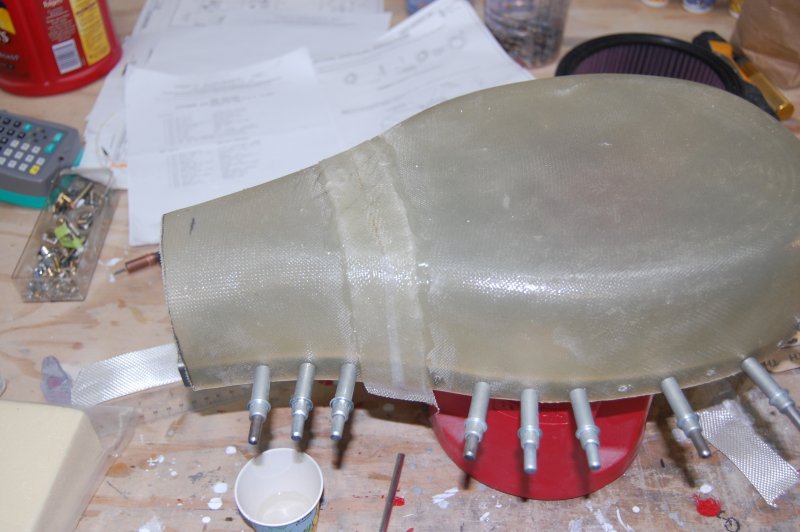
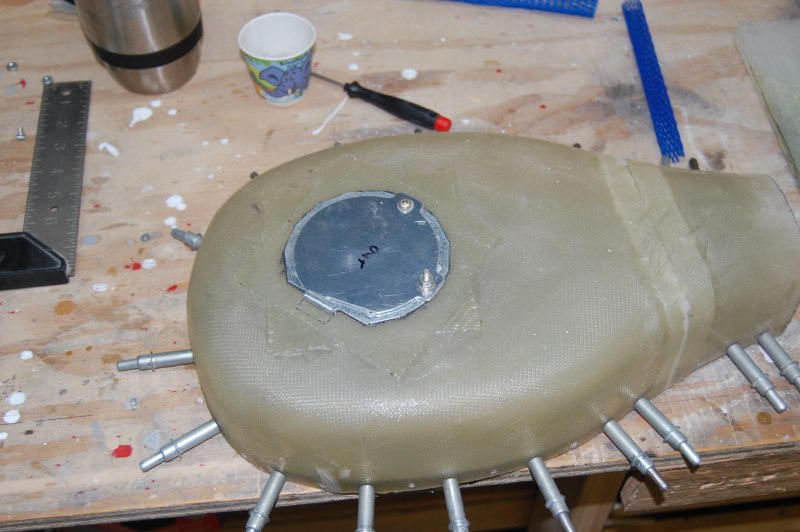
Stated working on the FAB (Filtered Air Box) again.
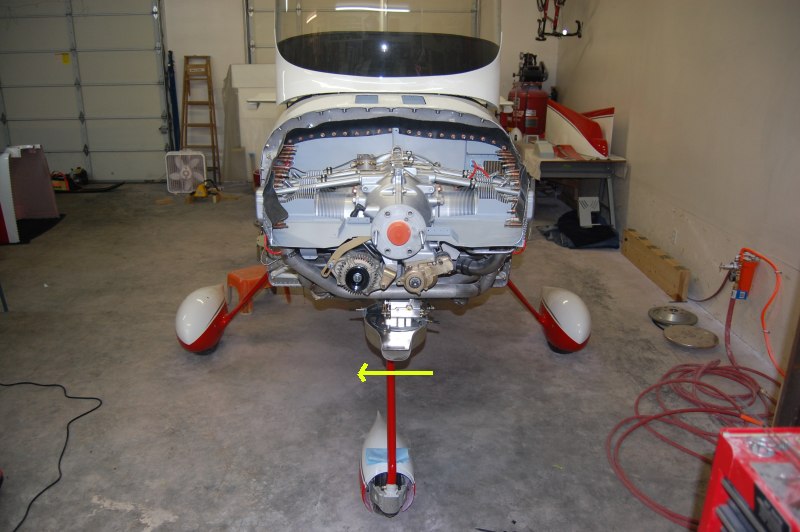
The factory Van's parts aren't even close because the fuel injection servo is not actually aligned with the center of the engine. If you didn't shift it, it wouldn't line up with the air intake on the cowl and it would rub the cowl on the right side. Kind of dumb they didn't spend a little more time on this. It's one of those things everybody building an RV has to fuss with. Oh well!
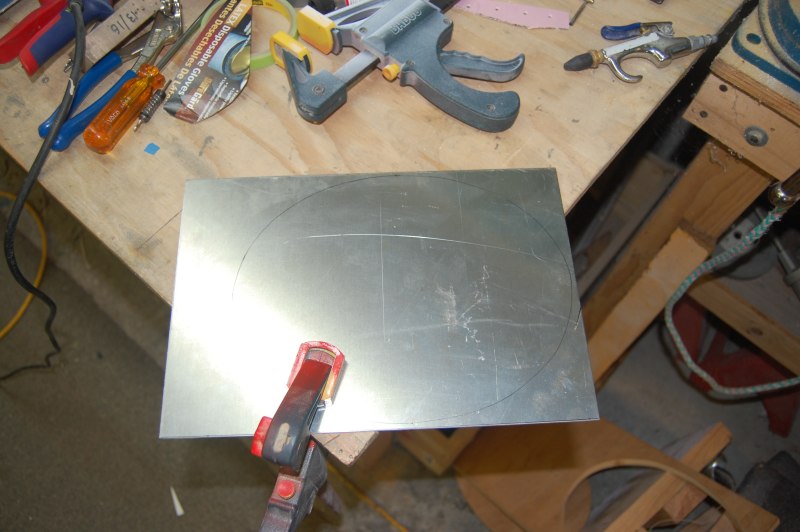
Since Van's plate will not work anyway, I decided to step up to .090". Others have complained of the .060" plate cracking over time.
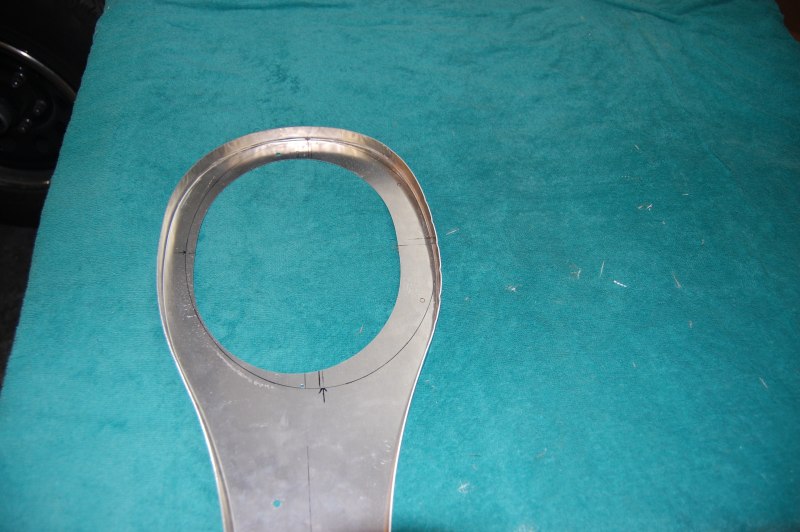
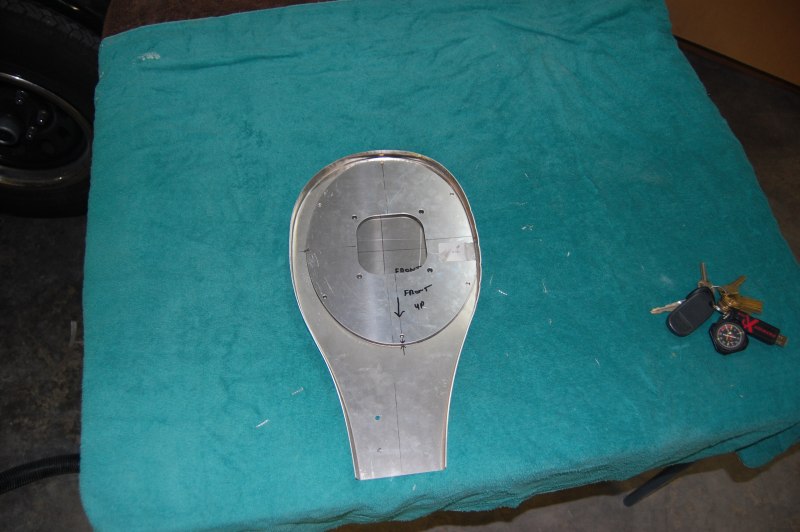
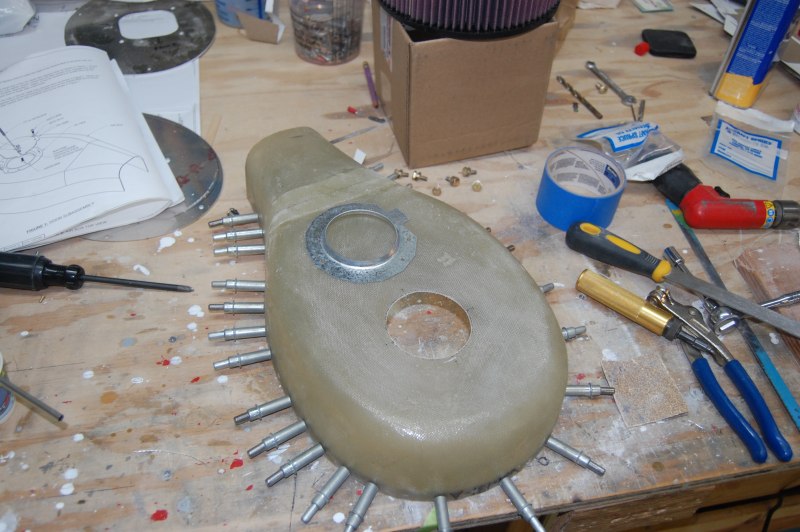
Anyway, here is Van's plate shown where it actually needs to be.
And here is what you'd end up with if you used it.
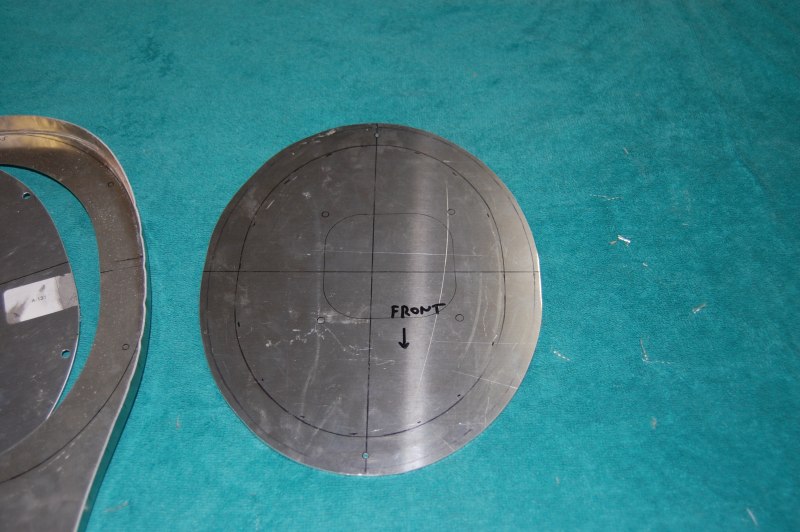
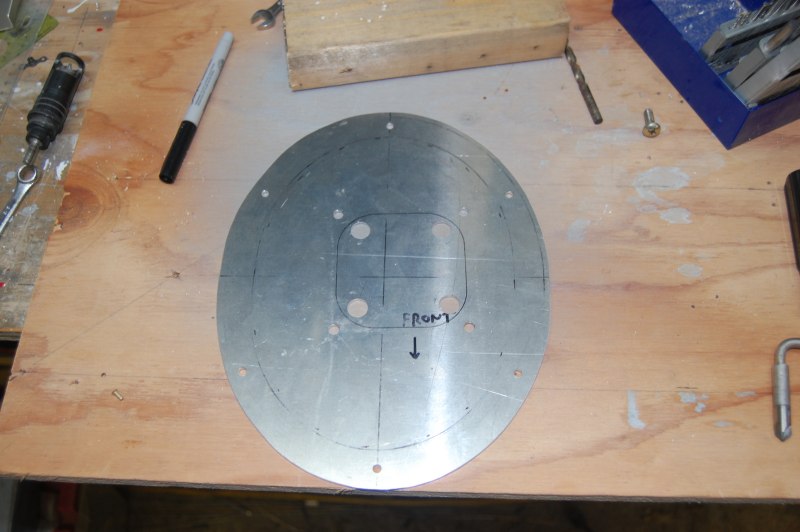
Tracing the old on to the new
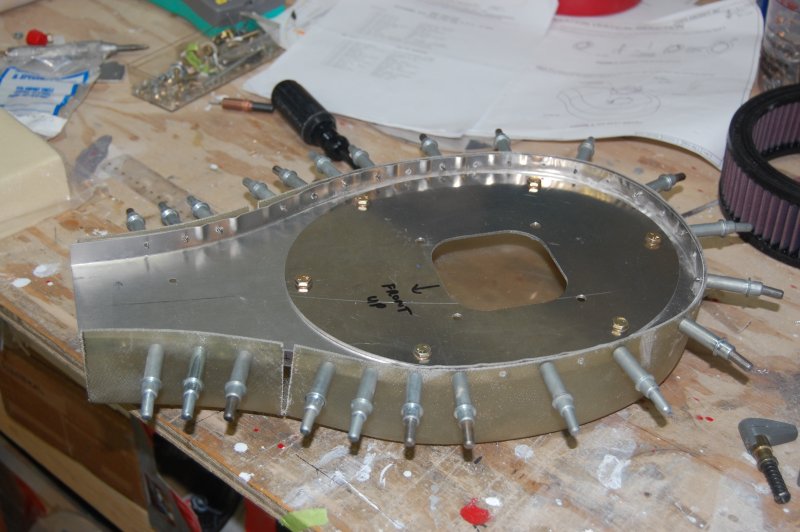
Here is the new .090" plate with the proper amount of offset.
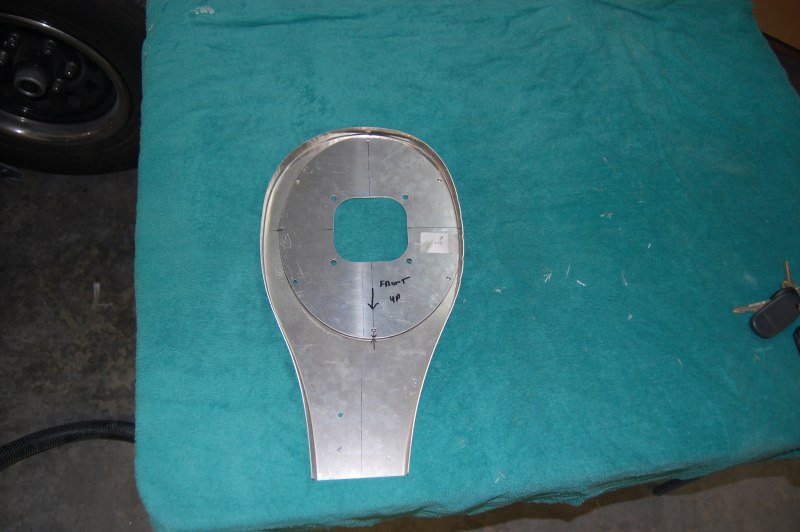
Drilled for nutplates
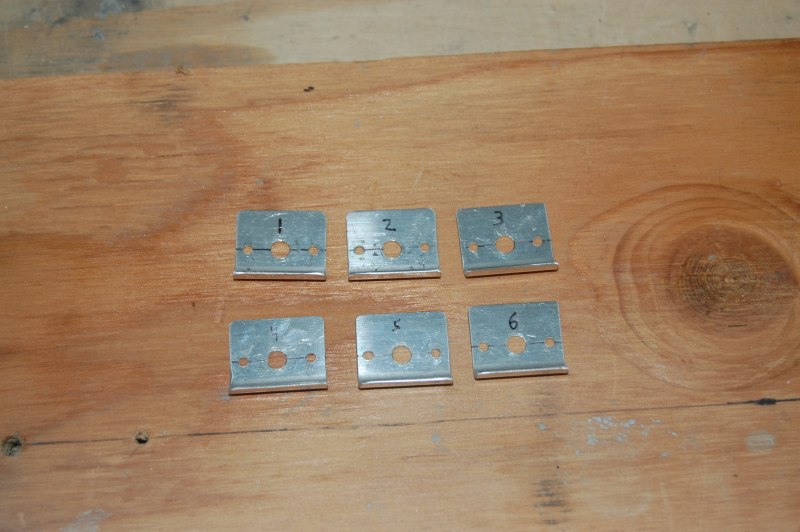
Made filter retainer clips
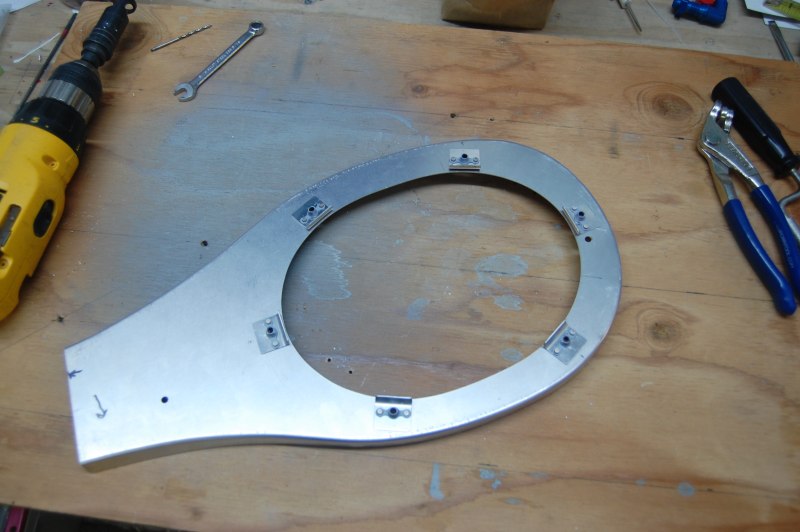
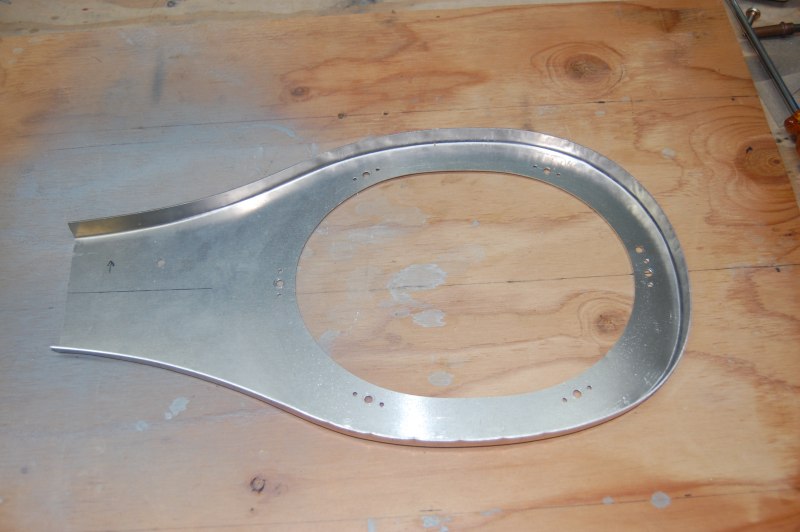
New plate installed with the old on the right

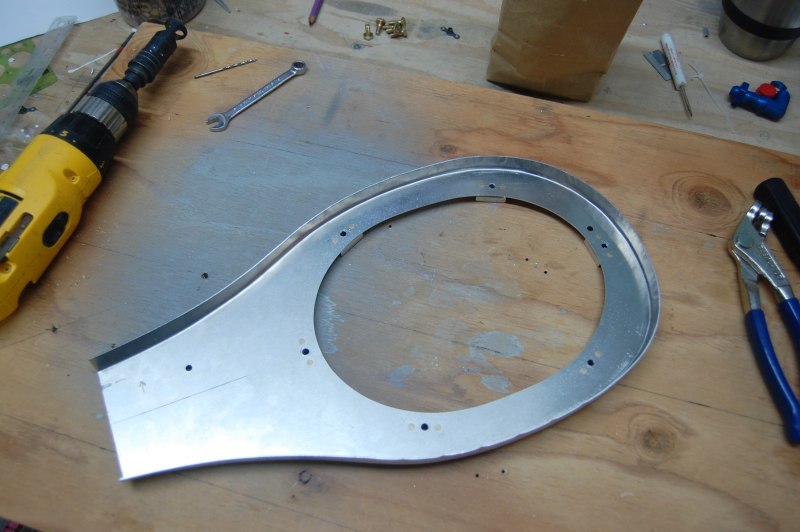
Drilled and clekoed most of the holes
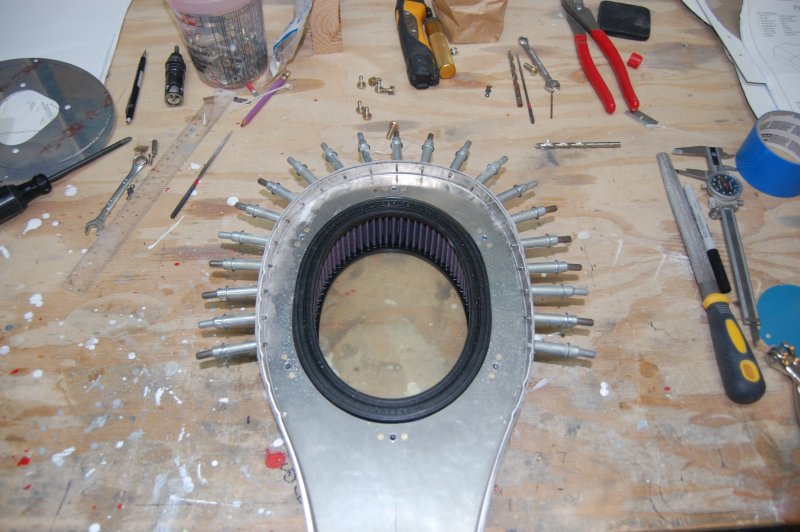
The filter fits great and sticks up about a 16th like it should
Looks kind of like a person
Since the fiberglass doesn't line up with the aluminum it needs to be cut on this line.

Double check the fit one more time
Looks good!
Drilled and clekoed the remaining holes
Fiberglassed the crack
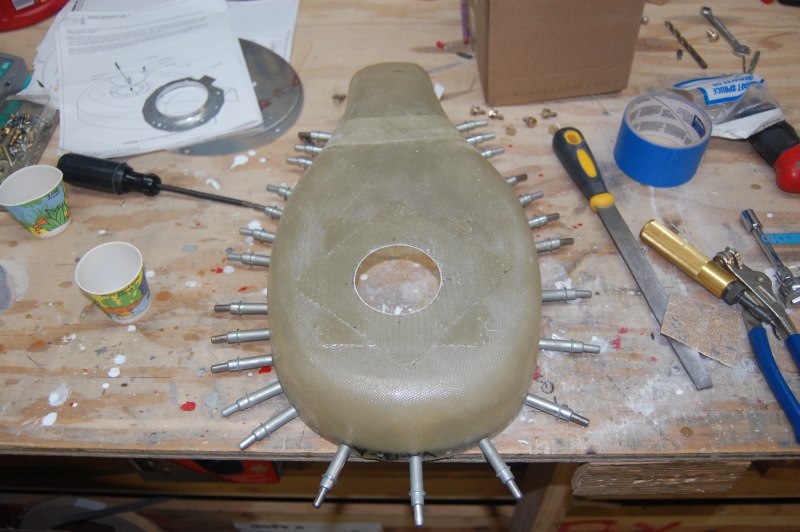
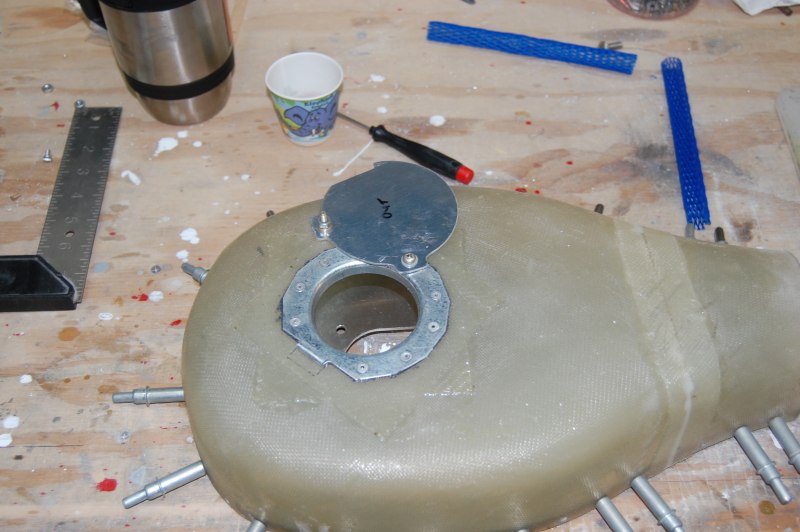
Cut hole for the FAB bypass. You would pull this open if the filter got clogged by snow, a bird, or who knows what else.
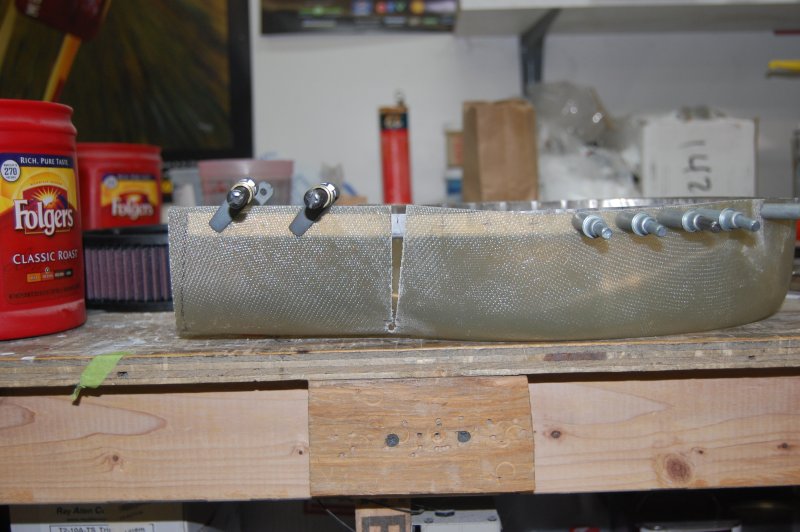
I decided to add a couple layers of glass to beef things up a little.

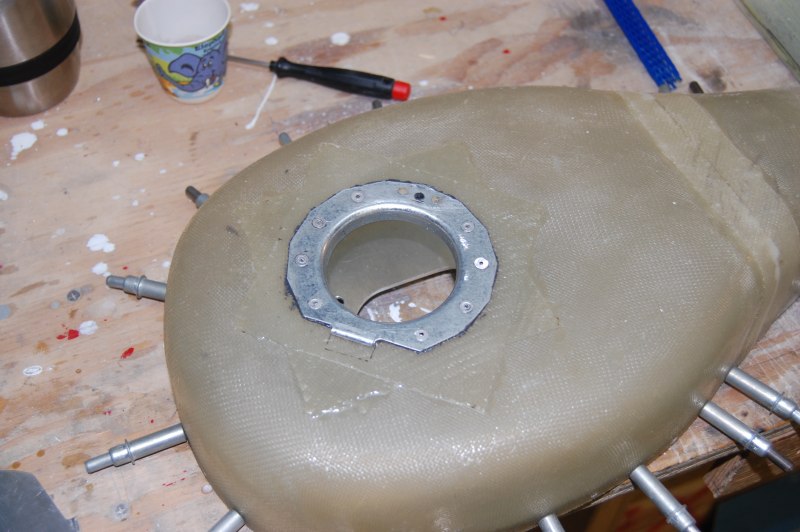
Prosealed and pop riveted on the ring
Here it is closed
And opened
Added some "Rage Gold" bondo to start smoothing up the cowl inlet ramps
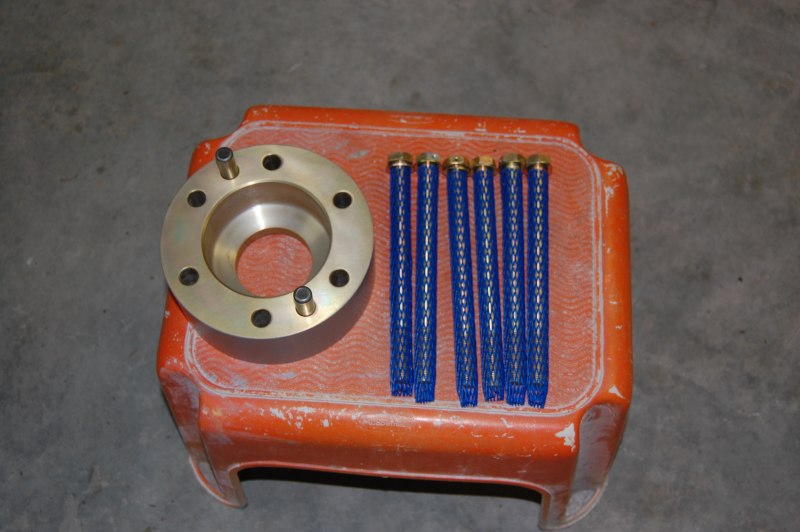
Got my prop!
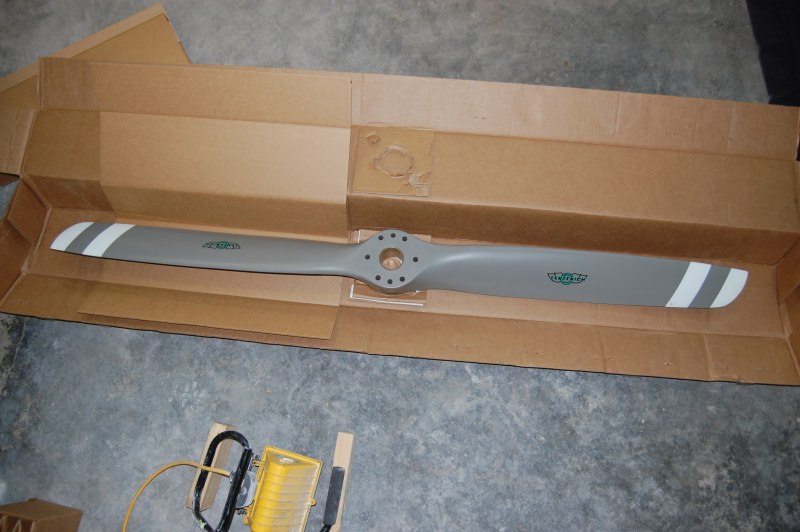
Here are the bolts and prop spacer.
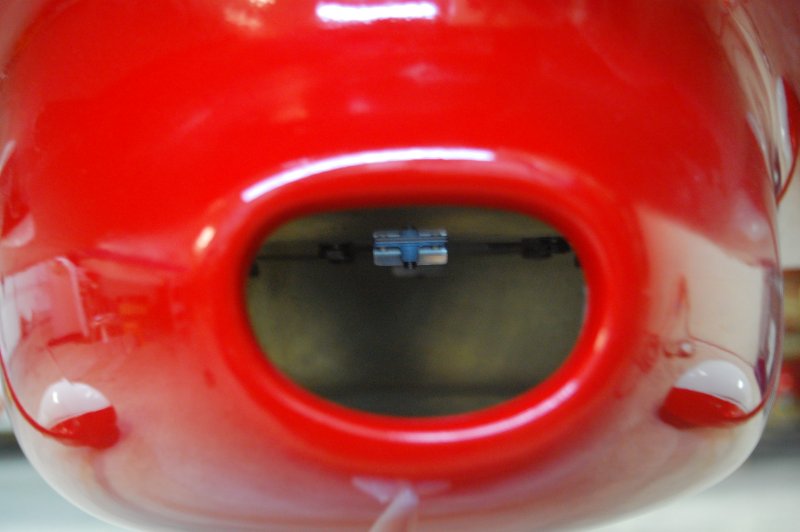
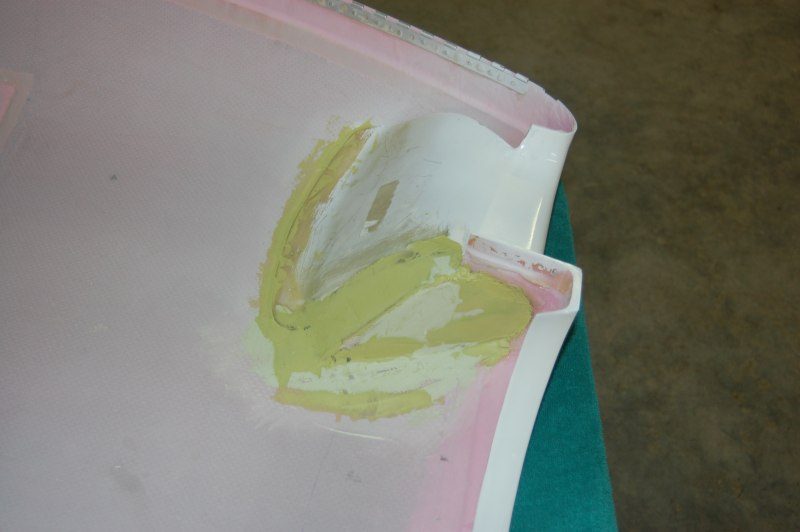
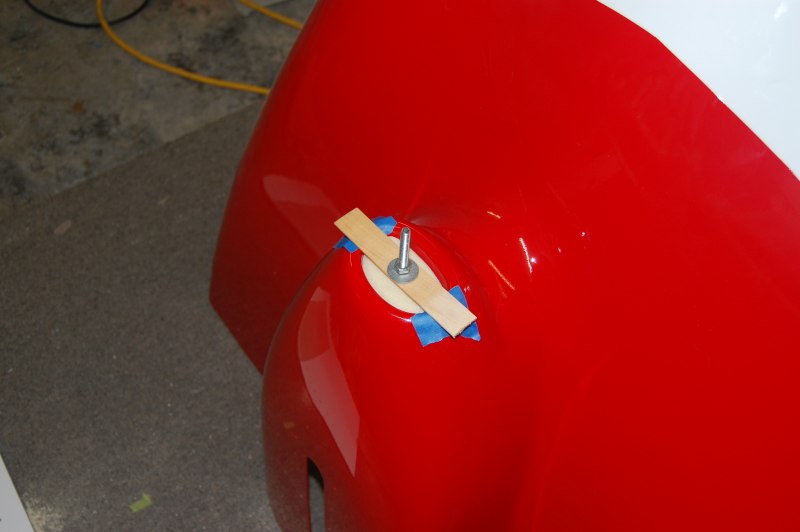
This is a little tough to explain but I'll try. The inlet on the cowl has to be extended back to line up with the FAB. (Filtered Air Box) If the FAB came all the way out to the hole, you wouldn't be able to get the lower cowl on and off.
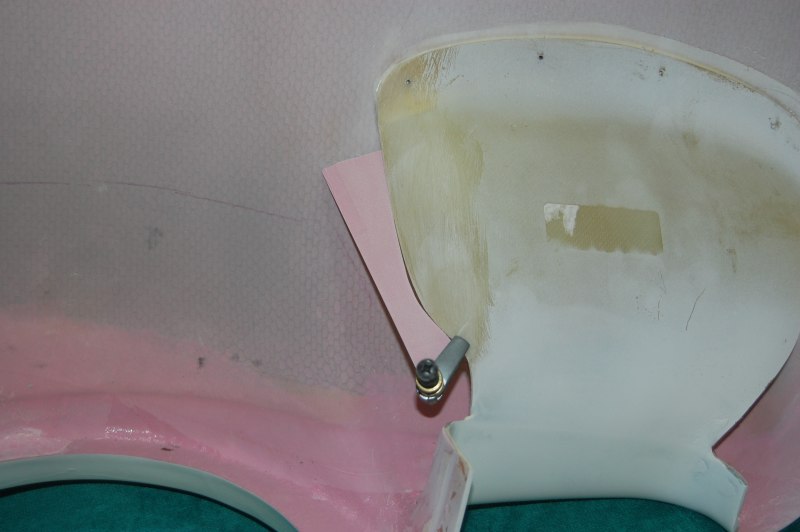
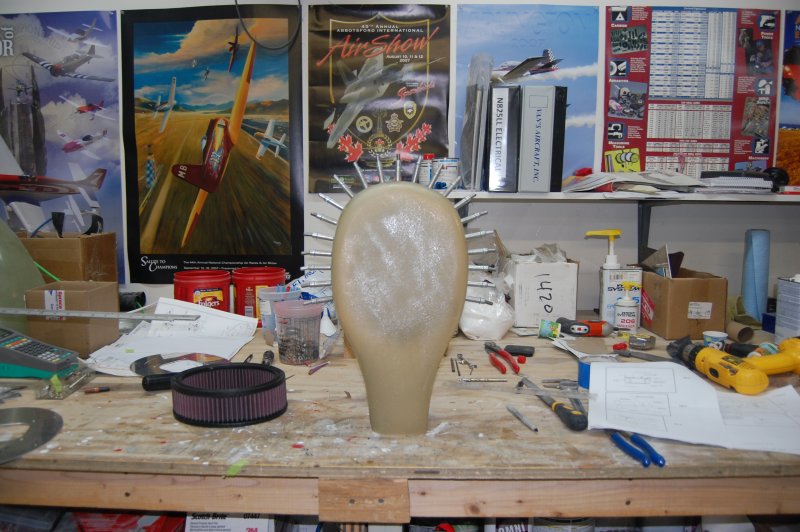
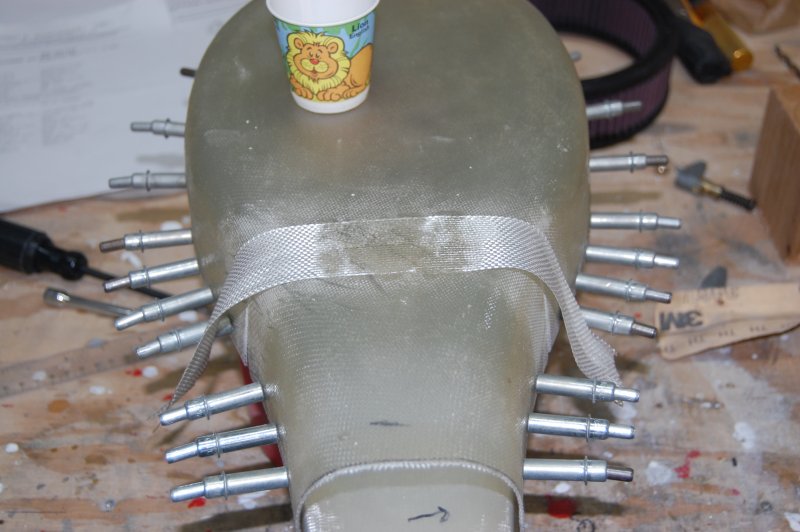
The challenging part for me is that per the instructions you do a layups on the inside of the opening. Since my opening is already nicely painted, I didn't want to take this approach. So I shaped this foam block to roughly the shape I thought would work and bolted it in the opening.
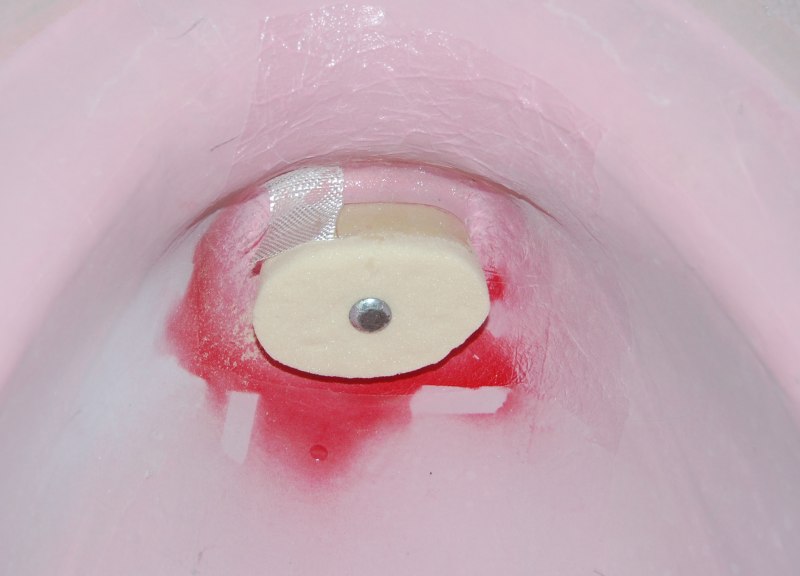
Then from the back did layups on the outside of the ring so I wouldn't mess up the paint job.
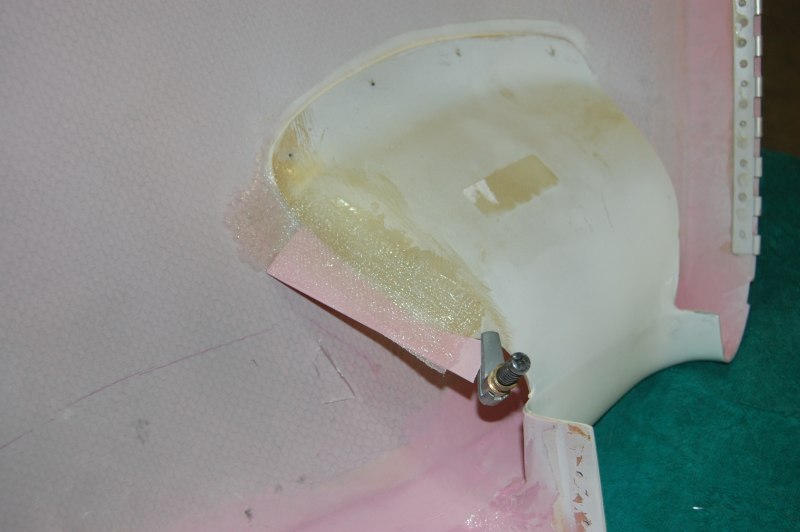
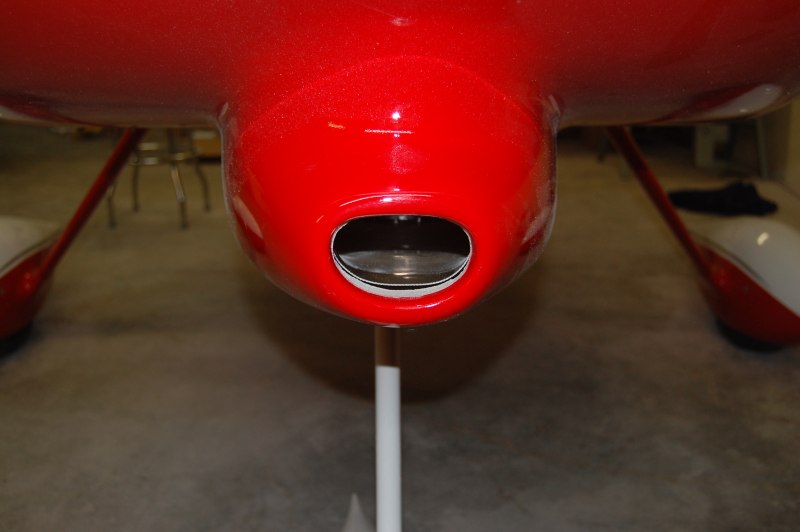
After it cured I chiseled out the foam an ended up with this.
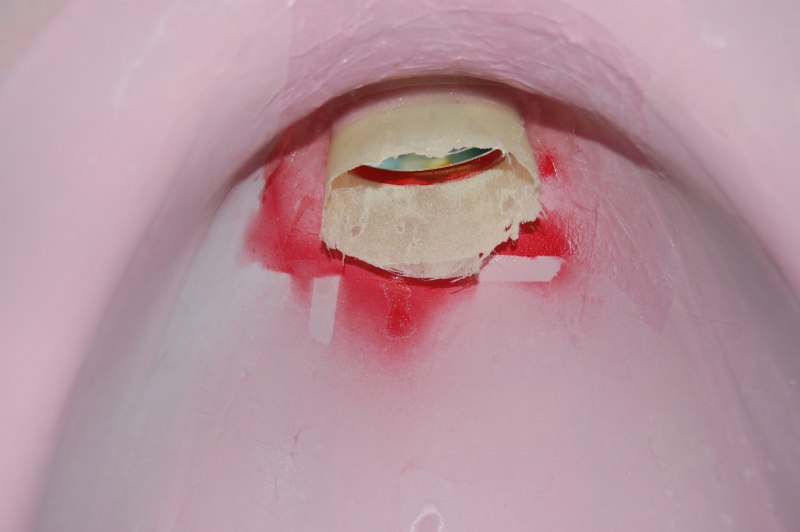
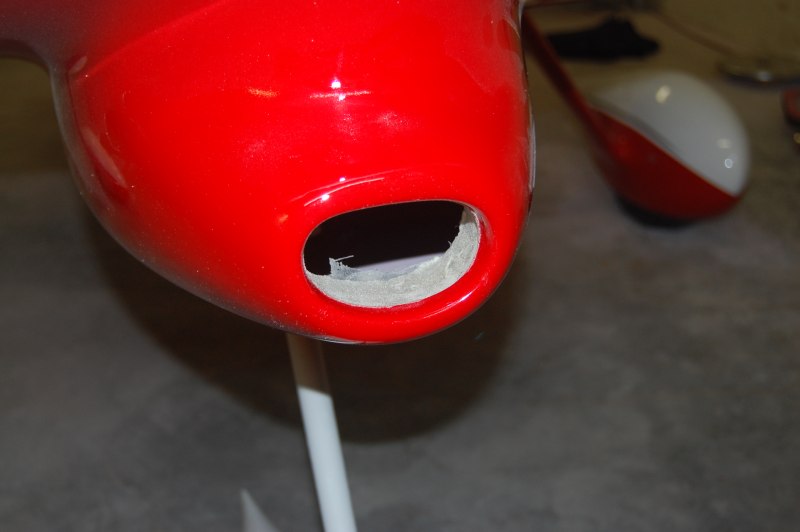
A little glass work left to do to make the pefect fit, but it's pretty close. I'm very happy after dreading over this for months.
Back